
User's Manual

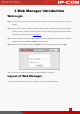

Table Of Contents
11
3 Web Manager Introduction
Web Login
Step 1: Connect your PC to the switch which has been connected to this AP or to the LAN port of this AP
directly.
Step 2: Set your PC to a static IP address within the following range: 192.168.0.X (1~253). Note that the IP
address of your PC should be a different one but on the same network segment as the LAN IP address
of this device. For more details, see Configure PC.
Step 3: Launch a web browser, input the LAN IP address of your AP (The default one is 192.168.0.254.) in the
address bar and then press Enter or Return on your keyboard.
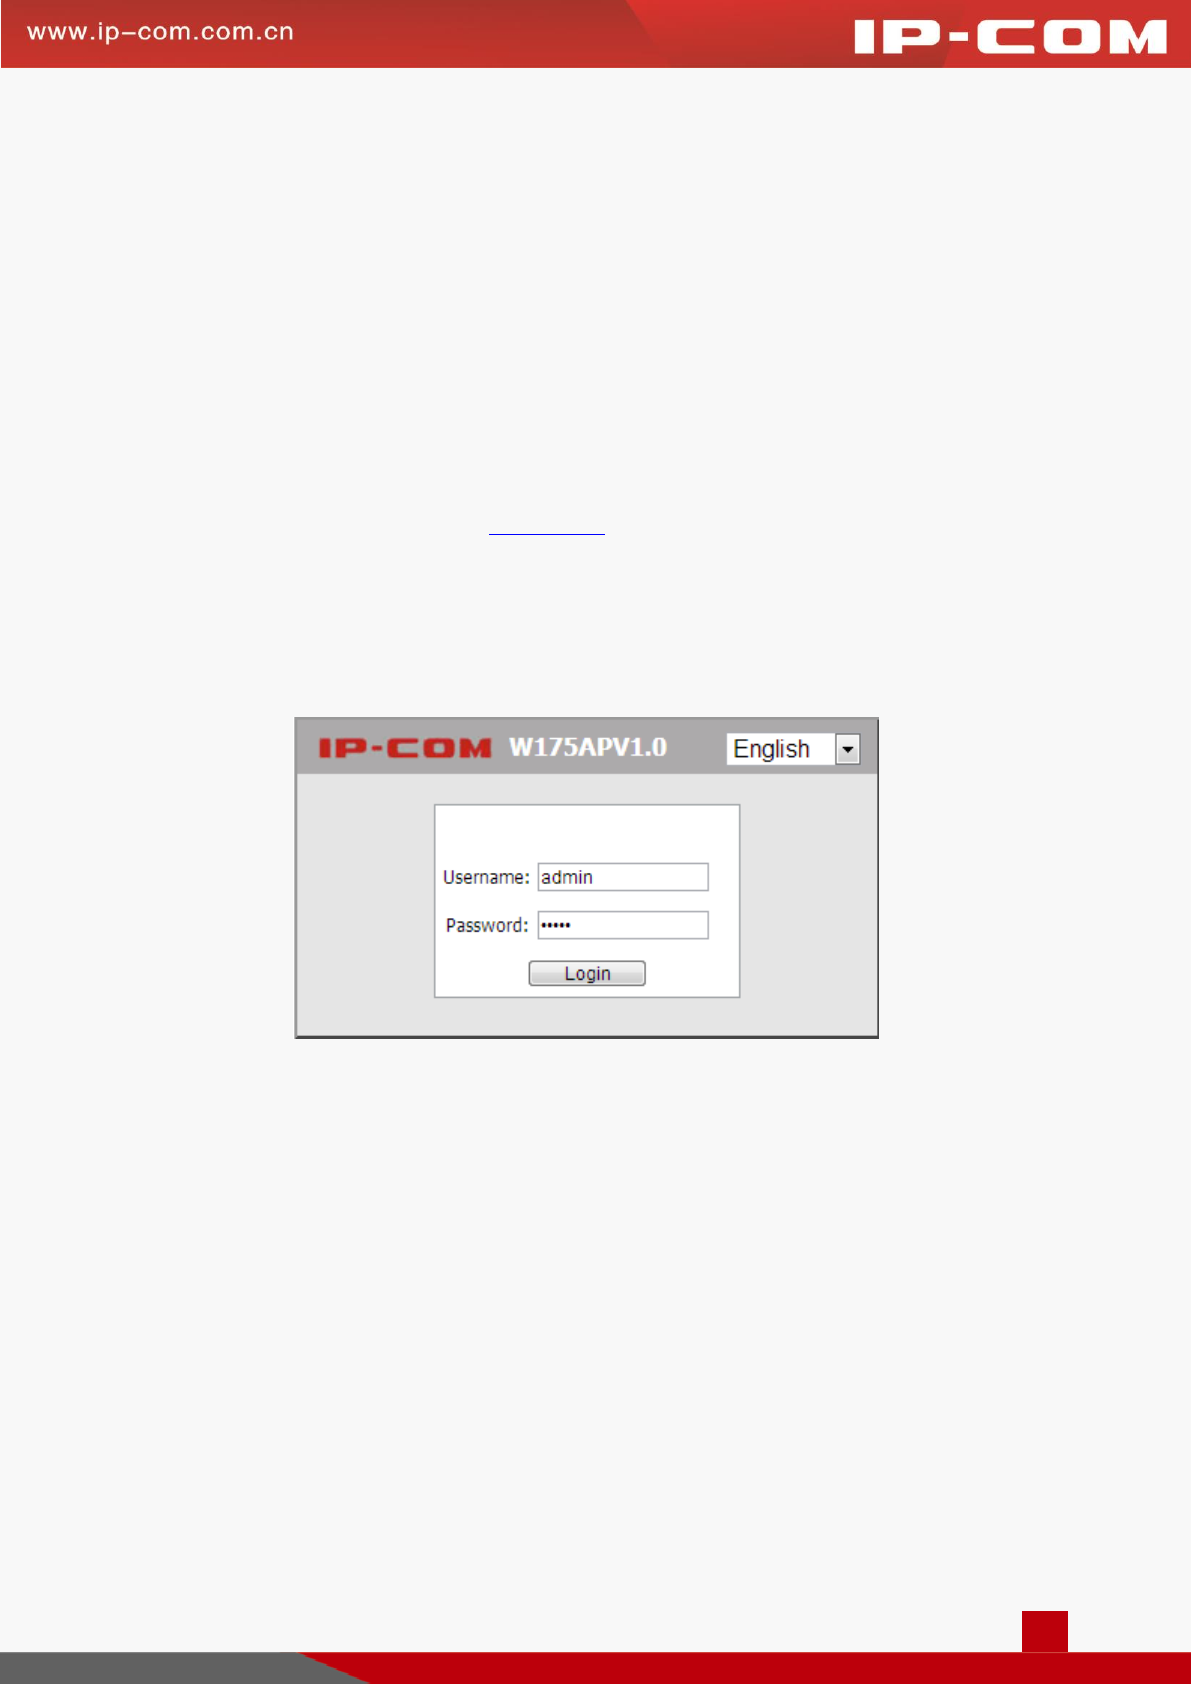
Step 4: Enter the default username and password (admin for both) on the pop-out page and click Login.
Then you can log in to this device’s web page to configure settings for your device.
Layout of Web Manager
The Web page can be divided into two parts: navigation bar and the configuration section.