
User's Manual

Vista
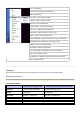
Audio card Windows Compatible with sound card
Available hard disk
space
50 MB
DirectX support
DirectX 9
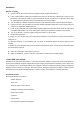
Unloading Speed DVR
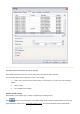
1. In the Windows taskbar, click Start, and then click Control Panel. Display "Control Panel" window
2. Double-click Add or Remove Programs icon. Display the "Add or Remove Programs" dialog box
3. Select Speed DVR items,Click Add or Remove, Display the "Add or Remove Programs" dialog box.
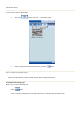
4. Click OK
5. According to all the instructions displayed on the screen, unloading the Speed DVR from your
computer successfully.
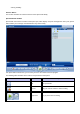
Speed DVR HELP part
Please refer to the software Speed DVR help. Help in the menu bar, click "Help, or click the Help button, or start
the online help.
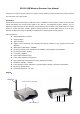
Connect to device
Before start Speed DVR, you must connect the camera to the computer. Please refer to "Connect USB camera"
section for more information about how to connect USB camera and computer.
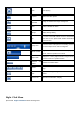
Connect USB camera
1. Install the software of the camera.
2. Re-start your computer.
3. Connect camera to the computer's USB port. Windows Hardware Wizard will install the camera
driver on your computer. If the Hardware Wizard failed to find the driver, please refer to the document of
the camera for more information about installing the driver details.
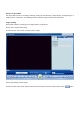
4. Run Speed DVR.
5. In the menu bar, select <View> and then select a camera number, Speed DVR will display the video
on the window of CAMERA.
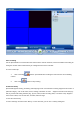
Notes: Combine Speed DVR with wireless CMOS camera is available. For more information about how to
connect a wireless CMOS camera, please refer to the document of came with wireless devices