
Installation Sheet


Four-Piece Entrance Set Installation Instructions
1
INSTRUCTIONS
Unpack and inspect the product for any shipping
damages. If you find damages, do not install.
Contact Customer Service at 1.866.855.2284. If
you need assistance or have questions while
installing your door entrance set, contact
Customer Service.
We recommend consulting a professional if you
are unfamiliar with installing hardware fixtures.
Signature Hardware accepts no liability for any
damage to the handle, lock set, or door, or for
personal injury during installation.
Due to the number of pieces that must be fitted
simultaneously, it is recommended that
someone assist you while attaching the
hardware to the door.
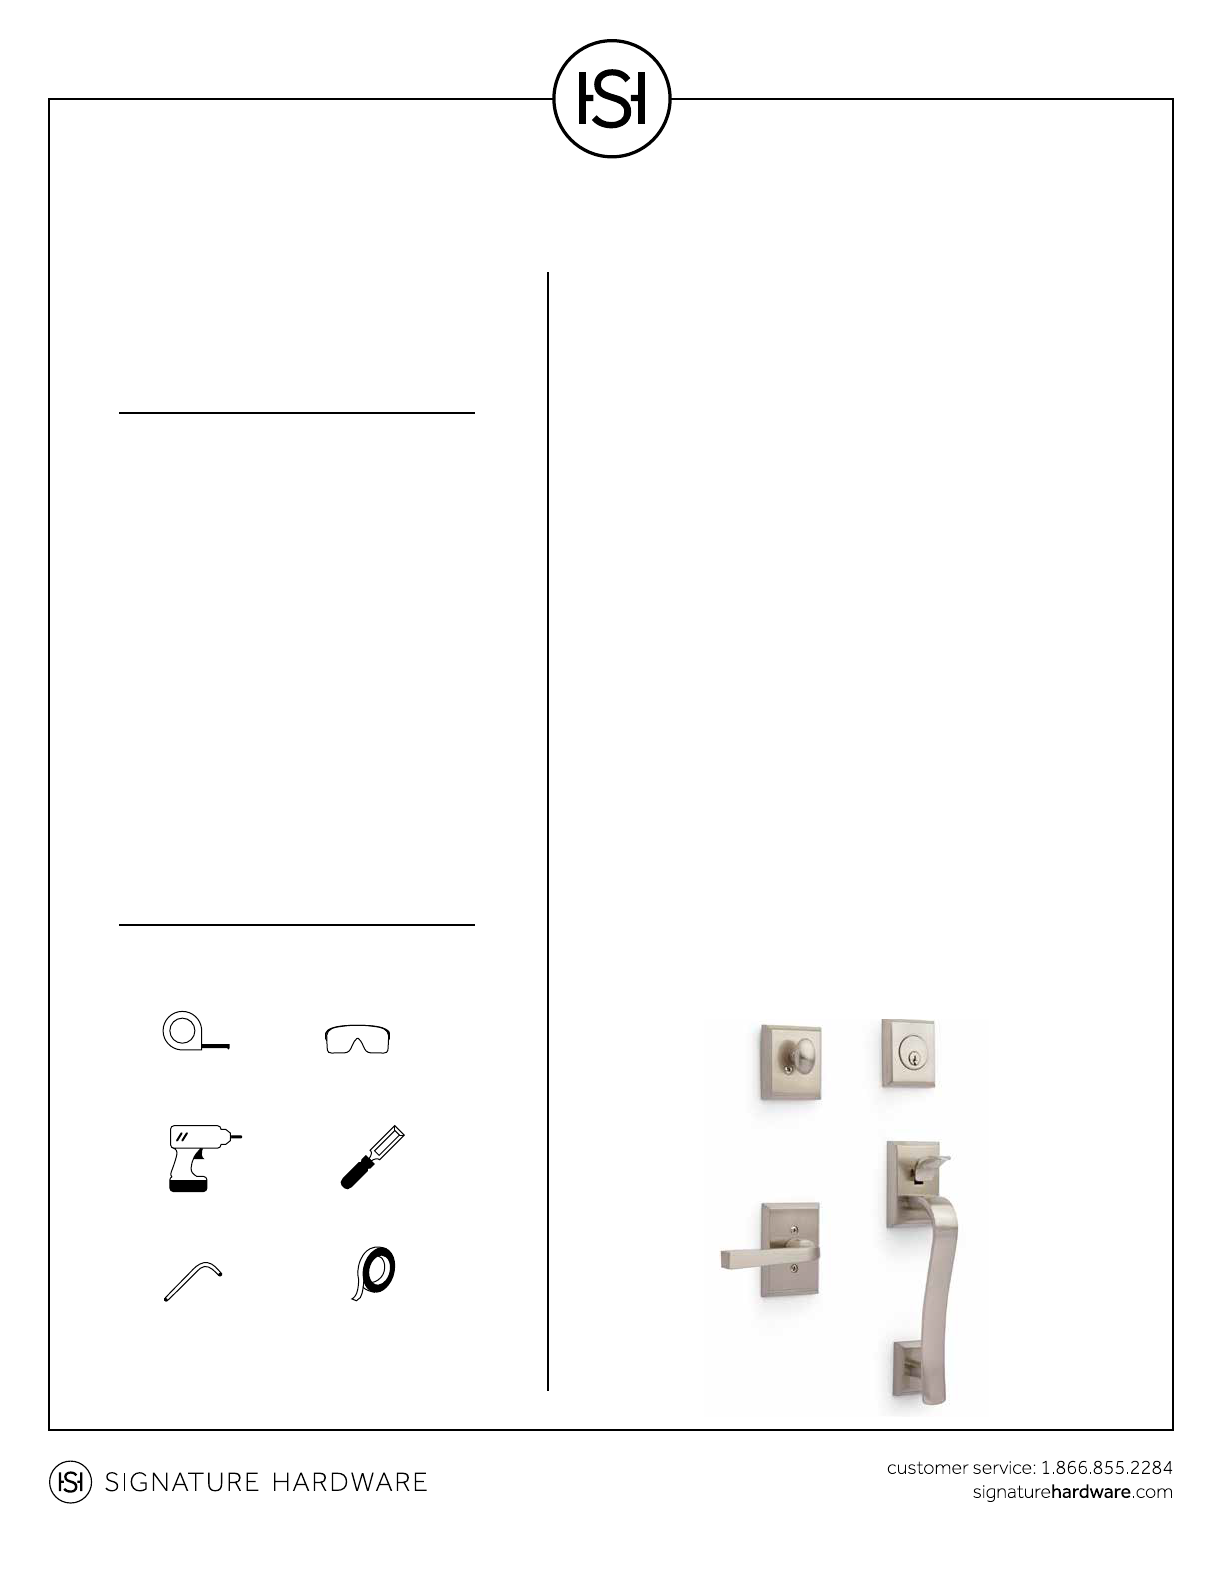
TOOLS AND MATERIALS:
Read the installation instructions below.
Observe all local building and safety codes.
BEFORE INSTALLING INSTALLATION
1. Tape the provided deadbolt template in the mounting location
on the face of the door and mark the mounting hole locations.
2. Tape the provided handle template in the mounting location
on the face of the door and mark the mounting hole locations.
3. Drill mounting holes according to the dimensions specified on
the template.
4. Drill an additional hole to accommodative the lower screw on
the exterior handle escutcheon, measuring carefully from the
center to center.
5. Tape the provided latch bolt template onto the edge of the
door, lining it up with the holes drilled in the previous steps.
6. Drill mounting holes, refer to the template for location and
depth specifications.
7. Fit the deadbolt latch bolt (A) into the top hole on the edge of
the door. If the attached faceplate is not flush with the door,
carefully chisel out the area as needed.
8. Fit the handle latch bolt (B) into the bottom hole on the edge
of the door. If the attached faceplate is not flush with the door,
carefully chisel out the area as needed.
Continue steps 9-24 on the next pages.
Tape Measure
FOUR-PIECE ENTRANCE SET
Wood Chisel
Safety Glasses
Masking TapeHex Wrench
Drill