
Installation Sheet

1Freestanding Outdoor Shower Installation Instructions
FREESTANDING OUTDOOR SHOWER
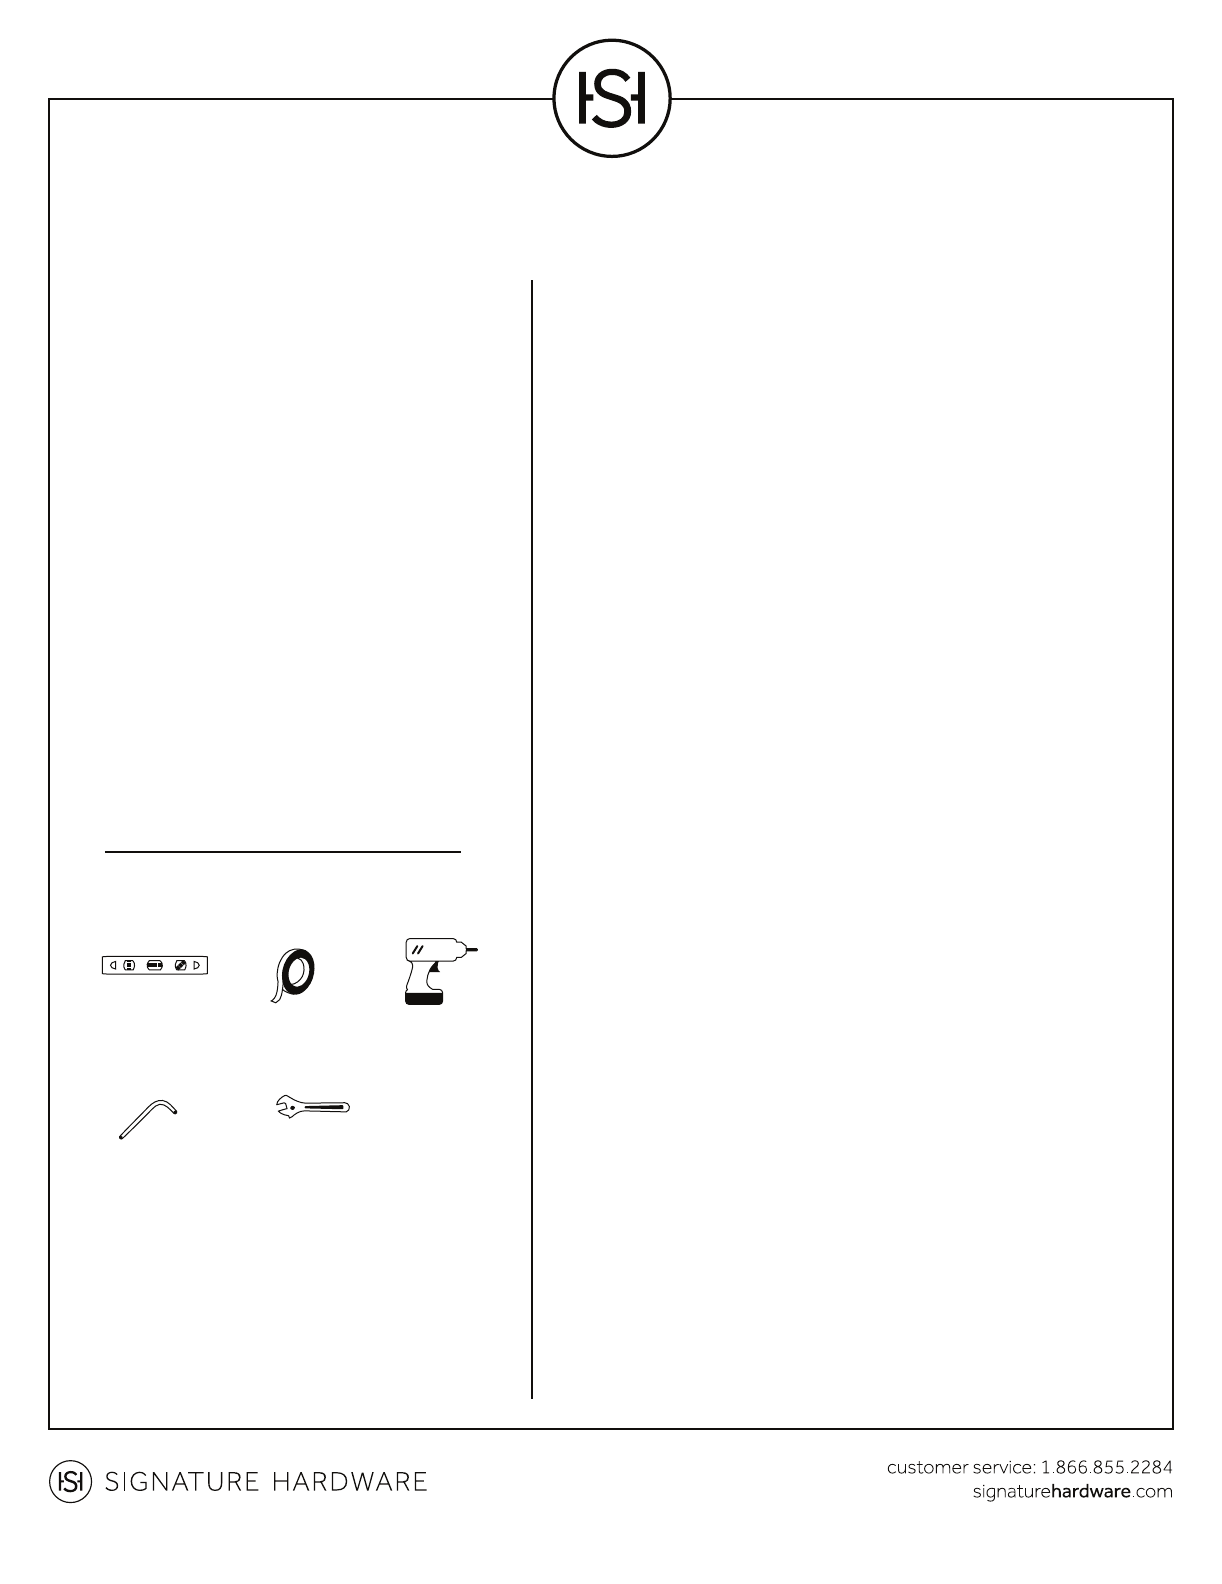
TOOLS AND MATERIALS:
BEFORE INSTALLING INSTALLATION
1. Lay the shower down flat so that all parts can be easily
viewed and accessed during assembly.
2. Slide the decorative escutcheon, or base, onto the body of
the shower if it is not already attached. You may need to
remove the mounting plate and/or hex nut (if included) if they
are already in place. If there is no decorative escutcheon and
the mounting plate is not removable, move on to step 4.
3. Attach the mounting plate to the body of the shower. If a hex
nut was included, screw the nut onto the body of the shower
followed by the mounting plate. The two should fit tightly
together to create a seal.
4. Connect the water feed tubes to the main water supply.
5. Briefly turn on the water supply to make sure there are no
leaks in the water feed tubes before you fix the shower to
the installation surface. If no leaks are detected, turn off the
water supply and continue with the installation. If leakage does
occur, use your adjustable wrench to tighten the connections
as necessary. If problems persist, contact Customer Service
at 1-866-855-2284.
6. Sit the shower upright with the mounting plate flat to the
installation surface. Use your level to verify that the shower is
properly aligned. If not, place a shim underneath the mounting
plate and adjust as necessary.
7. Secure the mounting plate to the installation surface using a
drill and the appropriate mounting hardware. If there is a
decorative escutcheon, slide it down over the mounting plate
and press into place.
8. Finish your installation by attaching any wall supports, hoses
and/or handles that might be included .
9. When the shower is installed turn on the water supply, check
to make sure that all connections are tight (no water should be
leaking) and that the supplies are working correctly. If you have
a hand shower, divert the water to the hose and allow the water
to flow through the hose for approximately 60 seconds.
Before you begin, read the following
installation instructions. Observe all local
building and safety codes. For the following
installation instructions it is assumed that
the installation area is prepared and the
water supply lines are in place.
Unpack and inspect the product for any
shipping damages. If you find damages, do
not install. Contact Customer Service at
1.866.855.2284. If you need assistance or
have questions while installing your door
bell contact Customer Service.
We recommend consulting a professional if
you are unfamiliar with installing outdoor
fixtures and plumbing. Signature Hardware
accepts no liability for any damages to the
installation surface, plumbing or personal
injury during installation.
Masking Tape
Level
Drill
Hex Wrench Adjustable Wrench