User and Installation Manual The home theater projector cod.46.0376.
BACK LIGHT Turn on the back light LIGHT STAND-BY Switches off to stand-by. 0-9 Keys Switch on from stand-by and allow direct source selection. SOURCE Displays the Source Selection menu. ESCAPE Deactivates th e On Screen Display. Up/Down/Left/Right Arrow keys Activates test patterns Navigate through and make adjustments to the On Screen menus. Arrow Up/Down activate Quick menus. MENU Activates the On Screen Display menus. Navigates menu pages. MENU + Activates the On Screen Display menus.
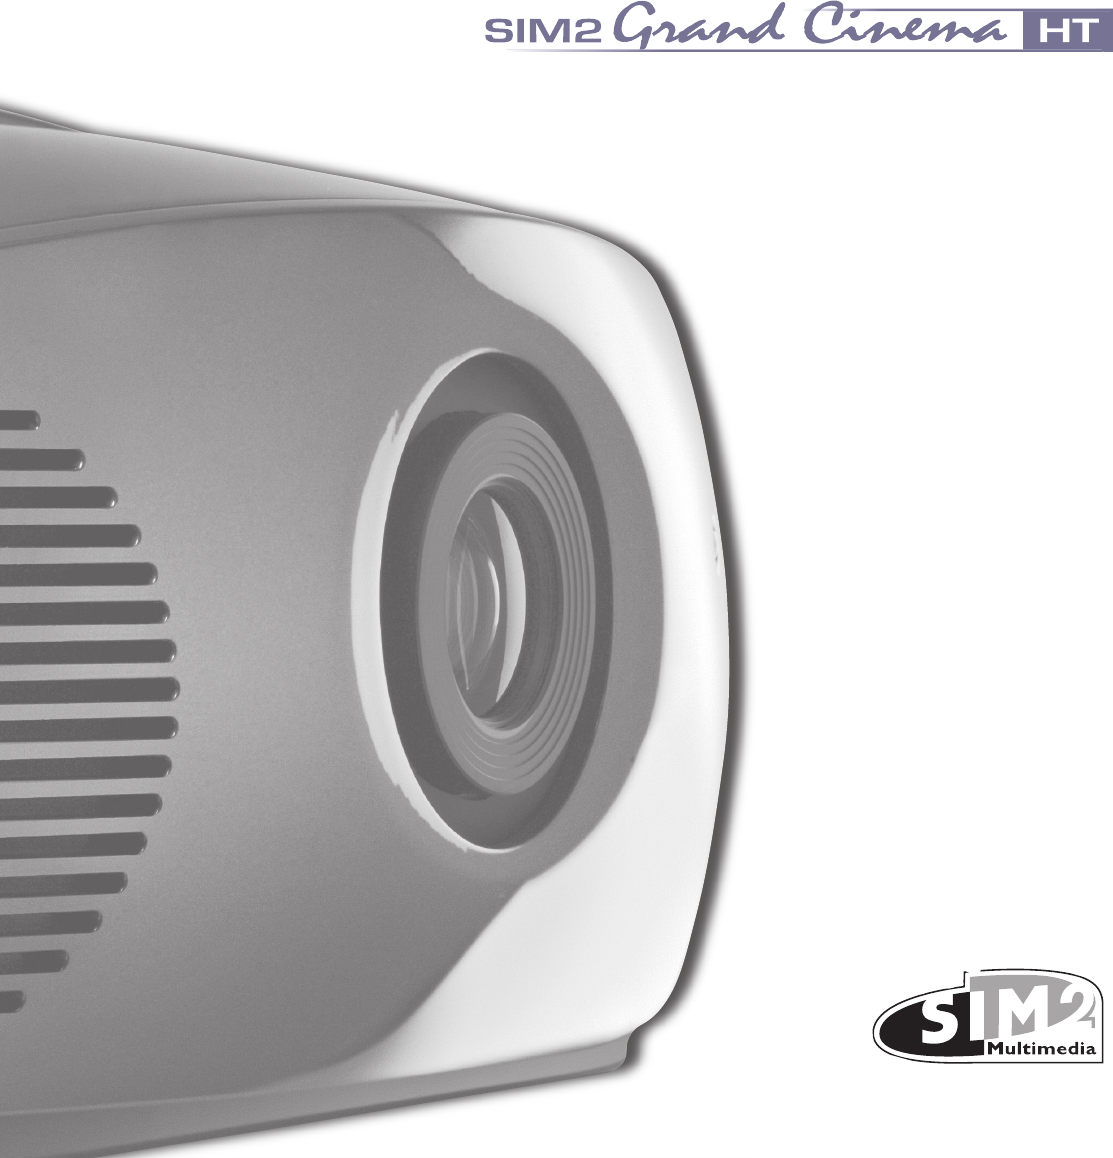
1 INTRODUCTION Congratulations on your choice of the SIM2 Grand Cinema HT500LINK system! 50 0 L I DIGIOPTIC R OC ESS OR ™ IMAG E P ON OFF NK 1 2 3 - CLA SS 1 LASE R PRO DUC T 1
The HT500LINK system combines the signal processing capabilities of the DigiOptic™ Image Processor with the high fidelity reproduction of the DLP™ technology Projector by linking the two units via a fibre optic cable. The DigiOptic™ Image Processor, which should be ideally located close to the signal sources, supports and processes a wide range of video signals, transmitting them to the Projector by means of a fibre optic link cable.
2 IMPORTANT SAFETY INSTRUCTIONS ATTENTION: To reduce the risk of electric shock, disconnect the power supply cable on the rear panel before removing the top cover of the projector. Refer to trained, authorised personnel for technical assistance. This symbol indicates the possible electric shock hazard associated with uninsulated live components in the interior of the unit. This symbol indicates the presence of important instructions regarding use and maintenance of the product.
PROJECTOR 3 5 1 11 2 500 LI NK 1 2 3 - CLASS 6 7 4 1 2 3 4 5 6 Projection lens Cooling air inlet vents Remote control IR sensor Adjustable levelling feet Cooling air outlet vents Rear keyboard pad 7 8 9 10 11 1 LASER PRODUCT 8 10 9 Remote control rear IR sensor Fiber Optic cable connections Fused power socket Main power switch Ceiling bracket fixing holes DIGIOPTIC™ IMAGE PROCESSOR HD ...
• Read this manual carefully and keep it in a safe place for future consultation. This manual contains important information on how to install and use this equipment correctly. Before using the equipment, read the safety prescriptions and instructions carefully. Keep the manual for future consultation. • Do not touch internal parts of the units. The units contain electrical parts carrying high voltages and operating at high temperatures.
of electrical storms or when the system will remain unused for prolonged periods. • • • 6 Avoid contact with liquids and exposure to humidity. Do not use the units near water (sinks, tanks, etc.); do not place objects containing liquids on top of or near the units and do not expose them to rain, humidity, dripping water or spray; do not use water or liquid detergents to clean the units. Prevent the units from overheating.
3 UNPACKING 2 To unpack the projector safely and easily please follow steps 1 to 5, as per drawing (Fig. 4). It is recommended that the carton and packaging is retained for future use and in the unlikely event that your projector needs to be returned for repair. DIGI OPT IC ™ GE IMA PR OCE SSO R ON F OF 1 5 3 3 2 2 2 4 CO SSE RO I AM EG RP ™ D IGI PO CIT NO FF O Fig.
PACKAGE CONTENTS Projector I O User and installation � manual. Alimentatore� DigiOptic™� Image Processor Triple fiber � optic cable � for linking DIGIO PTIC ™ IM AG E PR OC ESSO R ON OFF DigiOptic™� Image Processor Fig.5 Cable HDMI™-DVI Brackets Remote control 1.5V AAA batteries Power cables EU, UK, USA (x2) The carton should contain the following: - the projector - the DigiOptic™ Image Processor - the remote control - four 1.
4 INSTALLATION POSITIONING THE TWO UNITS The HT500LINK system consists of two separate units (the DigiOptic™ Image Processor and the Projector), each of which is equipped with a power cable; the two units are interconnected by a 20 m fibre optic cable. POSITIONING DIGIOPTIC™ IMAGE PROCESSOR POSITIONING PROJECTOR The ideal location for the DigiOptic™ Image Processor is on a cabinet shelf or on a rack (dimensions compatible with a standard 19" rack).
The connection between the two units is made with a single cable containing three fibre optic cables each terminating in an LC connector. The standard cable length of 20m will be sufficient for most installation requirements. During installation of the fibre optic cable: • The individual optical cables are delicate: always handle the main cable without touching the individual optical cables (Fig. 7). Never pull the individual optical cables or connectors; if necessary, you may pull the main three-core cable.
To activate an electric motorised screen a 12 Volt output is provided at the rear of the DigiOptic™ Image Processor. This can be connected to a screen interface unit, which can be supplied by screen manufacturers (Fig.10). with black, non-reflecting borders, which will perfectly frame the projected image. Avoid light shining directly on the screen during projection as this will reduce contrast and black level detail on the projected image.
Table 1 These inputs should be connected to an S-Video signal by means of a cable with a 4-pin mini-DIN type connector. The corresponding output on the source can be identified by the wording S-VIDEO or Y/C. Almost as widespread as Composite Video, S-VIDEO is preferable because it offers a clearer and sharper picture. R is red, G is green, B is blue, H/HV is white and V is black.
DVI-D 11 This input allows you to advantage from the quality of the digital images . If your source is equipped with a DVI-D output, YCrCb or RGB connect it to this input to exploit the quality of the HT500LINK system. HDMI 12 With this input it is possible to integrate the optimal quality of a digital image with a multichannel audio signal. The HDMI™ (High Definition Multimedia Interface) in fact integrates a multichannel audio signal with the uncompressed high definition video signal.
14
5 SWITCHING ON AND OFF The HT500LINK system consists of the Projector and the DigiOptic™ Image Processor (which is also the system control centre). The DigiOptic™ Image Processor sends commands to the Projector and receives operating status information from the Projector and function commands from the user. The system can be controlled from either the remote control (via the infrared sensors on the DigiOptic™ Image Processor and on the Projector) or the keypad located on the rear of the Projector.
Typically, the picture will appear after 15-20 seconds. Pressing a key from 1-9 on the remote control selects the corresponding input; pressing 0 selects the input active at the time the system was last switched off. If the system is switched on very soon after it was last switched off, the lamp may fail to come on because it is too hot. In this case just wait a few minutes to allow the lamp to cool. Switching the system off (Fig.15): • from the remote control ( key) • from the Projector keypad ( key).
6 KEYBOARD PAD Eight push buttons, at the rear of the projector, will allow complete operation without the use of the remote control. Auto Menu Selects AUTO Adjust (automatic optimisation of the displayed image). Activates the On Screen Display menus. Navigates Menu pages. Switches off to stand-by. Up/Down/Left/Right arrow keys Navigate through and make adjustments to the On Screen Display menus. Arrow Up/Down switch on from stand-by and recall Source Selection menu.
8 ON SCREEN MENU All system functions can be activated from the keypad or remote control with the aid of a practical and comprehensive system of on screen menus. INPUTS The input selection menu (Inputs) is called by pressing 0 on the remote control and, when no other menu is displayed, using the · and ‚ keys on the keypad. To select an input, scroll the list with the · and ‚ keys until the desired input is highlighted, then press ‡.
MAIN MENU Image To access the main menu of the On Screen Display press the MENU key on the keypad or the MENU+ or MENU- key on the remote control. The main menu is divided into four windows, PICTURE, IMAGE, SETUP and MENU, in which the various adjustments are grouped according to the frequency of use. Use · and ‚ to select the line corresponding to the adjustment you wish to make (Fig. 19).
Table 4 Inputs RG B G rafico DVI-D HDMI™ Co lour - - - Tint - - - Adjustments FILTER This allows you to select the mode in which the input signal is processed. Selecting the most appropriate value for a given input signal ensures the best horizontal and vertical definition and makes the picture sharper.
IMAGE This menu features adjustments relating to picture position, aspect ratio, etc. ASPECT This adjustment allows you to change the dimensions and aspect ratio (relationship between width and height) of the displayed image. There are five preset aspects available and three personalised aspects (with user-settable parameters). You can select a different aspect for each source: the selected aspect ratio will be automatically called the next time the relative source is called.
FREQUENCY/PHASE These adjustments, available for progressive signals and for signals from PC, ensure correspondence between the number of pixels making up the signal and the number of pixels making up the projected image. These parameters do not normally require adjustment because the system checks the input signal and automatically sets the most suitable values.
HORIZONTAL/VERTICAL KEYSTONE To obtain maximum quality of the projected image, we recommend the installation of the projector on a level platform parallel and central to the screen. Adjust the feet underneath to obtain a level position, lining up the base of the projected image to the base of the projection screen (Fig. 22). 50 0 L IN K 1 2 3 - CLASS 1 LASER PRODU CT Fig.
If not active (STAND-BY) once the initializing phase is completed the system remains in a stand-by mode waiting to receive the power on command from the remote control or the key pad. TEST PATTERNS Displays a series of five test patterns, useful for the installation of the projector. Press · and ‚ keys to browse pattern. FACTORY DEFAULTS Reconfigures the projector to original factory settings except Position, Orientation, Y/C Delay, Zoom and Focus.
Use the fl and ‡ keys to move between letters either left or right respectively. Press the numeric key matching the letter (Fig. 26), the first click of the key selects the first letter, the second click the second letter and so on. The available letters are shown in the text insertion menu. Once one letter has been inserted, to insert the following one it is necessary to move with the cursor in the next right position with the ‡ key of the remote control, repeat this procedure to insert other letters.
MEMORIES The main parameters of the image may be saved in distinct groups of values (known as ‘Memories’); these parameters can subsequently be applied all together by way of a single command. There are 3 distinct Memories (Memory 1, Memory 2, Memory 3) for each of the 25 signal types managed: Some of these parameters may not be available for certain inputs or certain input signals, as indicated in Tables 4 and 5.
associated with the source and signal type, and will be automatically recalled every time that particular source and signal type combination is selected. Save default settings To restore the original values to a previously modified Memory, select the line corresponding to the Memory in question and open the pull-down menu ( fl key). Then select the line Initial settings saved in Memory 1.
9 CLEANING AND MAINTENANCE The Projector and DigiOptic™ Image Processor do not require internal cleaning. There are no user serviceable parts inside the projector. Please refer all service requirements to qualified personnel. Cleaning the projector’s cover: Use a soft slightly damp cloth. Do not use abrasive cleaners, solvents or other harsh chemicals, as this will damage the finish of the cover. Avoid direct cleaning of the rear panel’s screen-printing.
• Press A on your remote control or AUTO on keypad to execute automatic adjustments. • Adjust the horizontal and vertical position of projected image by selecting POSITION on the IMAGE ADJUSTMENTS menu. • Adjust the width and height of image, selecting ASPECT in the IMAGE ADJUSTMENTS menu. • Adjust the Overscan value in the IMAGE/OVERSCAN menu. Image too dark, too pale or unnaturally coloured • Verify compatibility of video/graphic signals with technical specifications of your projector.
12 ADDITIONAL INFORMATION A TECHNICAL SPECIFICATION PROJECTOR OTTICA Projection system: triple panel DMD™ HD2(1280x720 pixel) Color Filter Dichroic Filter (50mmx50) Contrast ratio: 3000:1 (objective G100 ) Projection lens: “zoom”, focus, zoom,and horizontal/vertical shift motorized Lamp: 250W Lamp life time: 1500 hours (average value measured in the laboratory under optimal conditions; it can be sensibly reduced by the unit misusing) Type Lens Throw Ratio GR-1 (FWA) G-80 G-100 G-200 G-400
DIGIOPTIC™ IMAGE PROCESSOR ELECTRICAL Input/Output: Control: 3-channel fibre Panel (keypad), remote control GENERAL PROJECTOR Power supply cable: Supply: Consumption: Fuse: Dimensions of projector: Weight of projector: Operation temperature: Transportation temp.
Outputs: - 2 12-V jack connector outputs (1 active with system powered on, 1 active with 16:9 aspect ratio selected) - 1 Optical S/PDIF audio output Toslink connector GENERAL DIGIOPTIC™ IMAGE PROCESSOR Power supply cable: Power supply: (EU, UK and US); length 2 m 100 to 240 VAC, tolerance ± 10%, frequency from 48 to 62 Hz Consumption: 30W max Dimensions: 440 x 57 x 289 mm (WxHxD); compatible with 19" rack Weight (approx.): 2.
B DIMENSIONS PROJECTOR 210 540 615 unit: mm 57 DIGIOPTIC™ IMAGE PROCESSOR DIGIOPTIC™ IMAGE PROCESSOR ON OFF 440 289 unit: mm 33
C ON SCREEN MENU LAYOUT Pictur e V ideo • S -V ideo [NT S C ] Y C rC b15kHz RG B S 15kHz Brightness Co ntrast Co lor T int S harpness F ilter C inema Mode V ideo Type Noise reduction V ideo • S -V ideo [PAL, S E C AM] Brightness Co ntrast Co lor S harpness F ilter C inema Mode V ideo Type Noise reduction Not active Y C rC b Brightness Co ntrast S harpness S harpness Mode Brightness Co ntrast Co lor T int S harpness S harpness Mode Auto F lesh tone correction RG B S RG B G rafico DV I-D HDMI™ M an
Horizontal Vertical S creen control S etup Orientation Keystone Lens Lamp Power Power ON Test patterns Initial settings Zoom Focus Lens S hift Auto S tand-by E nglish Italiano Français Deus ch E s pañol Português Menu Language S ource list F 1/F 2 keys S ource info OS D background OS D Position OS D T imeout 1 2 3 4 5 6 7 8 9 10 11 12 F loor F loor-rear C eiling C eiling-rear Horizontal Vertical V IDE O 1 V IDE O 2 S -V IDE O 3 S -V IDE O 4 C OMP ONE NT / RG B S C OMP ONE NT / RG B S C OMP ONE NT /
11 DV I-D 11 12 HDMI 12 DV I-D 11 HDMI 12 C anc el - C onfir m + 7 8 9 0 Mem ori es Mem ori es 0 Auto 1 S M E MORY 1 2 S M E MORY 2 3 S M E MORY 3 36 S ave current settings S ave initial settings R ename Ed it mem ory name __________ _ C anc el - C onfir m + ()?@ 1 AB C 2 DE F 3 GH I 4 JKL 5 MNO 6 P QR S 7 TUV 8 WXYZ 9 0
INDEX 1 Image 21 2 IMPORTANT SAFETY INSTRUCTIONS 3 Set up 22 3 7 Menu 24 8 Memories 26 9 Info 27 Positioning the two unit 9 Quick menus 27 Positioning DigiOptic™ 9 Messagges 27 Positioning the two unit 9 9 Connecting the two units 10 10 TROUBLESHOOTING GUIDE 28 Connecting the video sources 11 11 OPTIONAL ACCESSORIES 29 15 12 ADDITIONAL INFORMATION 30 15 A Technical specification 30 6 KEYBOARD PAD 17 B Dimensions 33 7 REMOTE CONTROL 17 C On screen menu layout
SIM2 Multimedia S.p.a. • Viale Lino Zanussi, 11 • 33170 Pordenone - ITALY Phone +39.434.383.253-256 • Fax +39.434.383260-261 www.sim2.com • e-mail: info@sim2.it SIM2 USA Inc. • 10108 USA Today Way • 33025 Miramar FL - USA Phone +1.954.4422999 • Fax +1.954.4422998 www.sim2usa.com • e-mail: sales@sim2usa.com SIM2 Deutschland GmbH • Gewerbepark, 17 D-35606 Solms Phone 0800.800.7462 • Fax 0800.900.7462 www.sim2.com • e-mail: info.de@sim2.it SIM2 UK LTD • Steinway House Worth Farm, Little Horsted Nr.