
Installation Instructions


Step 1: Lay Out Fence Line
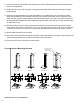
1. Locate your property line and stretch a string between stakes from
the beginning to the end of the fence to ensure posts will be set on
a straight line.
2. Beginning at the corner or end post, mark the location of the post.
Dig a hole for each post.
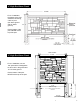
Center to Center Post Dimensions
Line
Corner
End
Gate
71 ½”
72 ½”
71 ½”
72 ½”
73 ½”
72 ½”
73 ½”
Line
Corner
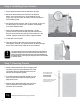
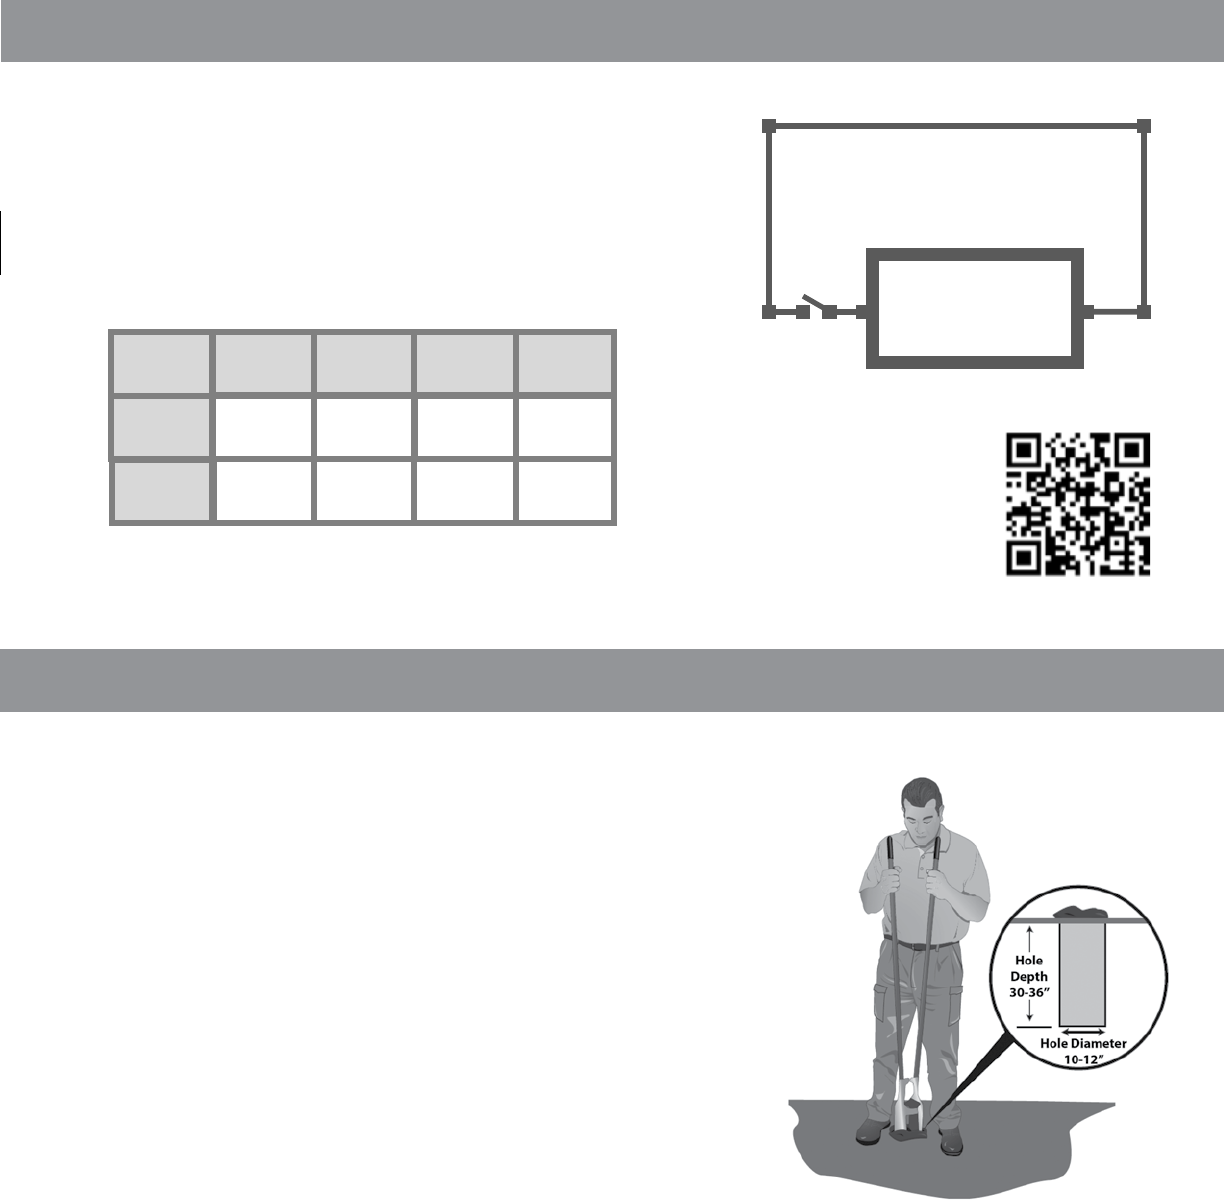
Step 2: Digging Holes
1. If a laser is available, it will be an excellent tool to assist in determining
grade and slope.
2. For a level ground installation, begin at a corner or an end post. This will
give you a good starting point. If there is a slope, it is easier to begin at the
top and work your way down hill.
3. Dig all post holes 10"- 12" diameter by 30"- 36" deep for the six foot high
wall and 24" deep for the 3ft and 4ft high walls. Make sure to check local
building codes to ensure required depths and diameters are met.
4. Holes must be 71.5" apart, center to center for the six foot wall and 96" for
the eight foot wall. It is essential that the panel stiffener touches post to
post. The panel stiffener is wider than the panel to accommodate panel
thermal expansion. DO NOT CUT THE STIFFENER UNLESS THE
PANEL IS BEING CUT SHORTER.
5. Walls will rarely measure out to an exact number of full panels; therefore it
will likely require cutting one or more panels to complete a wall. Depending
on personal preference, you may wish to narrow the width of the last 2 to
3 panels or cut the rst and last panels evenly so that there is not one very
narrow panel. Panels can be cut with any circular saw, although the steel
stiffeners will require a metal cutting blade.
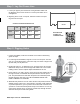
Scan QR Code
to watch our
installation video
Need Help? Call us at 1.866.648.9336
House
3