
Instruction Manual
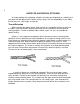
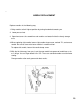
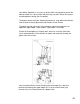
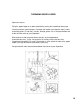

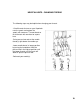
Table Of Contents
- TABLE OF CONTENTS
- tNTRODUCTtON
- SECTION I
- KNOW YOUR MACHINE - MODEL 2000 ATS
- SUPERLOCK SET UP & MAINTENANCE
- HINTS FOR SUCCESSFUL STITCHING
- Thread Selection
- NEEDLE REPLACEMENT
- NEEDLES, THREAD & FABRIC CHART
- SECTION II - THREADING & TENSION
- )
- NEEDLE THREADER
- HELPFUL HINTS - CHANGING THREAD
- TESTING STITCH
- THREAD TENSIONS
- ADJUSTING THREAD TENSION
- SUPERLOCK SEAMS & SEAM FINISH
- ADJUSTING STITCH LENGTH
- ADJUSTING CUTTING WIDTH & BALANCE OF STITCH
- ADJUSTING CUTTING WIDTH
- SECURING BEGINNING & END OF SEAM
- OUTSIDE CORNERS
- INSIDE CORNERS
- CORDED OVERLOOK
- RIBBING
- CASING OR HEM FOLD
Your White Superlock is very easy to thread. With some practice you will be
able to thread it in a few minutes without using any tools. Master the correct
threading before starting your first project.
To become familiar with your Superlock, practice on scrap fabric with different
color threads to identify placement and function of each thread.
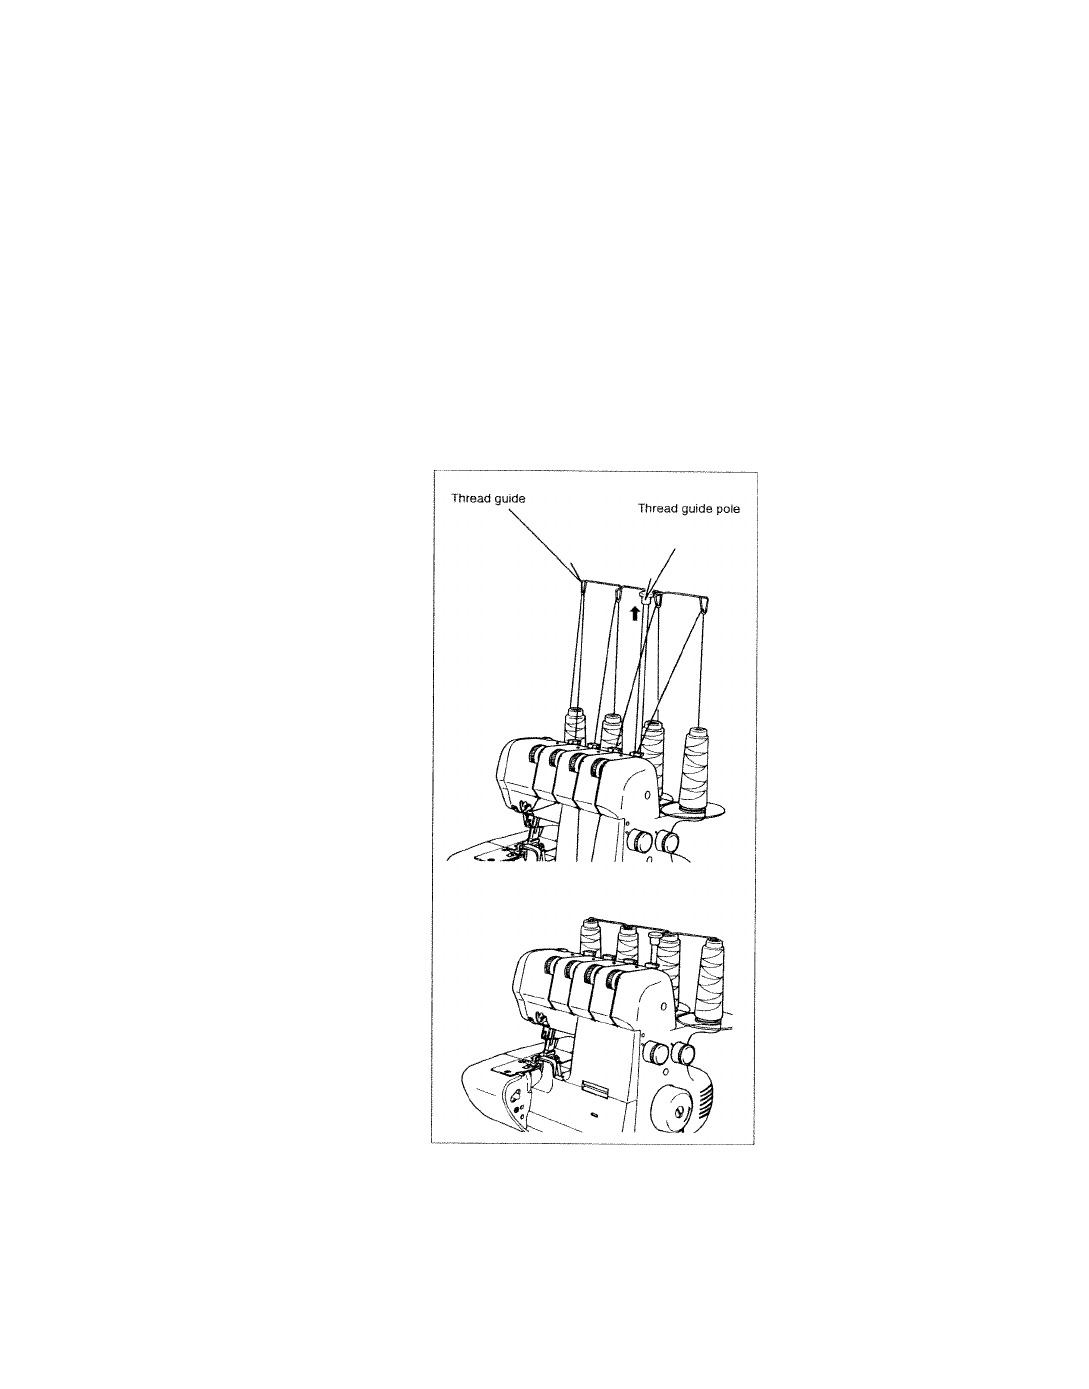
Threading must be carried out in the following sequence for total ease of
operation: upper looper - lower Looper - right needle - left needle.
Extend the thread pole to its highest point, then turn it until the shaft clicks
into its locked position. Place threads on spools and draw ends through the
guides from rear to front.
Your Instruction Manual shows threading the lower looper first. We have
found that threading your upper looper first is easier and will allow your
threads to lay in the correct order for a proper stitch.
13