
Instruction Manual
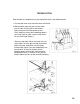

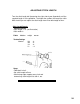

Table Of Contents
- TABLE OF CONTENTS
- tNTRODUCTtON
- SECTION I
- KNOW YOUR MACHINE - MODEL 2000 ATS
- SUPERLOCK SET UP & MAINTENANCE
- HINTS FOR SUCCESSFUL STITCHING
- Thread Selection
- NEEDLE REPLACEMENT
- NEEDLES, THREAD & FABRIC CHART
- SECTION II - THREADING & TENSION
- )
- NEEDLE THREADER
- HELPFUL HINTS - CHANGING THREAD
- TESTING STITCH
- THREAD TENSIONS
- ADJUSTING THREAD TENSION
- SUPERLOCK SEAMS & SEAM FINISH
- ADJUSTING STITCH LENGTH
- ADJUSTING CUTTING WIDTH & BALANCE OF STITCH
- ADJUSTING CUTTING WIDTH
- SECURING BEGINNING & END OF SEAM
- OUTSIDE CORNERS
- INSIDE CORNERS
- CORDED OVERLOOK
- RIBBING
- CASING OR HEM FOLD
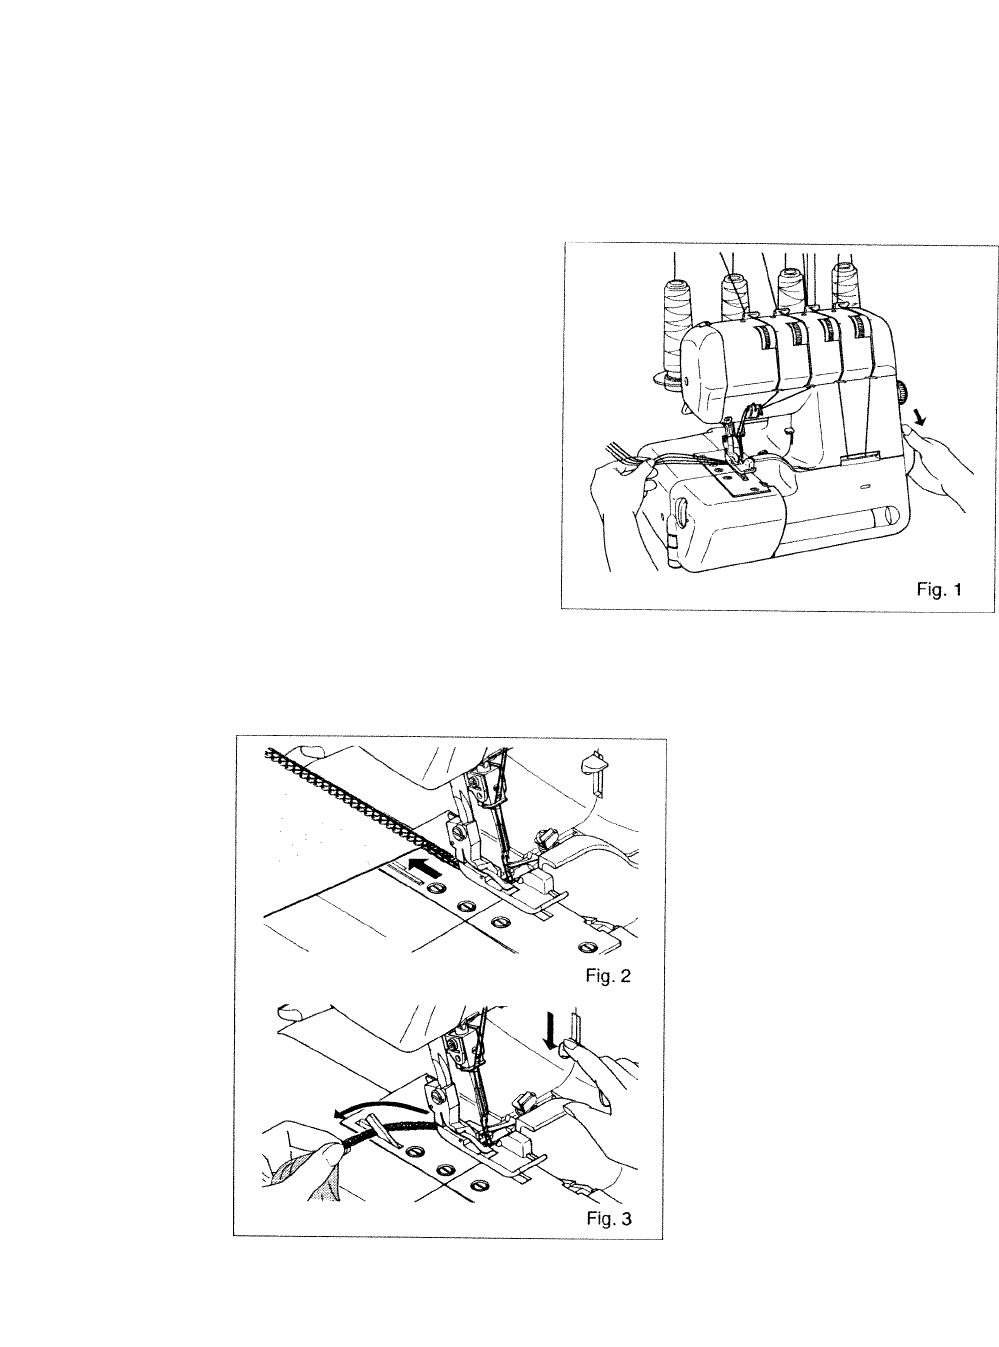
TESTING STITCH
After threading is completed, test your Superlock stitch in the following order:
1. Be sure both front cover and side cover are closed.
2. Without fabric under the presser foot, lower
presser foot. Pull the ends of the threads
gently with your left hand toward the rear
of the machine, turning the handwheel toward
you a few times to make sure the stitch forms
on the stitch finger (figure 1).
. Sew on scrap fabric. When you reach the end
of the fabric, raise the presser foot and remove
fabric from your Superlock. Use the handy
thread cutter (figure 3) on your Superlock to cut
your threads. Use the illustrations on the
following pages to check the stitch formation
produced to see if it is uniform. If not, you will
need to adjust tensions and/or recheck threading.
19