
Technical data
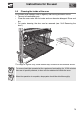
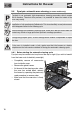
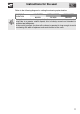
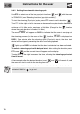

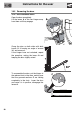
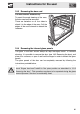

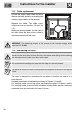
Table Of Contents
- 1. INSTRUCTIONS FOR USE
- 2. SAFETY PRECAUTIONS
- 3. ENVIRONMENTAL RESPONSIBILITY
- 4. GET TO KNOW YOUR OVEN
- 5. AVAILABLE ACCESSORIES
- 6. FRONT PANEL
- 7. USING THE OVEN
- 7.2.1 Internal oven lights
- 7.2.2 Oven runners
- 7.2.3 Cooling system
- 7.6.1 Cooking with a preset temperature
- 7.6.2 Changing the preset temperature
- 7.7.1 Cooking timed with the timer
- 7.7.2 Semi-automatic cooking
- 7.7.3 Automatic cooking
- 7.7.4 Changing the preset temperature
- 1 P1: OFF / ON Activate or deactivate the child safety lock (); this function, after 2 minutes of operation without any actions by the user, locks all the functions and knobs; it is identified by the appearance of on DSP1. To temporarily deactivate l...
- 2 P2: OFF / ON Activate or deactivate the Show Room function; this function disables all the heating elements so that only the control panel works (to use the oven normally, set P2:OFF).
- 3 P3: OFF / ON Activate or deactivate the function that allows a maximum consumption of 2300 W.
- 7.8.1 Change the settings in the secondary menu
- 8. COOKING WITH THE OVEN
- 9. CLEANING AND MAINTENANCE
- 10. EXTRAORDINARY MAINTENANCE
- 11. INSTALLING THE APPLIANCE
Instructions for the user
79
10.EXTRAORDINARY MAINTENANCE
The oven may require extraordinary maintenance or replacement of parts
subject to wear such as gaskets, bulbs, etc. The following instructions describe
how to carry out these minor maintenance operations.
Before any intervention that requires access to live parts, disconnect the
power supply of the appliance.
If a problem cannot be resolved through ordinary maintenance or in the case of
other types of fault, contact your local technical support centre.
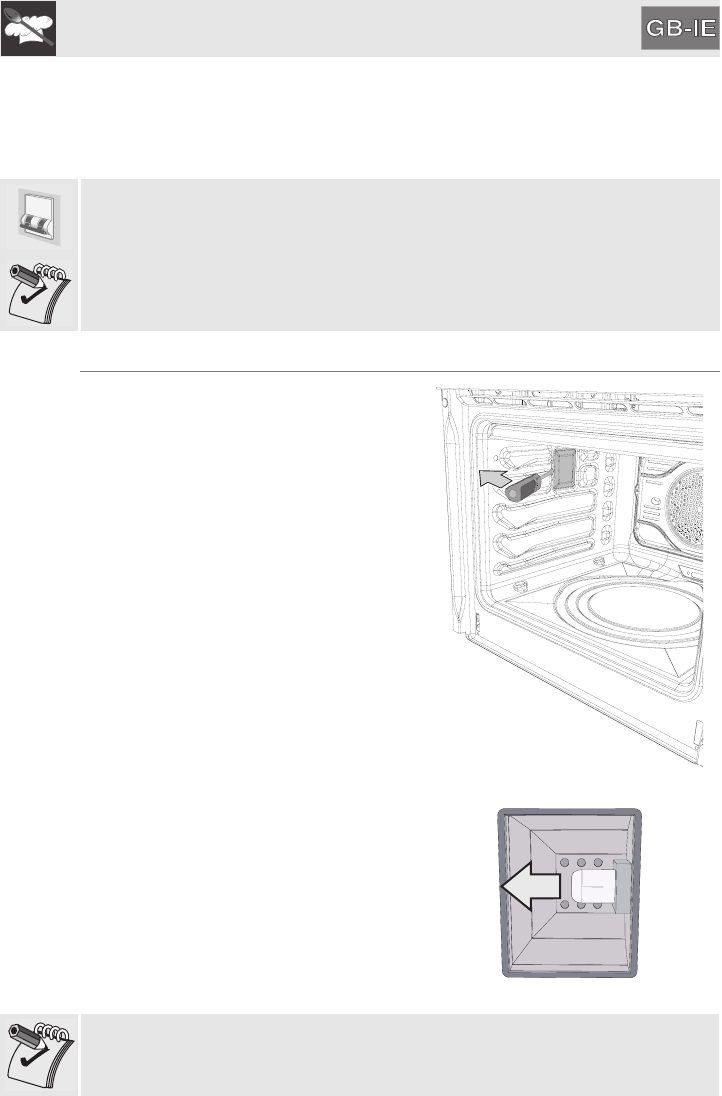
10.1 Replacing the light bulb
If a light bulb needs to be replaced
because it is worn or burnt out, remove
the guide frames.
Then remove the bulb cover using a tool
(e.g. a screwdriver).
Remove the bulb by sliding it out as
shown.
On some models only: the bulbs are
halogen bulbs, so do not touch them
directly with your fingers, wrap them in
an insulating material.
Replace the bulb with one of the same
type (40W). Replace the cover correctly,
so that the moulded part of the glass is
facing the door.
Press the cover down as far as it will go so that it attaches completely to the
bulb support.