
Owner's Manual

Help Guide
IC Recorder
ICD-TX800
Recording with the built-in microphones
The following describes the basic recording steps with the selected sensitivity level of the built-in microphones and
recording mode.
Note
Before you start recording, make sure that your IC recorder and the remote control are released from the HOLD state.
You can operate either your IC recorder or the remote control to start recording. After you started recording, check the operation
indicator on the IC recorder to make sure that recording is in progress. On the remote control, you cannot check the power state
of the IC recorder. Before you operate the remote control to start recording, make sure that the IC recorder and the remote
control are turned on.
If you accidentally touch your IC recorder or let an object come in contact with it while recording is in progress, rustling or
scratching noises may be recorded.
Hint
Before you start recording, we recommend you first make a trial recording or monitor the recording. For instructions on monitoring
the recording, see Monitoring the recording audio.
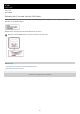
Recorded files are stored in “FOLDER01” under “
Recorded Files” by default. To change the storage folder for recorded files,
see Changing the storage folder for recorded files.
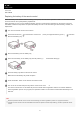
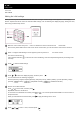
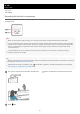
Turn your IC recorder so that its built-in microphones (
) point in the direction of the target sound source.
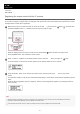
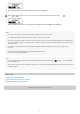
1
Press
REC.
2
50