
Projector User Manual


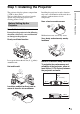


Table Of Contents
- Table of Contents
- Precautions
- Location of Controls
- Connections and Preparations
- Projecting
- Projecting the Picture on the Screen
- Using the Picture Position
- Selecting the Wide Screen Mode
- Watching 3D Video Images
- Selecting the Picture Viewing Mode
- Adjusting the Picture Quality
- Adjusting the Picture Using Real Color Processing
- Using the Supplied Software to Adjust the Picture Quality (ImageDirector3)
- Using the Menus
- Others
- About the Control for HDMI
- About the x.v.Color
- About the simulated 3D feature
- Troubleshooting
- Replacing the Lamp and the Air Filter and Cleaning the Ventilation Holes (intake)
- Cleaning the Air Filter
- Cleaning and the Screen of the Projector
- How to Use the USB Charging AC Power Adaptor
- Specifications
- Ceiling Installation
- Index
11
Connections and Preparations
This section describes how to install the projector and screen, how to connect the
equipment from which you want to project the picture, etc.
Unpacking
Check the carton to make sure it contains the following items:
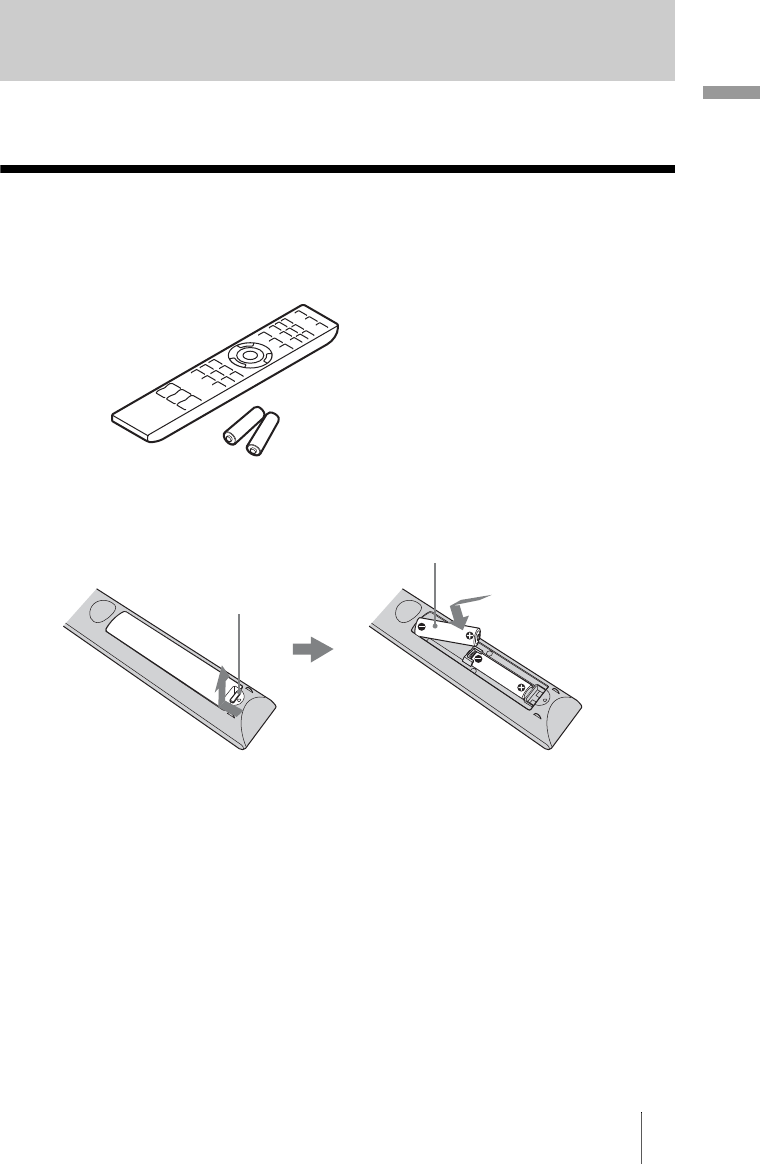
Inserting the batteries into the remote control
CAUTION
Danger of explosion if battery is incorrectly replaced.
Replace only with the same or equivalent type recommended by the manufacturer.
When you dispose of the battery, you must obey the law in the relative area or country.
ATTENTION
Il y a danger d’explosion s’il y a remplacement incorrect de la batterie. Remplacer
uniquement avec une batterie du même type ou d’un type équivalent recommandé par le
constructeur.
Lorsque vous mettez la batterie au rebut, vous devez respecter la législation en vigueur
dans le pays ou la région où vous vous trouvez.
Connections and Preparations
• Remote control (1) and
Size AA (R6) manganese batteries (2)
• AC power cord for the projector (1)
• ImageDirector3 CD-ROM (1)
• Operating Instructions (this manual) (1)
• 3D glasses (2)
• Pouch for the 3D glasses (2)
• USB charging AC power adaptor (1)
• AC power cord for USB charging AC
power adaptor (1)
• USB charging cable (GPHK05 - 2010 -
0007/SONY) (1.2 m) (1)
Insert the batteries
E
side first as shown in the illustration.
Inserting them forcibly or with the polarities reversed may
cause a short circuit and may generate heat.
Push and slide to open.