
user manual


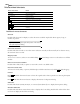
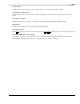

Table Of Contents
- Introduction
- Optimizing for Sound Forge
- Learning the Sound Forge Workspace
- Getting Started
- Navigating, Zooming, and Selecting
- Changing File Attributes and Formats
- Using Markers, Regions, and the Playlist/Cutlist
- Why use markers, regions, and the playlist?
- Using markers
- Using command markers in streaming media files
- Using regions
- Using the Regions List
- Using the playlist
- Displaying the playlist
- Adding regions to the playlist
- Understanding the playlist display
- Customizing the playlist display
- Repeating a region during playlist playback
- Playing from the playlist
- Arranging the playlist
- Replicating a region in the playlist
- Using stop points
- Deleting a region from the playlist
- Creating a new file from the playlist
- Configuring the playlist as a cutlist
- Saving a playlist/cutlist file
- Opening a playlist/cutlist file
- Copying the playlist/cutlist to the clipboard
- Recording, Extracting, and Burning
- Recording audio
- Recording manually
- Recording automatically
- Recording a specific length (punch-in)
- Choosing a recording mode
- Adjusting for DC offset
- Playing back recorded audio
- Using remote recording mode
- Synchronizing with other devices
- Viewing input levels
- Inserting markers while recording
- Configuring gap detection
- Automatically labeling windows and regions
- Changing blinking status
- Extracting audio from CDs
- Burning CDs
- Proper use of software
- Recording audio
- Editing, Repairing, and Synthesizing Audio
- Processing Audio
- Applying Effects
- Adding an effect
- Adding a chain of effects
- Applying effects using the Plug-In Chainer
- Adding plug-ins to a chain
- Selecting the processing mode for audio tail data
- Arranging plug-ins on a chain
- Bypassing effects
- Removing plug-ins from a chain
- Configuring chained plug-ins
- Saving individual plug-in settings as a custom preset
- Saving plug-in chains
- Loading plug-in chains
- Managing effects
- Automating Effect Parameters
- Adjusting envelopes
- Using Acoustic Mirror and Wave Hammer
- Working with MIDI/SMPTE
- Sampling
- Looping
- Working with Video
- Using Spectrum Analysis
- Working in the frequency domain
- Using a spectrum graph
- Displaying a spectrum graph
- Monitoring an input and output source
- Displaying frequency and amplitude values, notes and statistics
- Navigating a spectrum graph
- Changing the graph type
- Changing the zoom level
- Working with stereo files
- Updating a spectrum graph
- Viewing multiple spectrum graphs
- Creating and comparing snapshots of the Spectrum Analysis window
- Printing the graph
- Using a sonogram
- Adjusting Spectrum Analysis settings
- Shortcuts
- Microsoft Audio Compression Manager
- SMPTE Timecode
- Using CSOUND, MTU, IRCAM, BICSF, and EBICSF Files
- Index
264
SHORTCUTS APPENDIX A
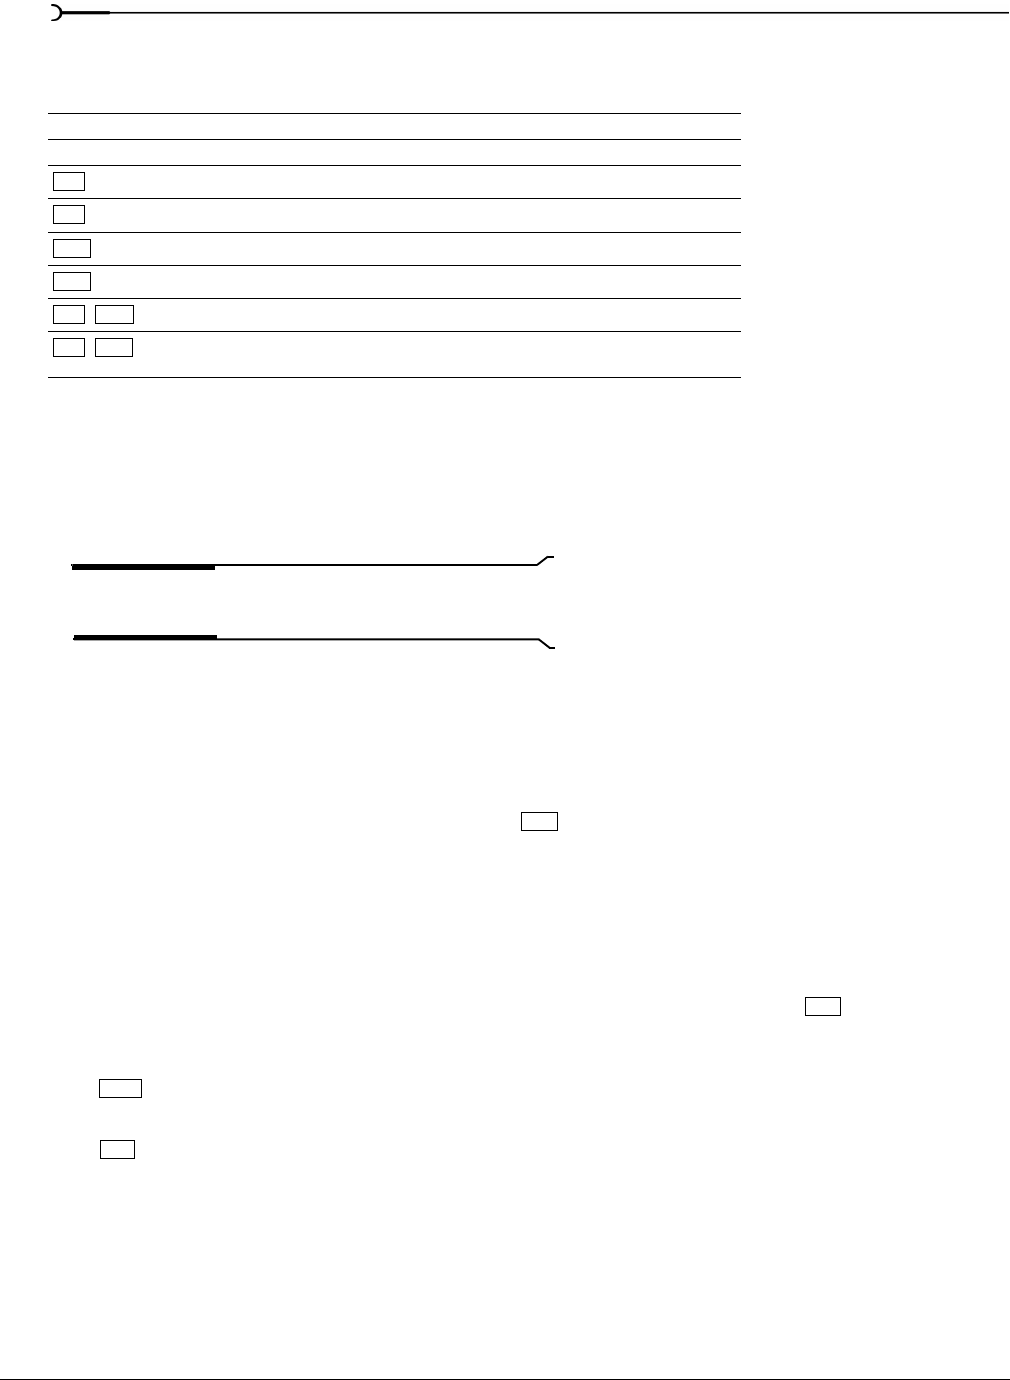
Mouse wheel shortcuts
Additional mouse shortcuts
Select all
Double-click the waveform display to select the entire sound file. Triple-click when regions, loops, or
markers are present.
Tip:
You can turn off the triple-click feature on the Editing
tab of the Preferences dialog.
Zoom time and level
Double-click the level ruler to zoom the current selection vertically and horizontally. If no selection exists,
all waveform data is zoomed.
Magnify mode
To zoom in to a section, select an area while holding . Sound Forge zooms in on the selection to fill the
window.
Return control value to default
Double-click a slider, fader, or spinner to return the control to its default value.
Fine-tune control value
To fine-tune a slider, fader, or spinner, hold the right and left mouse buttons (or hold ) while dragging.
Preview
Hold and click the Preview button to hear the original audio. This is equivalent to selecting the Bypass
check box.
Hold and click the
Preview button to display the Preview Configuration dialog.
Status bar
Double-click the Sample Rate, Bit Depth, or Channels (Stereo/Mono) box to display the Properties dialog.
Selection Status bar
Double-click the leftmost status selection box to display the Go To dialog. Double-click either of the other
two boxes to display the Set Selection dialog.
Mouse wheel action Result
Wheel Up Zoom in horizontally.
Wheel Down Zoom out horizontally.
+Wheel Up
Zoom in vertically.
+Wheel Down
Zoom out vertically.
+Wheel Up
Scroll left (in 10ths of screen width).
+Wheel Down
Scroll right (in 10ths of screen width).
++Wheel Up
Cursor left or current selection point left (if there is a selection).
++Wheel Down
Cursor right or current selection point right (if there is a
selection).
Ctrl
Ctrl
Shift
Shift
Ctrl Shift
Ctrl Shift
Ctrl
Ctrl
Shift
Ctrl