
User Guide
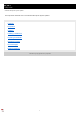


Help Guide
Wireless Microphone System Updater
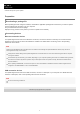
Installing
Note
Sign in to the computer as a user with Administrator privileges.
If this software has already been installed, uninstall the older version and then install. For details, see the “To uninstall” section
below.
Exit all applications before installing.
The following describes the operating procedure on Windows 10.
If the computer operating system is Windows 8.1 and the device uses a USB connection, install a USB driver as
described in “
Installing a USB Driver.”
To uninstall
Uninstall using the Control Panel. For example, in Windows 10, select [Start] – [Windows System] – [Control Panel],
select [Uninstall a program], select [Wireless Microphone System Updater] from the list, and uninstall the program.
Related Topic
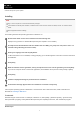
Download the latest version of this software from the following URL.
https://pro.sony/ (search for “Wireless Microphone System Updater” on the website)
1
Uncompress the downloaded file and then double-click the “WSU_xxxx_setup.exe” file (where “xxxx” is a
character string indicating the version name).
2
Select your language and click the [OK] button.
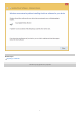
If .NET Framework 4.8 is not installed, a dialog prompting you to install it appears. Follow the on-screen instructions
for installation.
3
Click [Next].
4
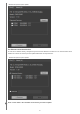
Read the software license agreement, select [I accept the terms in the license agreement], and click [Next].
If you do not accept the terms of the license agreement, the installation cannot proceed. Click [Cancel] or [Back].
5
Click [Next].
6
Follow the displayed message to proceed with the installation.
7
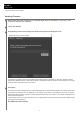
A notification message appears when the installation is finished. Click [Finish].
8
4