
Software Instruction Manual
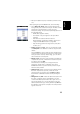
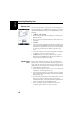

Table Of Contents
- Table of Contents
- Introduction to ProMark Field
- Installing ProMark Field
- Getting Started With ProMark Field
- Creating a New Job
- Importing/Exporting Jobs
- Running a Post-Processed Project
- Using Your Rover in a Real-Time RTK Project
- Changing the Storage Medium for Raw Data Collection
- Initialization
- Logging with Offsets
- Setting an RTK Base
- Installing Geoids
- Adding Background Maps
- E-Compass & External Device
- Index
English
15
• Add a point (stakeout point, installation point for a base,
etc.)
After opening the job in ProMark Field, do the following:
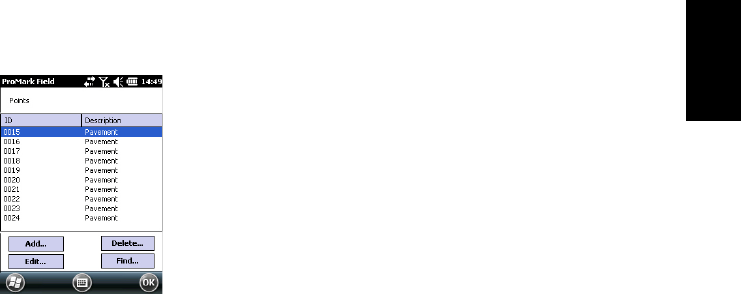
• Select Menu>Job>Points. A two-column table appears
listing all the points contained in the job. The first column
provides the point ID and the second, the point
description (if any). The point description may take one of
the following values:
– Blank (three hyphens shown)
– The feature code you assigned to the point when
logging it
–
The result of a stakeout function (<Poi
nt
ID><Horizontal_Coordinates><Cut/Fill_value>) (see
Using the Stake Out Function on page 40).
– Any text string you wish to assign to the point (base
location, etc.)
• Finding a Point: Tap Find..., then successively type on Id
and Description in the Attribute column to set your search
criteria.
Then tap Find. The search results are then displayed (one
or more points; the list will be empty if none of the points
meet your search criteria). At this stage, you can either
edit or delete the selected point.
• Editing a Point: Select the point you want to edit from the
complete list of points, or from the list of searched points
(see above). Then tap Edit.
The Edit function allows you to change the ID, the
description and the three coordinates of the point.
ProMark Field will accept that several points in the job
have the same point ID.
• Deleting a Point: Simply select the point you want to delete
from the complete list of points, or from the list of
searched points (see above), then tap Delete. ProMark
Field will ask confirmation before actually deleting the
point
• Adding a Point: Tap Add.... Enter the ID, the description and
the three coordinates of the new stakeout point. The
content of the Description field is left to your choice: it
may be left empty, set to one of the feature codes you
defined earlier for the job, or freely defined. Tap OK when
the definition of the point is complete. The new point then
appears in the list.