
Software Instruction Manual

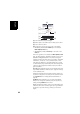
Table Of Contents
- Table of Contents
- Introduction to ProMark Field
- Installing ProMark Field
- Getting Started With ProMark Field
- Creating a New Job
- Importing/Exporting Jobs
- Running a Post-Processed Project
- Using Your Rover in a Real-Time RTK Project
- Changing the Storage Medium for Raw Data Collection
- Initialization
- Logging with Offsets
- Setting an RTK Base
- Installing Geoids
- Adding Background Maps
- E-Compass & External Device
- Index
English
43
[8]: Open job name. The job contains the list of stakeout
points.
• When you are almost on the stakeout point, adjust the
antenna pole over the point, making sure the pole stands
in vertical position above the point, to cancel the West/
North or Right/In values.
• Stake the point.
You may want to log the position of the point you are on
for subsequent verifications.
– With the antenna rod still kept vertical over the point,
tap Log.
– Type in a new point name relevant to the name of the
stakeout point.
– Tap on the Settings tab and then enter the time of
occupation on the point.
– When this is done, tap OK (any of the two OK buttons
shown at the bottom of the screen) to start logging the
point position. Countdown is started on the point. Stay
static until the time is up.
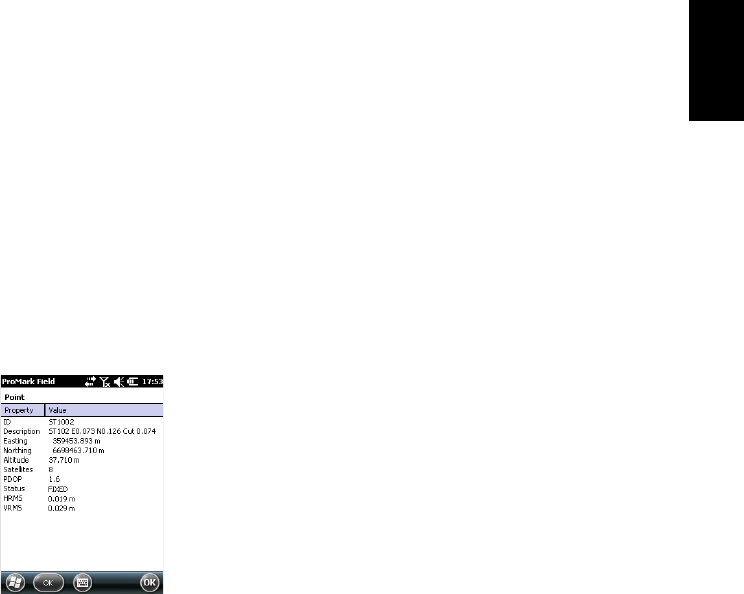
The screen then shows the properties of the logged
point (the real-time position is averaged over the
occupation time). The description of the logged point
will be in the form:
<Stakeout_Point_ID><E/W><DeltaX><N/S><DeltaY><Fill/Cut><Fill/
Cut Value>
(See also screen example.)
A warning message may be displayed repeatedly during
this sequence if the position accuracy does not meet
your acceptance criteria (see Tolerances tab in Setting
General Parameters on page 8).
– Tap OK to close the window.
• Select Menu > Stakeout to select the next stakeout point or
quit the stakeout function.
Calibration General Case
The Calibration function (also known as the “Localization”
function) allows you to log points in a local coordinate
system, first an unknown system when starting the project,
but then accurately determined using at least three points for
which coordinates are known in that unknown system.
For a successful determination of the local system (a 3D
system), the known points should be evenly spread over the