
Software Instruction Manual
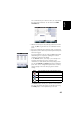

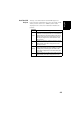
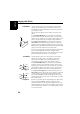
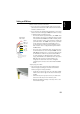
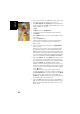
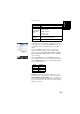
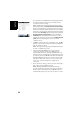
Table Of Contents
- Table of Contents
- Introduction to ProMark Field
- Installing ProMark Field
- Getting Started With ProMark Field
- Creating a New Job
- Importing/Exporting Jobs
- Running a Post-Processed Project
- Using Your Rover in a Real-Time RTK Project
- Changing the Storage Medium for Raw Data Collection
- Initialization
- Logging with Offsets
- Setting an RTK Base
- Installing Geoids
- Adding Background Maps
- E-Compass & External Device
- Index
English
45
The coordinates of your current location, as computed by
the rover (a fixed solution) can be read on the GNSS
Coordinates tab.
• With the antenna pole still perfectly positioned over the
point, tap OK to log the two sets of coordinates for that
point.
• Go to the next known point and stay static on that point.
• Repeat the previous three steps until all your known points
have been logged.
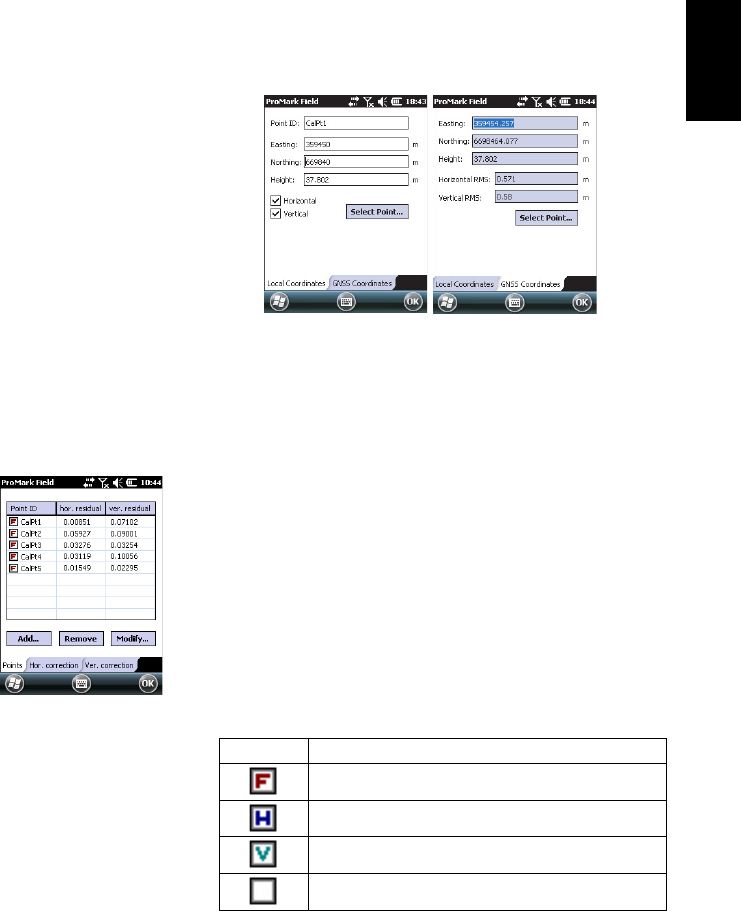
As you go forward in the procedure, ProMark Field starts
determining the local system, updating the residual
columns as new points are added.
In the Point ID column, each entry is preceded by a box
indicative of the way the point is involved in the
calibration (see table below) and corresponding to how
you set the Horizontal and Vertical boxes when adding the
point. This can be changed directly from this screen by
simply tapping on the box until you get the desired
setting.
The Remove button allows you to delete a point from the
list. You can resume the logging of a known point using
the Modify button. This requires that you are still
Status
Point Coordinates Involved in the Calibration Process
All (horizontal and vertical)
Horizontal only
Vertical only
None. Point not used in the calibration process.