
Multi-Font User's Manual

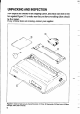


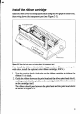

Table Of Contents
- 挀漀瘀攀爀
- 䠀伀圀 吀伀 唀匀䔀 吀䠀䤀匀 䴀䄀一唀䄀䰀
- 吀䄀䈀䰀䔀 伀䘀 䌀伀一吀䔀一吀匀
- 䌀栀愀瀀琀攀爀 䤀一吀刀伀䐀唀䌀吀䤀伀一
- 䌀栀愀瀀琀攀爀 ㈀ 匀䔀吀吀䤀一䜀 唀倀 吀䠀䔀 倀刀䤀一吀䔀刀
- 䌀栀愀瀀琀攀爀 ㌀ 伀倀吀䤀伀一䄀䰀 䄀䌀䌀䔀匀匀伀刀䤀䔀匀
- 䌀栀愀瀀琀攀爀 㐀 倀䄀倀䔀刀 䤀一匀吀䄀䰀䰀䄀吀䤀伀一 䄀一䐀 唀匀䔀
- 䌀栀愀瀀琀攀爀 㔀 䌀伀一吀刀伀䰀 倀䄀一䔀䰀 伀倀䔀刀䄀吀䤀伀一匀
- 䌀栀愀瀀琀攀爀 㘀 匀䔀吀吀䤀一䜀 吀䠀䔀 䴀䔀䴀伀刀夀 匀圀䤀吀䌀䠀䔀匀
- 䌀栀愀瀀琀攀爀 㜀 倀刀䤀一吀䔀刀 䌀伀一吀刀伀䰀 䌀伀䴀䴀䄀一䐀匀
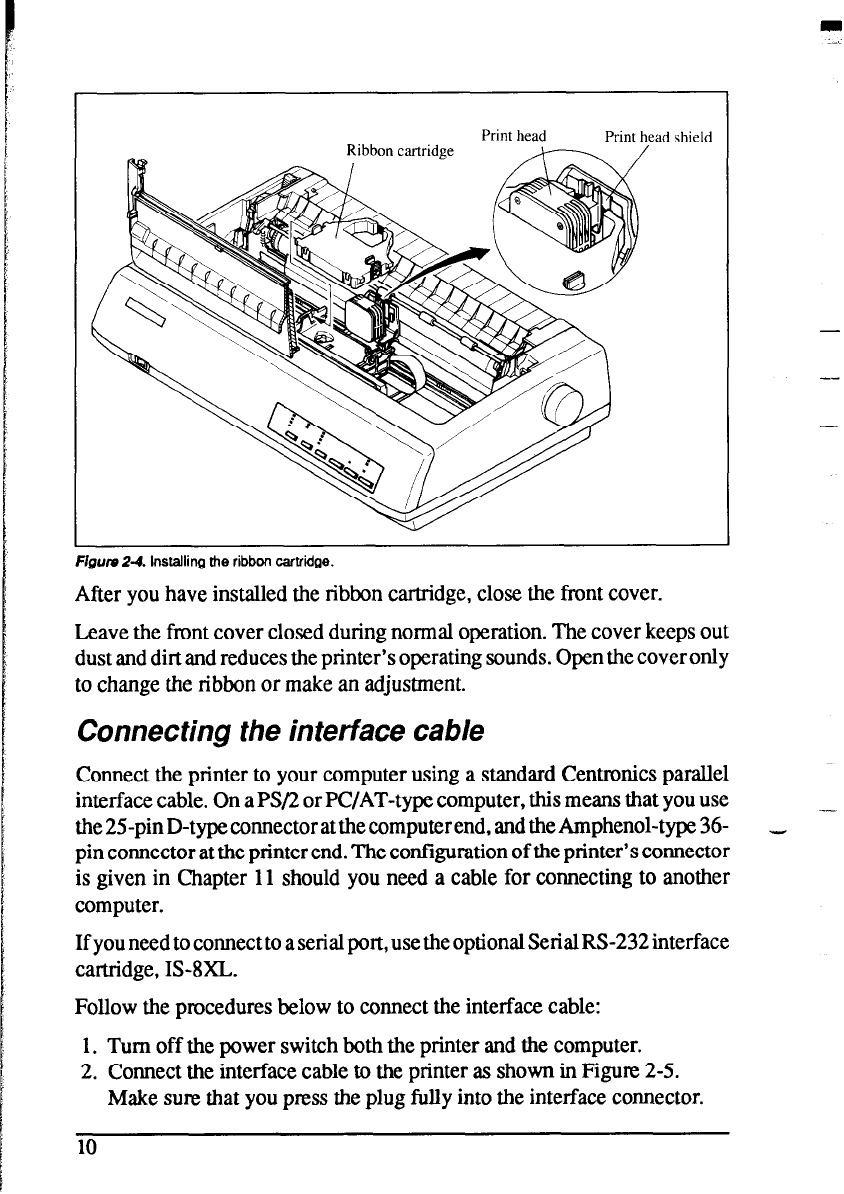
Print head
Print head shield
-
-
Figure Z-4. Installing the ribbon cartridge.
After you have installed the ribbon cartridge, close the front cover.
Leave the front cover closed during normal operation. The cover keeps out
dust and dirt and reduces the printer’s operating sounds. Open the cover only
to change the ribbon or make an adjustment.
Connecting the interface cable
Connect the printer to your computer using a standard Centronics parallel
interface cable. On a PS/2 or PC/AT-type computer, this means that you use
the 25-pin D-type connector at the computer end, and the Amphenol-type 36-
pin connector at the printer end. The configuration of the printer’s connector
is given in Chapter 11 should you need a cable for connecting to another
computer.
If you need to connect to a serial port, use the optional Serial RS-232 interface
cartridge, IS-8XL.
Follow the procedures below to connect the interface cable:
1. Turn off the power switch both the printer and the computer.
2. Connect the interface cable to the printer as shown in Figure 2-5.
Make sure that you press the plug fully into the interface connector.
10