
Multi-Font User's Manual
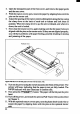
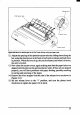
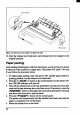
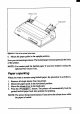
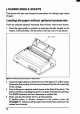
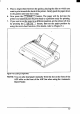
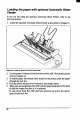
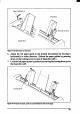
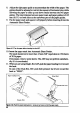
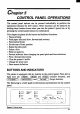
Table Of Contents
- Cover
- TABLE OF CONTENTS
- Chapter 1 INTRODUCTION
- 䌀栀愀瀀琀攀爀 ㈀ 匀䔀吀吀䤀一䜀 唀倀 吀䠀䔀 倀刀䤀一吀䔀刀
- Chapter 3 OPTIONAL ACCESSORIES
- Chapter 4 PAPER INSTALLATION AND USE
- Chapter 5 CONTROL PANEL OFERATIONS
- Chapter 6 SETTING THE MEMORY SWITCHES
- Chapter 7 PRINTER CONTROL COMMANDS
- Chapter 8 DOWNLOAD CHARACTERS
- 䌀栀愀瀀琀攀爀 㤀 䴀匀ⴀ䐀伀匀 䄀一䐀 夀伀唀刀 倀刀䤀一吀䔀刀
- Chapter 10 TROUBLESHOOTING AND MAINTENANCE
- Chapter 11 REFERENCE
- INDEX
- COMMAND SUMMARY
4.
5.
6.
7.
Openthetransparentpartofthefrontcover,andremovethepaperguide
andtherear cover.
Withthetractorcoversopen,mountthepaperbyaligningholeswiththe
pinson the tractorunit.
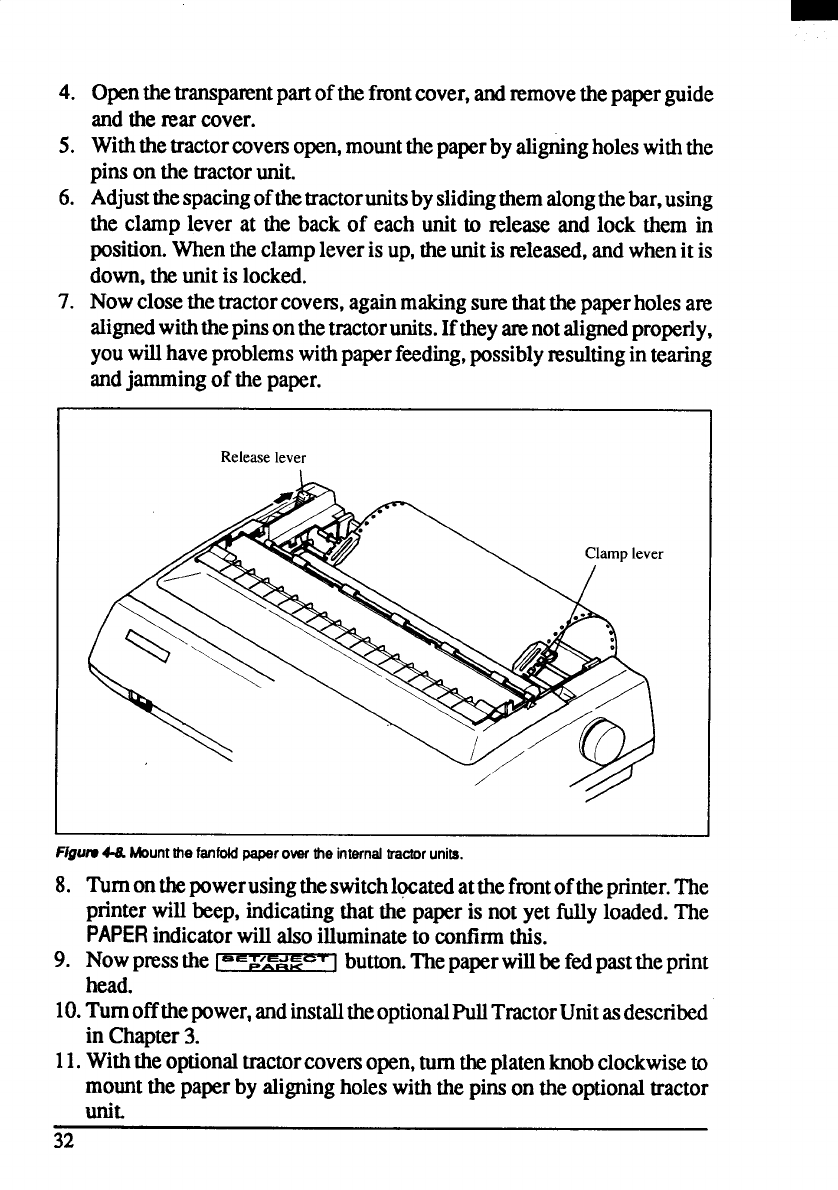
Adjustthespacingofthetractorunitsbyslidingthemalongthebar,using
the clamp lever at the back of each unit to release and lock them in
position.Whentheclampleveris up,theunitis xeleased,andwhenit is
down,theunitis locked.
Nowclosethetractorcovem,againmakingsurethatthepaperholesare
alignedwiththepinsonthetractorunits.Iftheym notalignedproperly,
youwillhaveproblemswithpaperfeeding,possiblyresultingin tearing
andjammingof thepaper.
Release lever
Flgurv4-8.
Mountthe fanfoldpaperover the internaltractorunits.
8.
9.
10.
Turnonthepowerusingtheswitchlqxatedatthefrontoftheprinter.The
printerwill beep, indicatingthat the paperis not yet fullyloaded.The
PAPER indicatorwill alsoilluminateto confirmthis.
Nowp~ss the l“s=~~d%~~
button.Thepaperwillbefedpasttheprint
head.
Tumoffthepower, andinstalltheoptionalPullTractorUnitasdescribed
in Chapter3.
11.Withtheoptionaltractorcoversopen,turntheplatenknobclockwiseto
mountthepaperby aligningholeswiththe pinson the optionaltractor
unit.
32