
Instruction manual

Instruction Manual
3
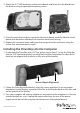
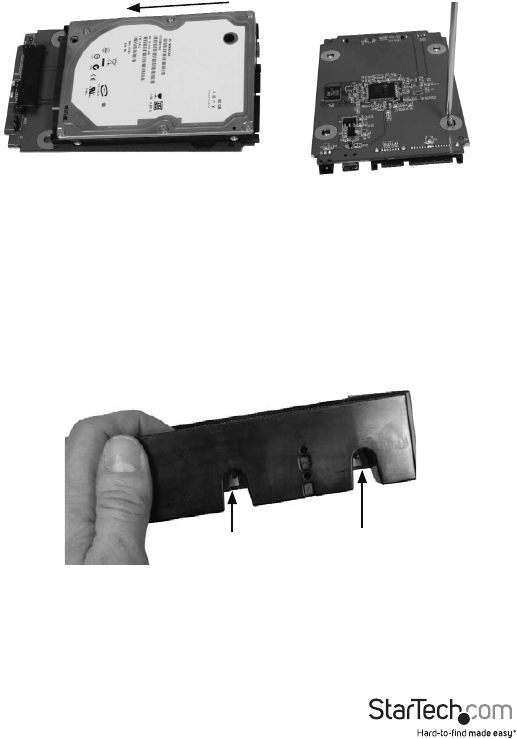
2. Attach the 2.5” SATA hard drive to the circuit board, and fasten it to the board from
the bottom using the provided mounting screws.
3. Once the hard drive has been secured to the circuit board, carefully slide the circuit
board (with hard drive attached) into the drive enclosure housing.
4. Replace the rear panel cover and fasten the rear panel to the enclosure, using the
screws that were removed in step #1.
Installing the Drive Bay into the Computer
1. If mounting the Drive Bay into a 3.5” bay, please skip to Step 3. Insert the Drive Bay
into the 5.25” bracket provided, ensuring that the holes located on the sides of the
drive bay are aligned with the holes in the sides of the bracket.
2. Fasten the Drive Bay to the Bracket, using the screws provided. To ensure proper
attachment to the Bracket, secure the Drive Bay to the Bracket both on the sides and
on the bottom of the Bracket.
3. Turn your computer o and any peripherals connected to the computer (i.e. Printers,
external hard drives, etc.). Unplug the power cable from the rear of the power
supply on the back of the computer and disconnect all peripheral devices.
Ensure Proper Alignment