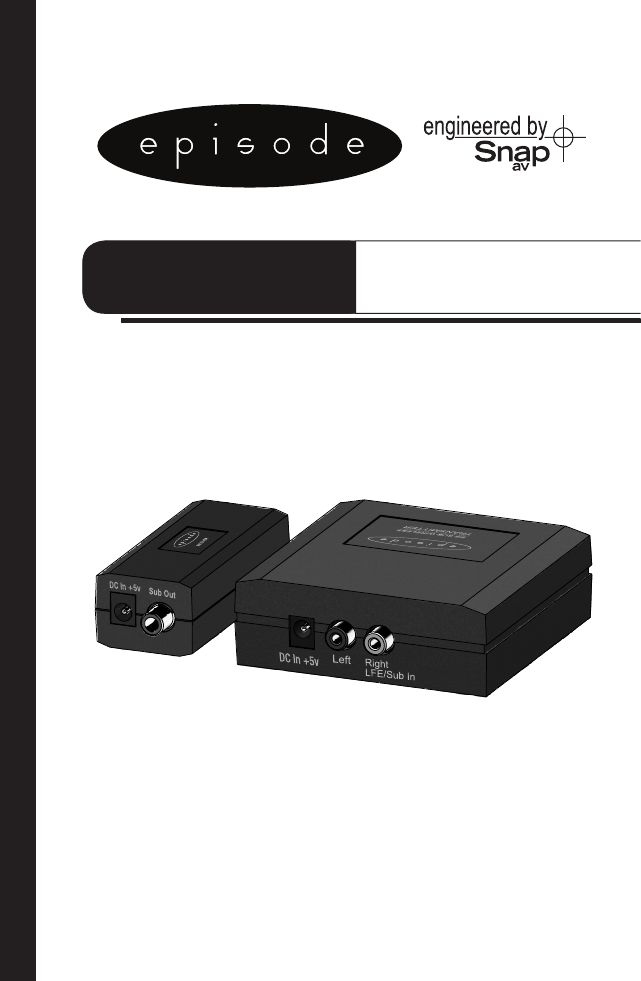
OWNER’S MANUAL >> WIRELESS SUBWOOFER KIT ES-SUB-WIRELESS Receiver Transmitter
IMPORTANT SAFETY INSTRUCTIONS WARNING: To reduce the risk of fire or electric shock, do not expose this apparatus to rain or moisture. 1. Read these instructions. 2. Keep these instructions. 3. Heed all warnings. 4. Follow all instructions. 5. Do not use this apparatus near water. 6. Clean only with a dry cloth. 7. Do not block any ventilation openings. Install according to manufacturer’s instructions. 8.
WELCOME TO EPISODE® Episode® is one of the most highly-regarded brands of speakers available today. We appreciate your business and we stand committed to providing our customers with the highest degree of quality and service in the industry. Subwoofer placement can have a large impact on the overall sound quality of low frequencies. This Episode® wireless subwoofer kit gives you the freedom to place the subwoofer anywhere in the room, without running new wires.
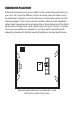
SUBWOOFER PLACEMENT Subwoofer placement can have an effect on the overall audio performance in your room. All rooms are different, but the strongest output will likely occur if the subwoofer is placed in a corner of the room on the same wall as the front channel speakers. This is known as the boundary effect and will emphasize certain bass frequencies while canceling others. Some listeners will find this to be the best sounding result, while others may find it overly “boomy” or muddy.
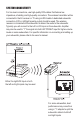
SYSTEM CONNECTIVITY For line level connections, use high-quality RCA cables that feature low impedance, shielding and high-quality connectors. The wireless transmitter will be connected to the AV receiver or TV using an RCA cable. A dedicated subwoofer connection (LFE) or left/right preamp output should be used. The wireless receiver is connected at the subwoofer to deliver the audio to the subwoofer. Typically you will connect to the Left or LFE input on the subwoofer.
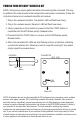
PAIRING YOUR EPISODE® WIRELESS KIT NOTE: Initial pairing may be performed without the audio signals connected. This may be preferred for easier access to the pairing buttons and power connections. Follow the instructions below to pair wireless transmitter and receiver. 1. Plug in the wireless transmitter. Transmitter’s LED will flash blue slowly. 2. Plug in the wireless receiver. Receiver’s LED will flash blue slowly. 3.
SPECIFICATIONS Modulation Frequency Hopping; FSK (Frequency Shift Keying) digital radio Operating Frequency 2405 - 2477 MHz Frequency Range 20Hz - 1kHz Channel Width 2 MHz Latency less than 13 ms Typical Range 50 ft. max. (15m) Transmitter Power 0 dBm WARRANTY 2-Year Limited Warranty This Episode® Product has a Two-Year Limited Warranty. This warranty includes parts and labor repairs on all components found to be defective in material or workmanship under normal conditions of use.
110426