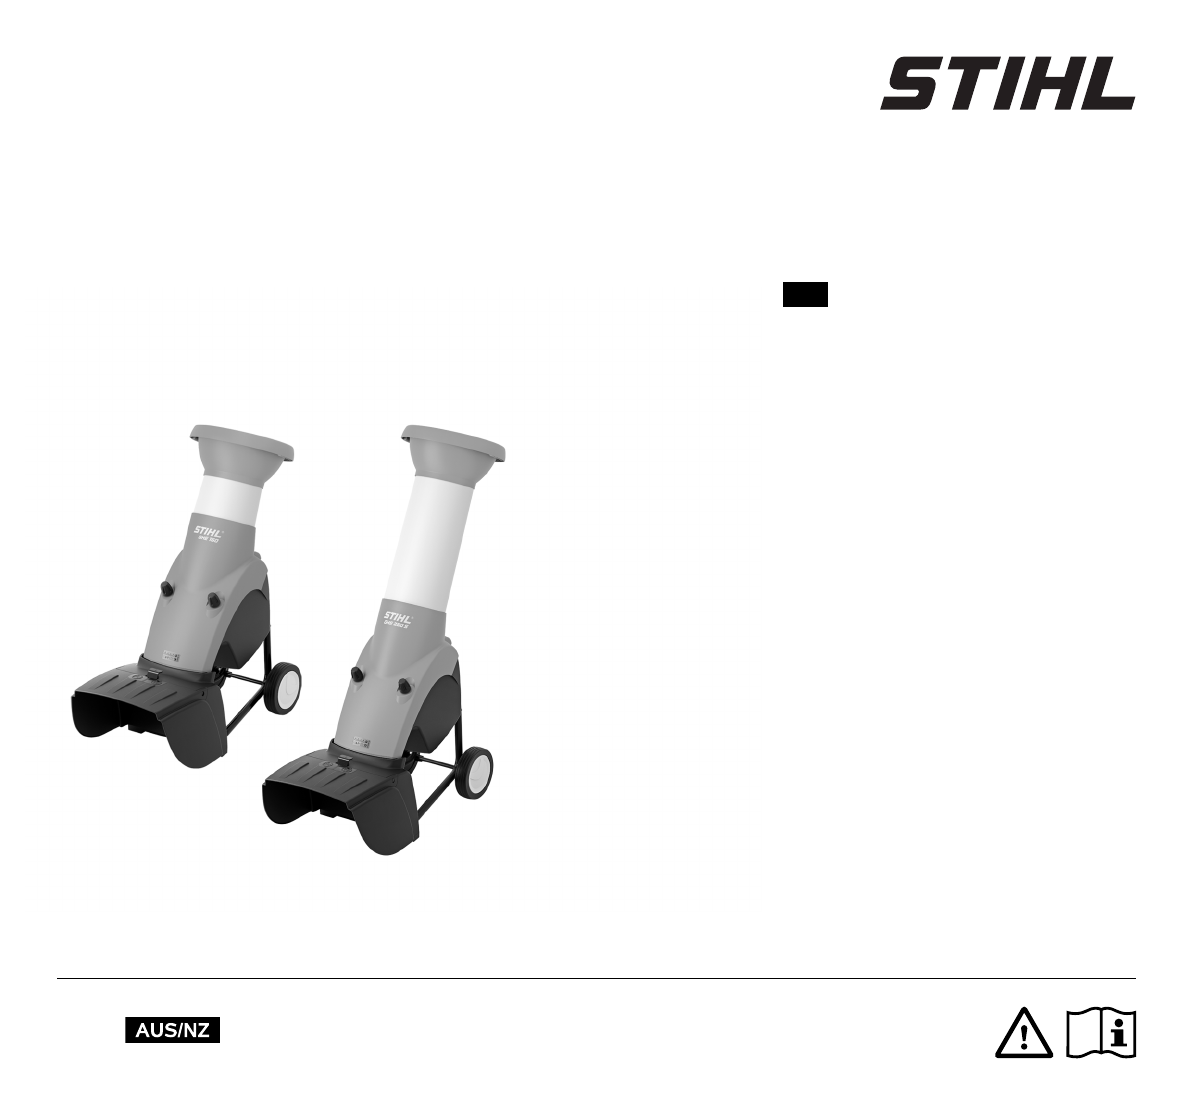
STIHL GHE 150, GHE 250, GHE 250 S EN Instruction manual GHE 150.0 B GHE 250.0 GHE 250.
0478 201 8313 B.
1 0478 201 8313 B 1
2 0478 201 8313 B
Thank you for choosing STIHL. We develop and manufacture our quality products to meet our customers' requirements. The products are designed for reliability even under extreme conditions. STIHL also stands for premium service quality. Our specialist dealers guarantee competent advice and instruction as well as comprehensive service support. We thank you for your confidence in us and hope you will enjoy working with your STIHL product. Dr. Nikolas Stihl IMPORTANT: READ BEFORE USE AND KEEP IN A SAFE PLACE.
Minimising wear and preventing damage Standard spare parts Environmental protection Technical specifications Troubleshooting Service schedule Handover confirmation Service confirmation 27 27 27 28 28 29 29 29 2. Notes on the instruction manual 2.2 Instructions for reading the instruction manual Illustrations and texts describe specific operating steps. All symbols which are affixed to the machine are explained in this instruction manual.
EN Texts relating to illustrations: Illustrations relating to use of the machine can be found in the front of this instruction manual. The camera symbol serves to link the figures on the illustration pages with the corresponding text passages in the instruction manual.
3.
4.1 General These safety regulations must be observed when working with the machine. Read the entire instruction manual before using the machine for the first time. Keep the instruction manual in a safe place for future reference. These safety precautions are essential for your safety, however the list is not exhaustive. Always use the machine in a reasonable and responsible manner and be aware that the user is responsible for accidents involving third parties or their property.
4.2 Warning – dangers caused by electrical current Warning: Risk of electric shock! Particularly important for electrical safety are the power cable, mains plug, On / Off switch and electric cable. Damaged cables, connectors and plugs, or electric cables that do not conform to regulations must not be used, to prevent any risk of electric shocks. Therefore, check the electric cable regularly for signs of damage or ageing (brittleness).
Push or pull the machine at walking pace only. Do not tow! When transporting the machine, always observe regional legislation, especially regarding load security and the transport of objects on load floors. 4.5 Before operation Make sure that only persons who are familiar with the instruction manual are permitted to use the machine. Observe the local regulations regarding permitted operating times for gardening power tools with combustion engines or electric motors.
Only work during the day or with good artificial light. Keep the working area neat and tidy at all times. Remove tripping hazards such as stones, branches, cables etc. The operator should not stand any higher than the level of the base of the machine. Starting: Place the machine in a stable and upright position prior to starting. The machine must never be operated in a horizontal position. Exercise care when switching on the machine and observe the instructions in the section "Operating the machine". (Ö 10.
Never use high-pressure cleaners and do not clean the machine under running water (e.g. using a garden hose). Do not use aggressive cleaning agents. These can damage plastics and metals, impairing the safe operation of your STIHL machine. – Check that all parts of the cutting unit are seated securely, retighten the screws if necessary (observe tightening torques). Maintenance operations: – Have damaged parts replaced or repaired by a technician; the parts must be of similar quality. 4.
4.9 Disposal Waste products can be harmful to people, animals and the environment. They must consequently be disposed of properly. Consult your recycling centre or your specialist dealer for information on the proper disposal of waste products. STIHL recommends STIHL specialist dealers. Ensure that old machines are properly disposed of. Render the machine unusable prior to disposal. In order to prevent accidents, always remove the power cable and electric cable to the motor. 5.
EN 6. Standard equipment Item A B C D E F H I J K Designation Basic unit with lower chute Wheel carrier Wheel axle Wheel lock Bolt, M6 x 55 Hexagon nut Quick fastener Wheel Wheel cap Square nut 0478 201 8313 B - EN Qty. 1 1 1 2 2 2 2 2 2 2 Item L M N O P Q R S T U Designation Washer Ø 17 mm Bolt, M6 x 50 Discharge flap Ejection chute extension Strip Pin Torx screw P5 x 20 Upper chute Safety screw Torx screw P5 x 10 Qty.
7. Preparing the machine for operation 7.1 Attaching the wheel axle and wheels ● Push wheels (I) onto the mounted wheel axle. Quick fasteners must be pushed onto the wheel axle only to the extent that the wheels can still turn freely. Quick fasteners are not reuseable following removal. ● Push quick fastener (H) onto the wheel axle with the convex side facing outwards. ● Press wheel caps (J) onto the wheels.
EN 7.2 Installing the chassis and ejection chute 1 Install the ejection chute extension 2 Attach the chassis ● Place basic unit (A) onto a block of wood with a height of approx. 1520 cm. ● Press square nuts (K) and washers (L) in the recesses provided on the basic unit (3).
3 Install the strip The bent section of wheel carrier (6) must be precisely inserted in the recesses on ejection chute extension (7). ● Position strip (P) and screw in screws (R) (1 - 2 Nm). ● Lift the machine into the upright position. 4 Install the discharge flap ● Attach discharge flap (N) and press in pin (Q) (use a plastic hammer if necessary). Ensure that ribs (9) inside the discharge flap on the left and right are all correctly located in the guide groove of ejection chute extension (10). 7.
EN Closing the discharge flap: 7.5 Mounting the cable clip ● For transport or space-saving storage, lift tab (2) slightly and fold away discharge flap (1) downwards. 7.4 Attaching the upper chute The chute can only be installed by a specialist dealer using special tools. STIHL recommends STIHL specialist dealers. ● Place upper chute (S) with symbol (1) facing forwards on lower chute (3) in the direction of closure screws (2).
GHE 250: Organic plant trimmings such as fruit and vegetable cuttings, flower cuttings, leaves, tree and hedge cuttings, as well as thick branches with side shoots and twigs. 8.4 Working area for operator If an overload of the motor occurs during operation, the built-in overload protection device automatically switches off the motor. Tree and hedge cuttings should be processed when fresh, as the shredding performance is better with fresh than with dried-out or wet material. 8.
Risk of injury! Carefully read the "For your safety" section (Ö 4.), "Working with your machine" sub-section (Ö 4.6) in particular, and follow all the safety instructions before feeding the garden shredder. It is only permitted for one person to feed the garden shredder. Risk of injury! Never reach into the feed opening. ● Before feeding the garden shredder, note the working area. (Ö 8.4) ● Start the garden shredder. (Ö 10.2) Damp or wet soft material will cause blockages in the machine more quickly.
10.1 Electrical connection of garden shredders Risk of injury! Observe the instructions in the "Warning – dangers caused by electrical current" section (Ö 4.2). Power supply and operating voltage must correspond (see rating plate). The power cable must be adequately protected by fuse in line with the respective national electrical installation regulations. (Ö 16.) Only electric cables which are no lighter than rubber sheathed cables H07 RN-F may be used.
● Open the discharge flap. (Ö 7.3) ● Connect the power cable of the garden shredder. Protect shredding tools, incl. the shredding chamber using a commercially available anti-corrosion agent (e.g. rapeseed oil). EN ● Put on thick gloves, safety glasses and hearing protection. It is only permitted to clean the machine in the position shown. ● Start the garden shredder. (Ö 10.2) ● Wait until the garden shredder has reached its maximum speed (idling speed).
● Loosen both closure screws (1) until they turn freely. They remain on the feed chute. 11.5 Removing the blade set ● Pivot feed chute (2) to the rear and remove. 11.4 Locking the blade disc Risk of injury! Always wear gloves! Do not touch the blades until they have come to a standstill. ● Remove the feed chute. (Ö 11.3) ● Turn blade disc (1) until recess (2) is located in front of locking device (3). ● Fold up locking device (3).
The installation sequence and specified tightening torque must be observed. The blades must be reversed or replaced before the specified wear limits are reached. STIHL recommends STIHL specialist dealers. ● Install the reversible blade on the blade disc. (Ö 11.8) ● GHE 250: Position shredding blades (8) on the underside of blade disc (5) and tighten using nuts (9) and bolts (7) (10 Nm). ● Insert blade disc (5) in the housing and lock. (Ö 11.
2 Wing blade ● Measure the blade width (B) at the upward-pointing curved edge of the wing blade. Minimum blade width: B = 15 mm 4 Shredding blades (GHE 250) ● Measure the blade width (D) at the upward-pointing curved edge of the shredding blade. Minimum blade width: D = 13 mm 3 Wing blade (GHE 250) ● Measure the blade width (C) at the upward-pointing curved edge of the wing blade. Minimum blade width: C = 19 mm 11.8 Reversing the blades Blunt reversible blades can be reversed once.
Blades which are blunt on both sides must be sharpened before resuming work. In order to ensure optimum machine operation, the blades should only be sharpened by a technician. STIHL recommends STIHL specialist dealers. ● Remove the blades for sharpening. ● Cool the blades when sharpening, e.g. with water. The blade must not be allowed to display blue colouring, as this would reduce its cutting quality. 11.
● Secure the machine against slipping using suitable fastening materials. Attach ropes or straps to wheel carrier (1) or feed chute (2). 12.2 Pulling or pushing the garden shredder ● 1st person: Hold the garden shredder at the handles on the upper chute (1). ● Hold the garden shredder at the upper chute (1) and tilt to the rear. ● The garden shredder can be pulled or pushed slowly (walking pace). 12.
Important information on maintenance and care of the product group Electric garden shredder (STIHL GHE) – Incorrect electrical connection (voltage) – Product modifications not approved by STIHL – Use of tools or accessories which are not approved or suitable for the machine, or are of inferior quality STIHL assumes no liability for material or personal damage caused by the nonobservance of information contained in the operating instructions, in particular with regard to safety, operation and maintenance,
16. Technical specifications GHE 150.0/GHE 250.0/GHE 250.0 S: Motor, design Electric motor Power 2200 W Amperage rating 10 A Rated voltage 230 V~ Speed 2800 rpm Main fuse1 10 A Frequency 50 Hz Protection class I Type of protection Splash proof (IPX4) Operating conditions P40 40 s load time 60 s idle time GHE 150.
EN 18. Service schedule 18.1 Handover confirmation 18.2 Service confirmation 1 Please hand this instruction manual to your STIHL specialist dealer in the case of maintenance operations. He will confirm the service operations performed in the pre-printed boxes.
STIHL GHE 150, GHE 250, GHE 250 S 0478 201 8313 B B