
Instructions / Assembly

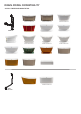
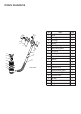


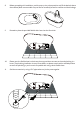
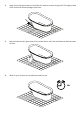
Table Of Contents
- Manual-Tubs-COVER
- Manual-Tubs-1-Warranty
- Manual-Tubs-2-Prior to Installing, Tools Required, & Hardware list
- Manual-Tubs-3-Drain Model Compatibility
- Manual-Tubs-4-Drain Diagrams
- Manual-Tubs-4-Drain Diagrams2
- Manual-Tubs-5-Bathtub Installation
- Manual-Tubs-6-Bathtub Installation
- Manual-Tubs-7-Bathtub Installation
- Manual-Tubs-8-Bathtub Installation
- Manual-Tubs-9-Bathtub Installation drain - Copy
5. Gently place the bathtub in the upside-down position on a tarp or cardboard sheet in order to avoid
contact with any rough surface.
Below is the installation for drain A1866;
For drain N-DWF-CH/GLD, please skip to page 11
6. Loosen the nuts & washers from the metal frame. Adjust the leveling feet to align with the bathtub’s
bottom as well as the floor and then tighten the washer and nuts.
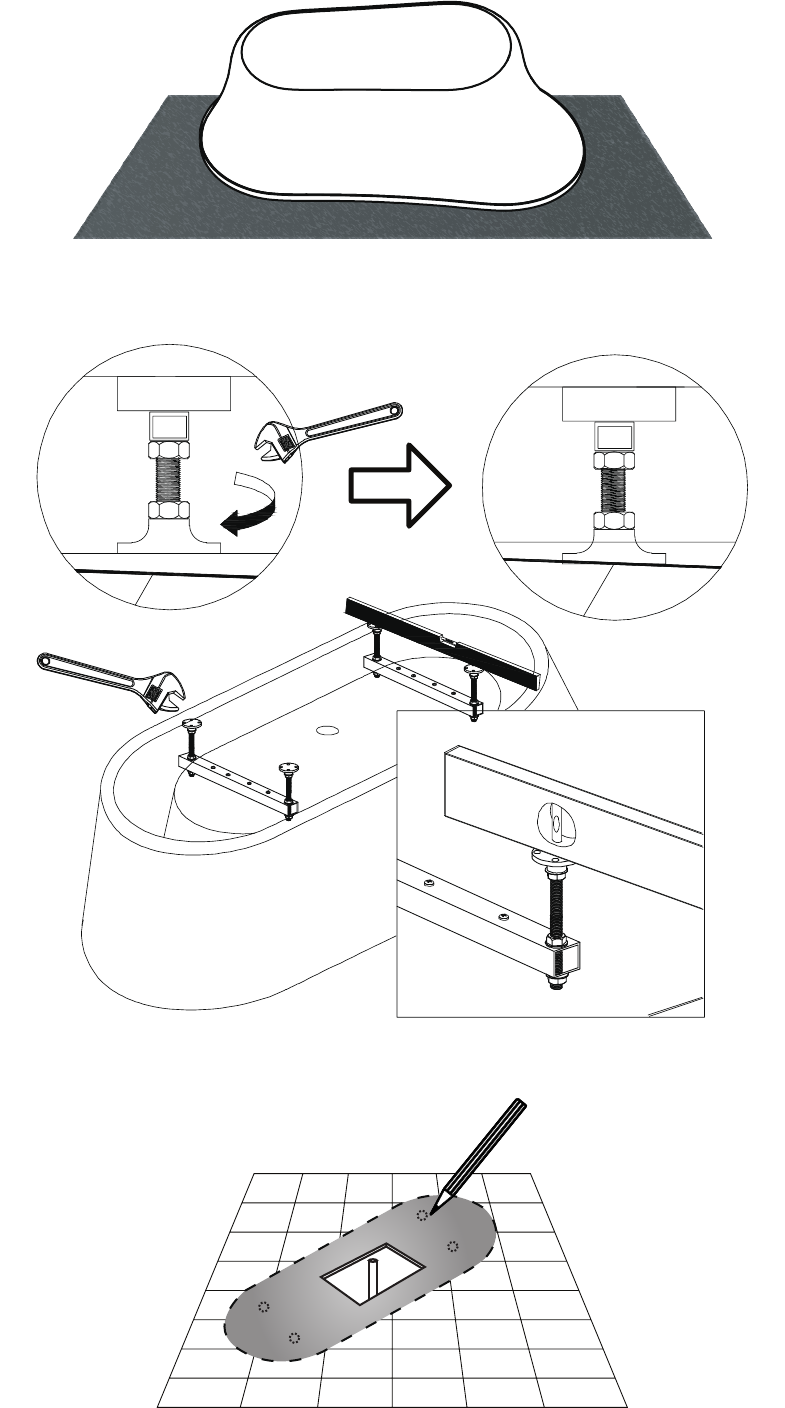
7. Ensure to mark all positions of leveling legs on the floor using a pencil. Move the bathtub into the
desired location near the drainpipe.