Instruction Manual
I n s t r u c t i o n M a n u a l Safety Instructions Important Safety Instructions DANGER! High Voltage Risk of electric shock Do not open chassis. No user serviceable parts inside. Refer service to qualified service staff only. Mains Only use the proper adapter (click-on) for main power supply. Humidity: To reduce the risk of fire or electric shock do not expose this device to rain or moisture. Never place containers with liquid on the unit. Do not use this product near water, e. g.
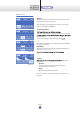
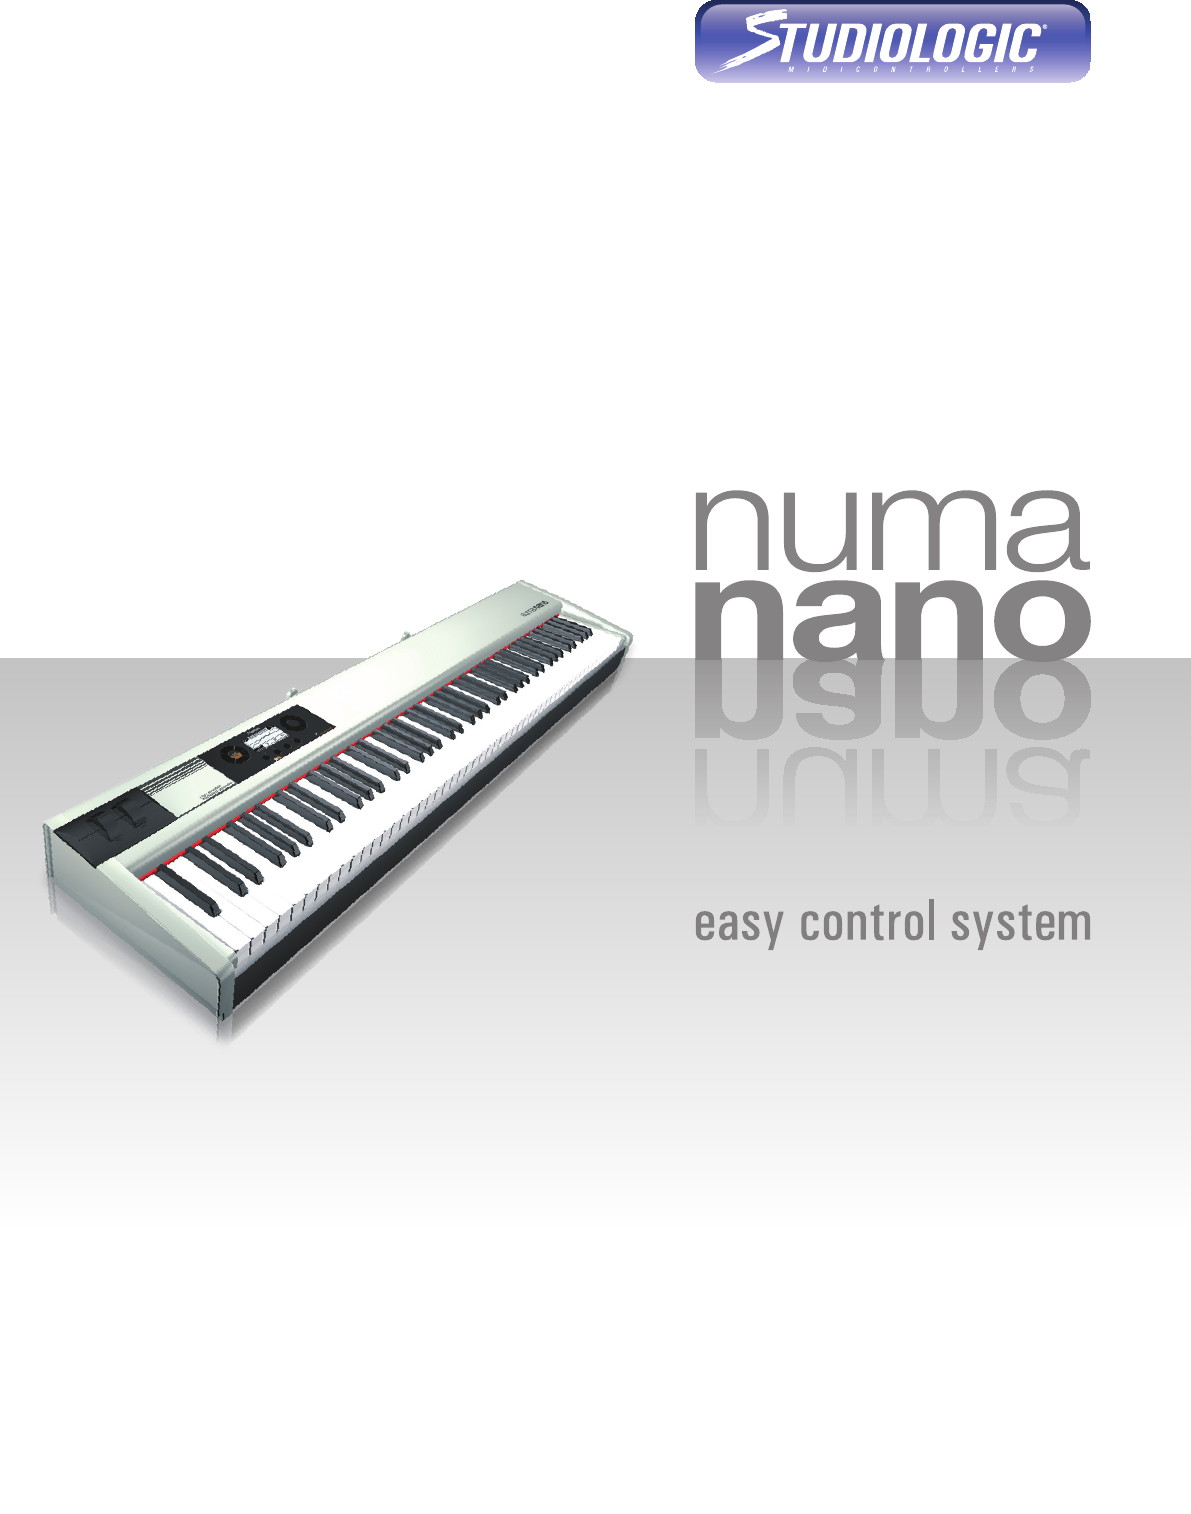
instruction manual Easy Control System Play Mode Edit Mode YouPlay Mode Interactive NUMA USB <> Computer Connections Scope of supply 4 NUMA by Studiologic® Editing is handled by the Easy Control System with a backlit LCD display and touch-sensitive pads. Play Mode gives you direct access to the most important parameters - perfect for quick changes on stage. Edit Mode offers more detailed changes to all parameters that can be saved in 65 patches (presets).
instruction manual Edit Mode Overview Edit Mode In Edit Mode you can make very detailed changes and create new patches.
instruction manual Operation Operation of the NUMA Nano is done with 4 touch-sensitive pads, a virtual dial and the LCD display. 5 ¢ 4 Navigation right Navigation up Virtual Dial Image 1 Control Elements 3 Navigation left u v w x Control Keys 6 Navigation down While in Play ore Edit Mode, these pads select the single pages for different parameters. Touching both simultaneously activates the Edit Mode. Navigation 34 Navigation Selecting a patch in Play Mode is done with these two pads.
instruction manual Play Mode After power-up (Image 2) the NUMA Nano automatically loads a patch in Play Mode. This patch is the last one used in a saved Edit-Mode (page 13). Image 2 Play-Mode: Possible changes Loading Patches Using the pads 5 6 (Image 3a) or the Virtual Dial ¢ (Image 3b) you can select single Patches. The sequence is in numerical order, Factory-Patches (F01 up to F05) are followed by User-Patches (001 up to 064). Only already used patches are displayed.
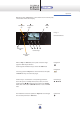
instruction manual Play Mode Example Example: Choose patch F04 with the pads 56 . Try to switch the respective zone on and off, using the Control Keys u-x. At last, leave On Zone 1 and 4 (Image 4). Now touch pad 4: The display changes the upper row to Patch Midi, the line above the zones shows the respective MIDI channel. Now touch pad x two times. The display (Image 5) shows Patch Volume in the upper row. Now you can change the volume of all zones with the Virtual Dial ¢.
instruction manual Edit Mode Part 1 Midi This is where you can setup the right MIDI-Channel for every zone. Range is from 1 to 16. If you choose „0“, the zone gets inactive and won‘t be displayed on other pages (Image 9). Image 9 Program Change Assigning the preset of an external sound generator to a Numa zone is done with the parameters Program Change, LSB Bank Select und MSB Bank select. Three sub-pages (Image 10-11-12) can be selected with pads 56 and displayed in the top row.
instruction manual Edit Mode Part 2 Volume On this page you can adjust the Volume of each zone. The range is „0“ up to „127“ (Image 14). Note: Changing one parameter for all zones, at the same time, is not possible in Edit Mode. Image 14 Transpose/Octave: Transpose (Image 15) for changing the pitch for ± 2 octaves octave steps. Selecting a sub-page is handled via the pads . Image 15 Note: Both parameters can be combined but, the maximum change is ± 2 Octaves.
instruction manual Edit Mode Part 3 Wheel Control/Polarity This page for the Modulation-Wheel is divided in two sections: Wheel Control and Polarity (Image 18-19). The selection is handled via the two pads 56, and - as always via the Virtual Dial ¢ .
instruction manual Edit Mode Part 4 Jack 1&2 Conrol / Polarity / Type There are three separate pages for setting up the footswitches. Choose it with 56, change it with ¢ . Image 22 The Control parameter (Image 22) enables you to assign a distinctive controller to every zone, activated by operation. Data range is „Off“ and C#0-C#127. The Polarity (Image 23) parameter changes the action of the switch from positive (+) to negative (-). This makes it easy to use a closed switch as an open one.
instruction manual Edit Mode Part 5 Patch Name This page (Image 28) is for renaming patches. Select the letter in the patch name you want to change with the Function Keys v and w. Then choose a New letter with the Virtual Dial. Function Key u (cap) switches between small and capital letters. When you´ve finished the entry, choose Yes (x ). Confirm the upcoming security query with Yes and that‘s it. Image 28 Note: No extra store command necessary.
instruction manual YouPlay Mode YouPlay With YouPlay Mode you get the exciting possibility to generate and Store your own dynamic curves. This is how it woks: Image 32 Image 33 Image 34 Press Function-Key u ¥ + v simultaneously and hold them for a little while. The display now switches to YouPlay Mode (Image 32). Now press Start u and play a melody – there is a maximum of 30 seconds. The display shows the remaining time in the upper right corner.
instruction manual Please, visit our site for news and Operative System Update - www.numaworld.it The following pages explains the new features ( Corrections, Improvement, New features ) 1. CHANGE PATCH MODE: selecting a new patch by ^ for UP or V for DOWN or by wheel data entry, the patch is ready for the change as per below: a. after 0,5 sec. (timed) to avoid a big flux of Midi data in output b. or releasing any key if you are playing 2.
instruction manual Warranty Every Fatar Studiologic product has been carefully manufactured, calibrated and tested. All this enables a warranty of two years. Please register your NUMA to get full support. Damages due to incorrect transport, mounting or handling are not covered by this warranty. Warranty All this is based on general terms and condition of the local distributor / FATAR srl, Italy. Compensation of more than the price of the device is excluded. FATAR srl Zona Ind.