FROST-FREE REFRIGERATORS for INDOOR and OUTDOOR USE RÉFRIGÉRATEURS SANS GIVRE pour usage intérieur et extérieur Instruction Manual / Mode d’emploi Models / Modèles CL67ROSB / CL69ROSW BEFORE USE, PLEASE READ AND FOLLOW ALL SAFETY RULES AND OPERATING INSTRUCTIONS. AVANT L'UTILISATION, VEUILLEZ LIRE ET SUIVRE TOUTES LES REGLES DE SECURITE ET LES INSTRUCTIONS D'UTILISATION.
TABLE OF CONTENTS Appliance Safety 3 Important Safeguards 3-4 Location of Parts 5 Installation Instructions 6-8 Before Using Your Appliance 6 Installation of Your Appliance 6 Electrical Connection 6-7 Extension Cord 7 Reversing the Door Swing of Your Appliance 7-8 Installing the Stainless Steel Handle 8 Operating Your Appliance 8 - 10 Control Panel 8-9 Sabbath Mode 9 Temperature Memory Function 9 Defrosting 10 Temperature Alarm / Door Alarm 10 Door Lock 10 Shelves 10 Care
APPLIANCE SAFETY Your safety and the safety of others are very important. We have provided many important safety messages in this manual and on your appliance. Always read and obey all safety messages. This is the Safety Alert Symbol. The symbol alerts you to potential hazards that can kill or injure you and others. All safety messages will follow the Safety Alert Symbol and either the word DANGER or WARNING.
- Avoid open flames and anything that creates a spark, - Disconnect from the power supply, - Air the room in which the appliance is located for several minutes and - Contact the Service Department for advice. The more coolant there is in an appliance, the larger the room it should be installed in. In the event of a leakage, if the appliance is in a small room, there is the danger of combustible gases building up. For every ounce of coolant, at least 325 cubic feet of room space is required.
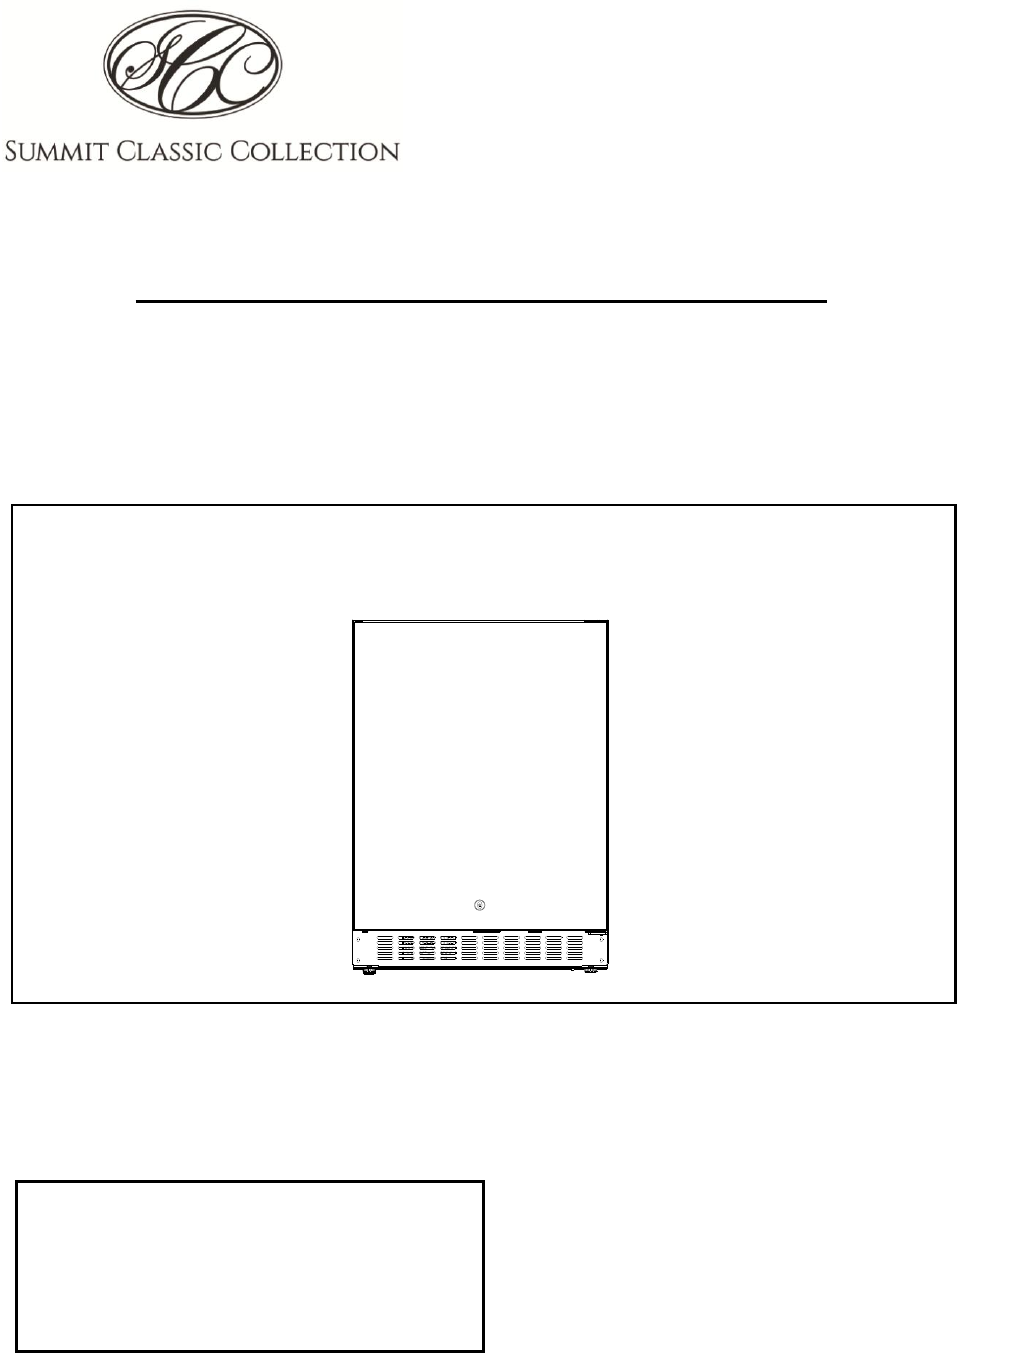
LOCATION OF PARTS Digital Control Panel Stainless Steel Door LED Light Shelves (3) Door Racks (2) Security Lock Kick-plate Adjustable Legs 5
INSTALLATION INSTRUCTIONS BEFORE USING YOUR APPLIANCE Remove the exterior and interior packing. Before connecting the appliance to the power source, let it stand upright for approximately 2 hours. This will reduce the possibility of a malfunction in the cooling system from handling during transportation. Clean the interior surface with lukewarm water using a soft cloth. Install the handle on the door if it is not already attached. (See page 8.
The appliance should always be plugged into its own individual electrical outlet having a voltage rating that matches the rating label on the appliance. This provides the best performance and also prevents overloading house wiring circuits that could cause a fire hazard from overheating. Never unplug the appliance by pulling on the power cord. Always grip the plug firmly and pull straight out from the receptacle. Repair or replace immediately all power cords that have become frayed or otherwise damaged.
4. Pop out the cover caps on the left side of the cabinet and use them to cover the screw holes on the right-hand side. 5. Screw the alternative left top hinge (6), included in the fittings, on the left hand side of the cabinet. (Fig. 3) 6. Relocate the door to the designated position. Then screw the bottom hinge assembly on the left designated position and tighten it after the door is leveled. 7. Remove the handle from the left side of the door and install it on the right side. (See next section.
DOWN Used to decrease (cool) the set temperature by 1°C/1ºF. ºF/ºC Selector Select the temperature display in Fahrenheit or Celsius degrees. To change the temperature from Fahrenheit to Celsius or from Celsius to Fahrenheit, press and hold the LIGHT key for 5 seconds. Setting the Temperature Control You can set the temperature by touching the UP and DOWN symbols. When you push either of the two buttons for the first time, the LED readout will show the original temperature set previously.
DEFROSTING The unit defrosts automatically in normal operating conditions. The evaporator behind the rear wall of the unit defrosts automatically. The condensate collects in the drainage channel behind the rear wall of the unit, and flows through the drainage hole into the drip tray by the compressor where it evaporates. However, frost may accumulate on the evaporator if the unit is repeatedly opened in a high heat or high humidity location.
CARE AND MAINTENANCE CLEANING YOUR APPLIANCE Turn off the power, unplug the appliance, and remove all items, including shelves. Wash the inside surfaces with a solution of warm water and baking soda (about 2 tablespoons of baking soda to a quart of water). Wash the shelves with a mild detergent solution. Wring excess water out of the sponge or cloth when cleaning the area where the controls are located, or any electrical parts. Wash the outside cabinet with warm water and mild liquid detergent.
TROUBLESHOOTING You can solve many common problems easily, saving you the cost of a possible service call. Try the suggestions below to see if you can solve the problem before calling the servicer. Troubleshooting Guide PROBLEM Appliance does not operate. POSSIBLE CAUSE Appliance is not connected to a power supply. The appliance is turned off. Tripped circuit breaker or a blown fuse. The temperature is not set correctly. The ambient temperature could require a lower temperature setting.
Display “E0”, “E1”. “E2”, “E3”, “E4”, “E5” or “E7”. The alarm sounds and the temperature display flashes. The icon “--” is lit and flashing in the temperature display. “E0” indicates a communication error for 3-zone models. “E1” or “E2” indicates that the air temperature sensor has failed. “E3” or “E4”indicates that the defrost sensor in the evaporator has failed. “E5” indicates a defrost heater failure. “E7” indicates a door switch failure.
LIMITED WARRANTY ONE-YEAR LIMITED WARRANTY Within the 48 contiguous United States, for one year from the date of purchase, when this appliance is operated and maintained according to instructions attached to or furnished with the product, warrantor will pay for factory-specified parts and repair labor to correct defects in materials or workmanship. Service must be provided by a designated service company. Outside the 48 states, all parts are warranted for one year from manufacturing defects.
TABLE DES MATIÈRES Consignes de sécurité 16 Mesures de sécurité importantes 16 - 17 Emplacement des pièces 18 Instructions d'installation 19 - 21 Avant d'utiliser votre appareil 19 Installation de votre appareil 19 - 20 Connexion électrique 20 Rallonge 20 Inversion de l'ouverture de la porte de votre appareil Installation de la poignée en acier inoxydable 20 - 21 22 Utilisation de votre appareil 21 - 23 Panneau de contrôle 21 - 22 Mode Sabbat 22 Fonction de mémoire de température 23
CONSIGNES DE SÉCURITÉ Votre sécurité et celle des autres est très importante. Nous avons fourni de nombreux messages de sécurité importants sur votre appareil dans ce manuel. Toujours lire et respecter les consignes de sécurité. Tous les messages de sécurité suivront le symbole d'alerte de sécurité, soit après le mot "DANGER" ou "AVERTISSEMENT". DANGER est le symbole d'alerte de sécurité. Ce symbole vous signale les dangers potentiels qui pourraient tuer or blesser vous et les autres.
qu'aucune partie du système de refroidissement ne soit endommagée. Une fuite de liquide de refroidissement peut s'enflammer et peut endommager les yeux. En cas de dommage : - Éviter les flammes nues et tout ce qui produit une étincelle, - Débrancher de l'alimentation électrique, - Aérer la pièce dans laquelle se trouve l'appareil pendant plusieurs minutes, et - Communiquer avec le Service technique pour obtenir des conseils.
EMPLACEMENT DES PIÈCES Porte en acier Stainless Steel Door inoxydable Panneau Digital Control Panelde commande numérique LED Light Lumière LED Étagères Shelves (3)(3) Door Racks deRacks porte (2) (2) Verrou sécurité Securityde Lock Plaque de Kick-plate protection Pieds réglables Adjustable Legs 18
INSTRUCTIONS D’INSTALLATION AVANT D'UTILISER VOTRE APPAREIL ▪ Retirez l'emballage extérieur et intérieur. ▪ Avant de connecter l'appareil à la source d'alimentation, laissez-le reposer pendant environ 2 heures. Cela réduira la possibilité d'un dysfonctionnement du système de refroidissement lié à la manipulation pendant le transport. ▪ Nettoyez la surface intérieure avec de l'eau tiède à l'aide d'un chiffon doux. ▪ Installez la poignée sur la porte si elle n'est pas déjà attachée. (Voir page 23.
Pour éviter toute blessure accidentelle, le cordon doit être attaché derrière l’appareil et ne pas être exposé ou suspendu. L'appareil doit toujours être branché sur sa propre prise électrique ayant une tension nominale correspondant à celle indiquée sur l'appareil. Cela offre les meilleures performances et empêche également la surcharge des circuits de câblage de la maison, ce qui pourrait provoquer un risque de surchauffe. Ne débranchez jamais l'appareil en tirant sur le cordon d'alimentation.
2. Tirez doucement pour retirer la porte de la charnière supérieure droite et placez-la sur une surface rembourrée pour éviter tout risque de dommage. Retirez ensuite la charnière supérieure droite (4). (Fig. 3 et 4) 3. Dévisser et transférer les broches (3) et (7) de la charnière sur le côté opposé. (Fig. 2) 4. Sortez les capuchons sur le côté gauche du meuble et utilisez-les pour couvrir les trous de vis du côté droit. 5.
HAUT Utilisé pour augmenter (réchauffer) la température de consigne de 1 ° C / 1ºF. BAS Utilisé pour diminuer (refroidir) la température réglée de 1 ° C / 1ºF. Sélecteur ºF/ºC Sélectionnez l'affichage de la température en degrés Fahrenheit ou Celsius. Pour changer la température de Fahrenheit à Celsius ou de Celsius à Fahrenheit, maintenez la touche LUMIÈRE enfoncée pendant 5 secondes. Réglage du contrôle de la température Vous pouvez régler la température en touchant les symboles HAUT et BAS.
FONCTION DE MÉMOIRE DE TEMPÉRATURE En cas de coupure de courant (surtension, disjoncteur, etc.), l'appareil peut mémoriser les réglages de température précédents et, lorsque le courant est rétabli, la température de l'armoire revient à la même température qu'avant la mise hors tension. DÉGIVRAGE L'appareil dégivre automatiquement dans des conditions de fonctionnement normales. L'évaporateur situé derrière la paroi arrière de l'appareil dégivre automatiquement.
SOIN ET ENTRETIEN NETTOYAGE DE VOTRE APPAREIL Éteignez l'alimentation, débranchez l'appareil et retirez tous les éléments, y compris les étagères. Laver les surfaces intérieures avec une solution d'eau tiède et de bicarbonate de soude (environ 2 cuillères à soupe de bicarbonate de soude dans un litre d'eau). Laver les étagères avec une solution détergente douce. Essorez l'excès d'eau de l'éponge ou du chiffon lorsque vous nettoyez la zone où se trouvent les commandes ou toute pièce électrique.
DÉPANNAGE Vous pouvez facilement résoudre de nombreux problèmes courants, ce qui vous permet d'économiser le coût d'un appel de service éventuel. Essayez les suggestions ci-dessous pour voir si vous pouvez résoudre le problème avant d'appeler l'agent de service. PROBLÈME L'appareil ne fonctionne pas. L'appareil n'est pas assez froid. L'appareil s'allume et s'éteint fréquemment. La lumière ne fonctionne pas. Vibrations L'appareil semble faire trop de bruit. La porte ne se fermera pas correctement.
correctement réinstallée. Le joint est sale. Les étagères sont hors de position. Affiche «E0», «E1», «E2», «E3», «E4», «E5» ou «E7». L'alarme retentit et l'affichage de la température clignote. L'icône «-» est allumée et clignote dans l'affichage de la température. «E0» indique une erreur de communication pour les modèles à 3 zones. «E1» ou «E2» indique que le capteur de température de l'air est en panne. «E3» ou «E4» indique que le capteur de dégivrage de l’évaporateur est défectueux.
NOTES 27
GARANTIE LIMITÉE UN AN DE GARANTIE LIMITÉE Dans les 48 États américains contigus, pendant un an à partir de la date d'achat, lorsque cet appareil est utilisé et entretenu conformément aux instructions jointes à, ou fournies avec le produit. Le garant paiera pour les pièces spécifiées en usine et pour la main-d’œuvre pour corriger les vices de matériaux ou de fabrication. Le service doit être fourni par une compagnie de service désignée.