
Installation Guide


Before glue-up, wipe all the sanded surfaces with a
clean cloth and denatured alcohol. Remove all dust and
let the surfaces dry completely.
8. Select the appropriate matching color acrylic
adhesive.
Before applying a two-part adhesive onto a Swanstone
component, always dispense some of the adhesive into
a waste container. Dispense enough adhesive to allow
complete mixing of the two-part adhesive in the
corkscrew design nozzle. Typically, freshly mixed
adhesive has a 10 minute working time when dispensed
onto components to be joined.
Note: The Swanstone acrylic adhesive has a working
time of 10 minutes and a cure time of one hour. Gather
all the tools needed before beginning glue-up.
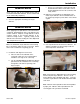
9. Pre-drill the sink alignment screw holes.
a. Place the sink on the underside of the
countertop. Make sure the overflow drain is
toward the front edge of the countertop.
b. Use the VW 0050-000 special drill bit to drill two
pilot holes into the underside of the countertop,
through two of the sink rim openings, 180
degrees apart.
c. Remove the sink and use compressed air and
denatured alcohol with a clean cloth to remove
all dust and debris from the holes, sink rim, and
vanity surface.
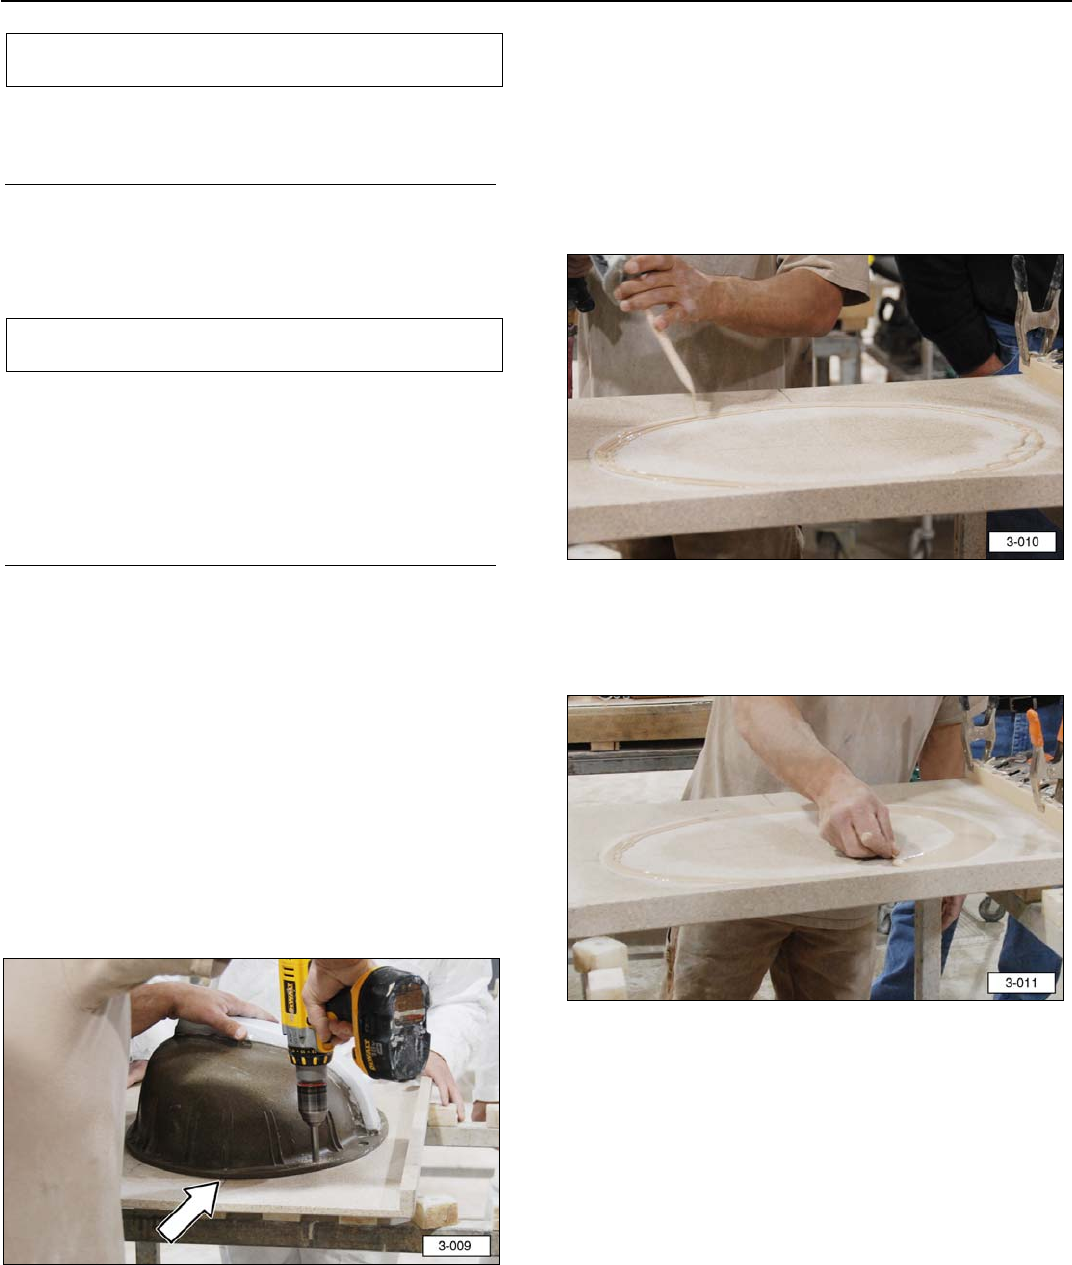
10. Dispense several beads of the appropriate color-
match acrylic adhesive onto the sanded surface of
the countertop, using the pencil outline of the sink as
a guide.
11. Use a spread stick to smooth out the adhesive. The
adhesive should be just thick enough to hide the
countertop surface underneath.
Note: Wear protective disposable gloves when working
with the two-part acrylic adhesive. Remove excess
acrylic adhesive with a flat blade putty knife. Clean up
excessive acrylic adhesive with denatured alcohol and a
clean cloth.
Note: Adhesive that is spread too thick will not produce
a proper joint. Adhesive that is spread too thin can
result in gaps in the joint and a weak bond.
IMPORTANT NOTICE
IMPORTANT NOTICE
Installation
800-325-7008 7 The Swan Corporation