
User`s guide
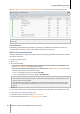
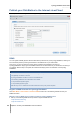

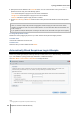
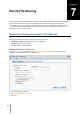
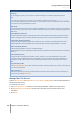
Table Of Contents
- Synology DiskStation User's Guide Based on DSM 4.0
- Chapter 1: Introduction
- Chapter 2: Get Started with Synology DiskStation Manager
- Chapter 3: Modify System Settings
- Chapter 4: Manage Storage Space
- What is Volume and Disk Group?
- Manage Volumes or Disk Groups with Storage Manager
- Manage iSCSI Target with Storage Manager
- Manage iSCSI LUNs with Storage Manager
- Manage Hard Disks with Storage Manager
- Manage External Disks
- Chapter 5: Access your DiskStation from the Internet
- Chapter 6: Enhance Internet Security
- Chapter 7: Set Up File Sharing
- Chapter 8: Access Files from Anywhere
- Access Files within the Intranet
- Access Files via FTP
- Access Files via WebDAV
- Sync Files via Cloud Station
- Access Files via File Station
- File Station Appearance
- Manage File Station Options
- Search for Files or Folders
- Set File Station in Action
- Download Files or Folders from Synology DiskStation
- Upload Files or Folders to Synology DiskStation
- Copy or Move Files or Folders on Synology DiskStation
- Rename a File or Folder on Synology DiskStation
- Create a Folder
- Delete Files or Folders
- Extract an Archive
- Compress Files or Folders
- Open a File in a New Window
- Create My Favorites or Desktop Shortcuts
- Edit the Properties of Files and Subfolders
- Share File Links
- Mount Remote Folders or Virtual Drives
- Edit Music Information
- View Documents, Photos, or Videos
- Edit Photos
- Chapter 9: Back Up Data
- Chapter 10: Host Websites, Email Server, and Print Server
- Install Featured Applications
- Chapter 11: Discover Various Applications with Package Center
- Chapter 12: Share Photos, Videos, and Blogs with Photo Station
- Chapter 13: Play Music with Audio Station
- Chapter 14: Download Files with Download Station
- Chapter 15: Safeguard Your Environment with Surveillance Station
- Chapter 16: Manage Media Server and iTunes Service
- Chapter 17: Perform Advanced Management Tasks
- Check System Information
- Monitor System Resources
- Update DSM
- Receive Event Notifications
- Access Applications with Independent Login
- Index Multimedia Files for Applications
- Reset admin's Password
- Restore Synology DiskStation to Factory Defaults
- Reinstall Synology DiskStation
- Enable SNMP Service
- Enable Terminal Services
- Chapter 18: Communicate with Mobile Devices
Synology DiskStation User's Guide
Based on DSM 4.0
50 Chapter 7: Set Up File Sharing
More Information
About AppleTalk Zone:
A "Zone" is a logical grouping of devices in an AppleTalk network. If there are AppleTalk zones configured in
your own network, the system will join the default zone automatically. You can also configure the system to join
other available zones.
About Time Machine backup folder:
To backup data from Time Machine to Synology DiskStation, select a shared folder from the drop-down menu.
Shared folders that are being used for other services will not be available for Time Machine.
To enable Bonjour printer broadcast:
Tick Enable Bonjour Printer Broadcast to allow Mac clients to browse and locate the printer connected to
Synology DiskStation.
Enable NFS Service for Linux Clients
Go to Main Menu > Control Panel > Win/Mac/NFS to allows Linux client to access DiskStation data.
To enable the NFS service:
1 Tick Enable NFS.
2 Click Apply.
If you want to configure Linux client's NFS access privileges to the shared folders, see "Allow Users or Groups to
Access Shared Folders" on Page 59 for more information.
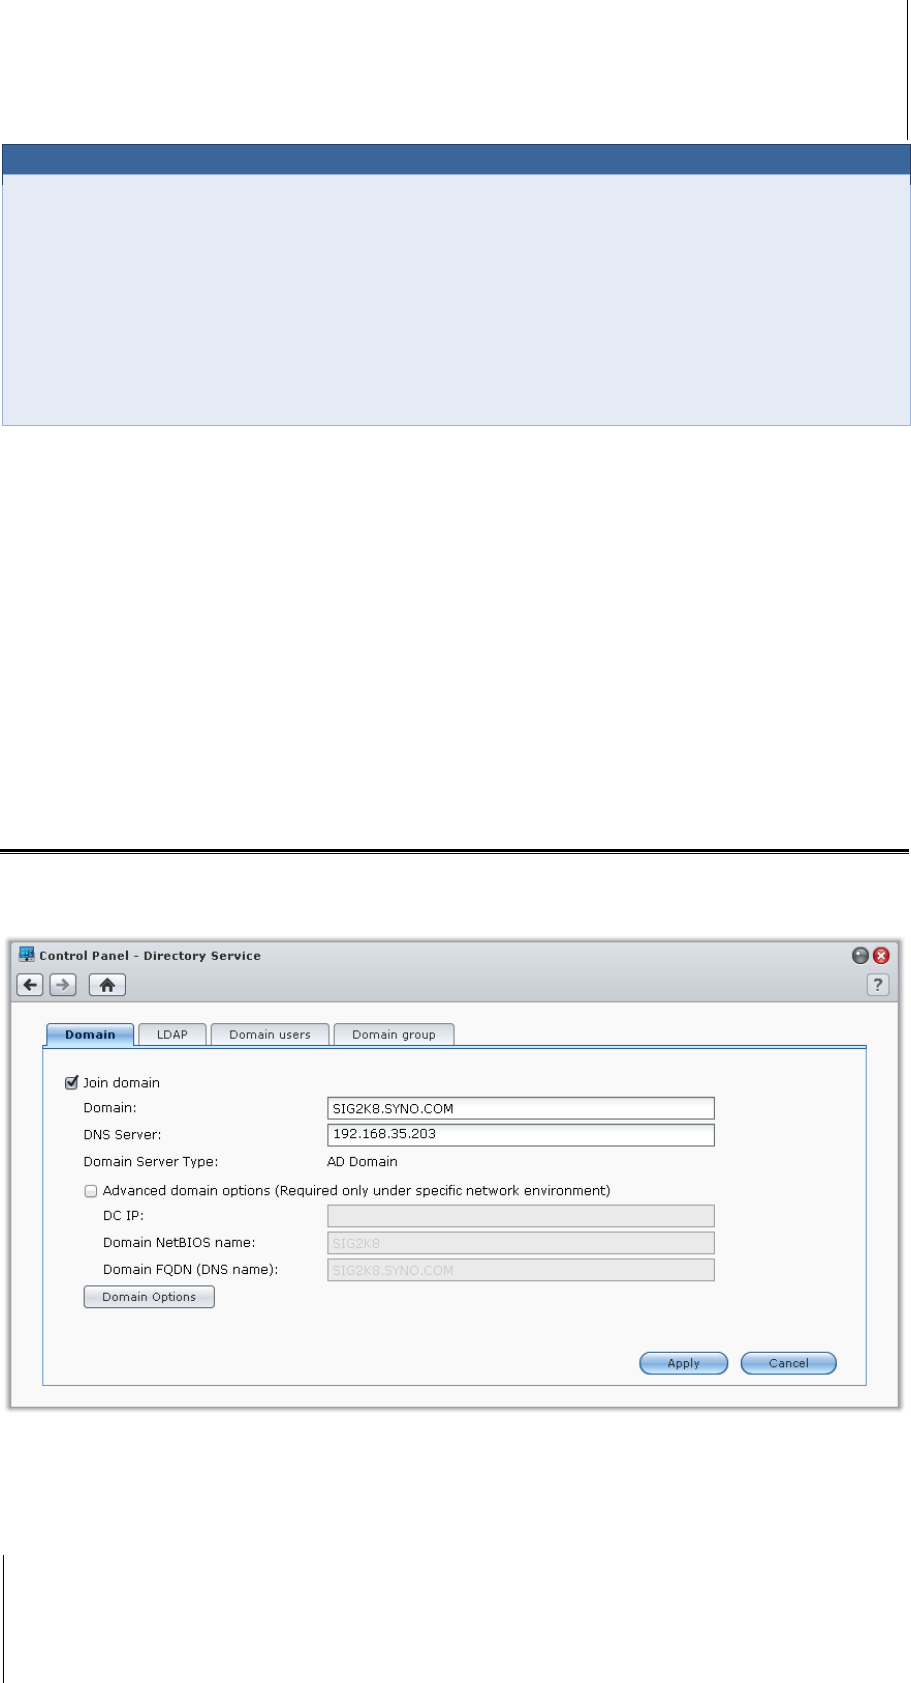
Join DiskStation to Directory Service
Go to Main Menu > Control Panel > Directory Service to join your Synology DiskStation to a directory service
as a Windows domain or LDAP client. When DiskStation is joined to a directory service, you can manage
domain/LDAP users' access privileges to shared folders and DSM applications and enable their home service.
To join a Windows domain:
1 Click the Domain tab, enter the domain name in the Domain field and DNS server (optional) in the DNS
Server field, and click Apply.