
User's Manual
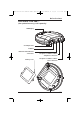
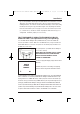
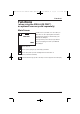

USING AN RJ45 JACK
Plug one end of the Ethernet cord (not provided) into a modular RJ45
wall jack.
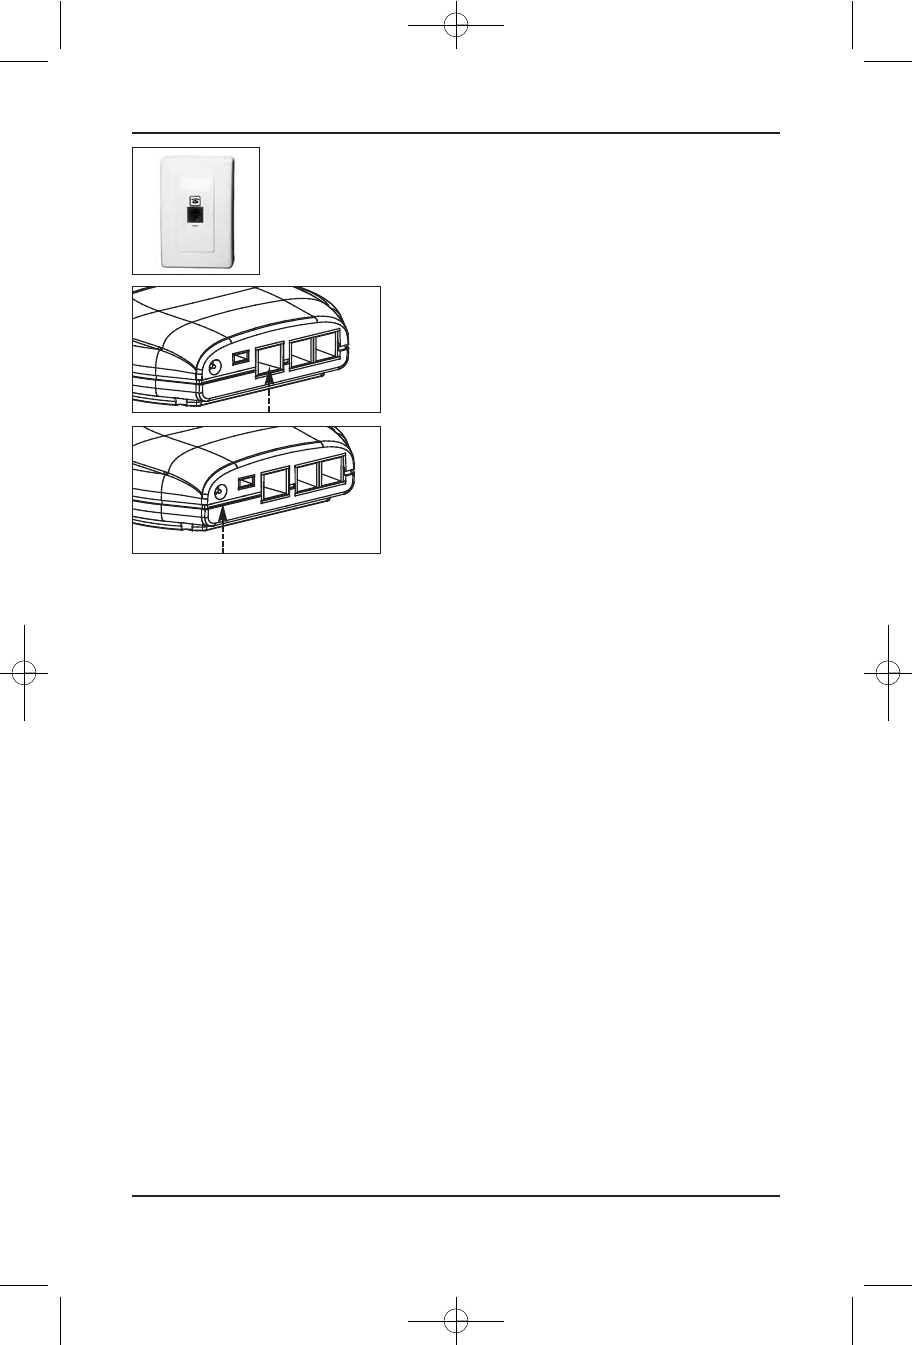
Plug the other end of the Ethernet cord (not provided) into
the RJ45 jack on the back of your IDEAL LIFE Pod™.
Connect the small end of the power supply into the power
AC jack on the back of the IDEAL LIFE Pod™ marked
POWER. Plug the other end into an AC power outlet.
Your IDEAL LIFE Pod™ will automatically power up once it is
plugged in to an AC power outlet.
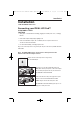
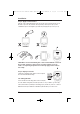
RECHARGING BATTERIES WITH YOUR IDEAL LIFE POD™:
• Remove the battery compartment door on the bottom of your IDEAL LIFE Pod™ by pushing gently
in the direction shown on the battery cover.
• Place the rechargeable batteries as marked.
• Replace the battery compartment door and push the compartment door shut in the opposite
direction shown on the battery cover.
• When using rechargeable batteries with your IDEAL LIFE Gluco-Manager™, simply place them in
your IDEAL LIFE Pod™ for 10 hours to recharge when battery status is low as indicated on your
IDEAL LIFE Gluco-Manager™
P o wering Up Your IDEAL LIFE Gluco-Manager™
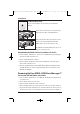
INSTALLING THE BATTERIES (INCLUDED)
• Remove the battery compartment door on your IDEAL LIFE Gluco-Manager™ by lifting the battery
door using the notch.
• Place the batteries as instructed on the device.
• Replace the battery compartment door and click into place.
• NOTE: Replacing the battery does not affect previous test results stored in memory of the meter.
Howe ver, the time and date settings may need to be updated if batteries are not in the device for
an extended period of time. Use only new batteries of the required size and the recommended.
Installation
IDEAL LIFE Gluco-Manager™
14
Ideal Blood Gluco Manual FEB09:Ideal Blood Gluco Manual 08 4/5/09 11:01 AM Page 14