
User's Manual
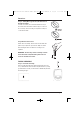

Step 2. Apply Sample
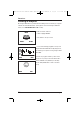
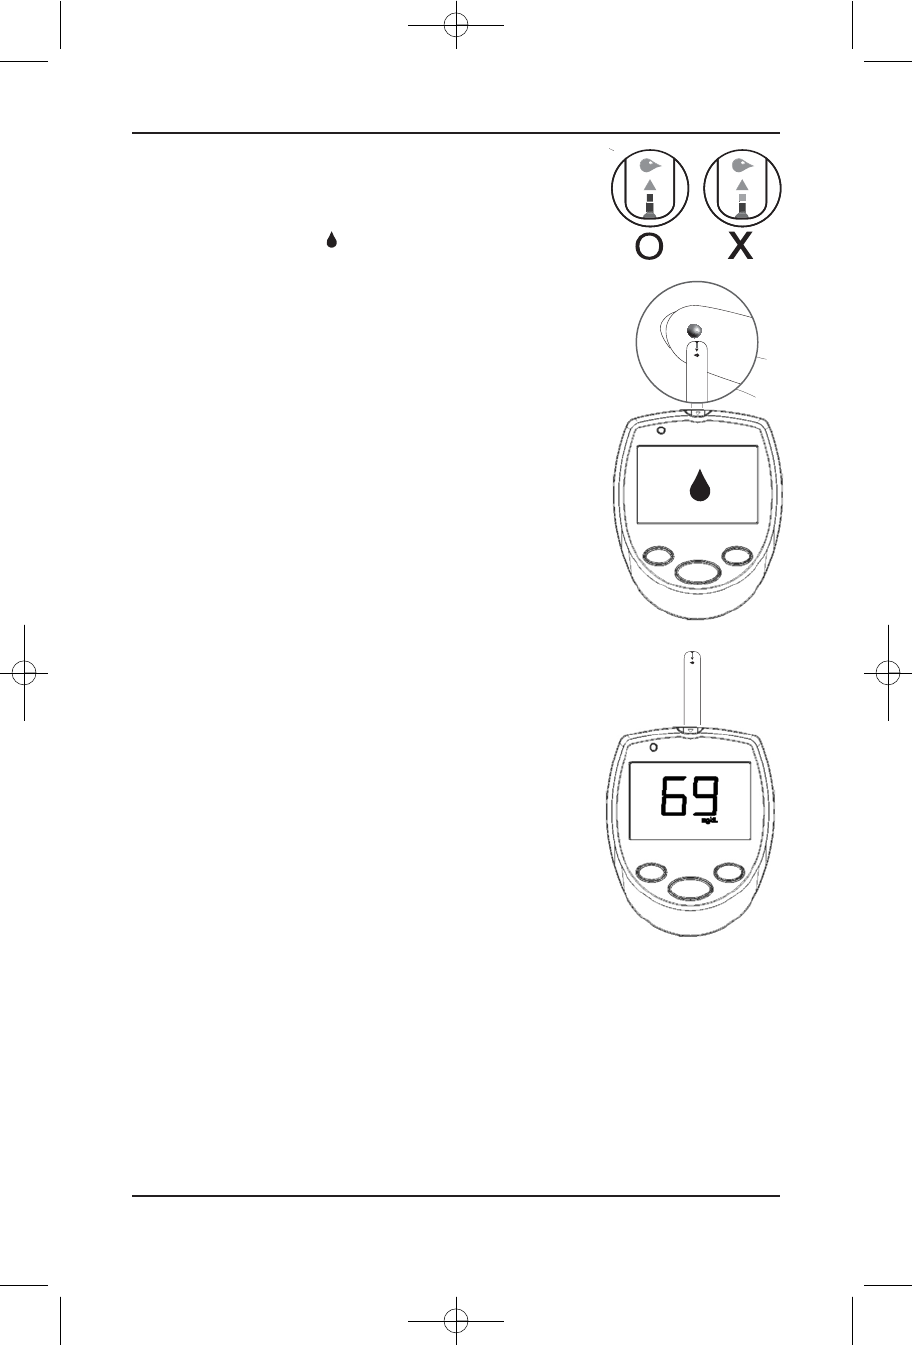
Obtain a drop of blood using the adjustable lancing device. The blood
sample must be at least 0.7 microliter in volume or you may get an
inaccurate test result. When “ ” appears on the display, apply the blood
to the absorbent hole of the test strip where it meets the narrow channel.
Do not push your finger against the test strip or try to apply a smeared
sample. The blood should be completely fill the confirmation window
before the meter begins to count down. If not, do not try to add more
blood to the test strip. Discard the test strip and retest with a new one.
If you have trouble filling the test strip, please contact the dealer for
assistance.
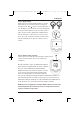
Step 3. Display a Glucose Result
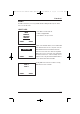
Your blood glucose test result will appear. After the reading is displayed you may
remove the test strip. Discard the used test strip carefully to avoid
contamination.
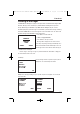
When the measurement is complete, your IDEAL LIFE Gluco-Manager™
will then display your reading automatically, and begin to communicate
when you are using your IDEAL LIFE Pod™. Your IDEAL LIFE Gluco-
Manager™ will notify you on the bottom of the display as to the status
of your connection. Connection times may vary depending on many
factors. Your reading will always be stored in your meter memory for
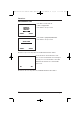
local lookup. After displaying your reading and automatically communicating the information, your
meter will automatically return to the default screen before going to sleep mode. Each time your
IDEAL LIFE Gluco-Manager™ communicates successfully to IDEA LIFE through your IDEAL LIFE Pod™
the time and date are set to ensure reliable date and time stamping of all readings.
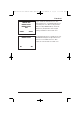
NOTE! If you do not apply a blood sample within 2 minutes, the meter will
automatically turn off. You must remove the test strip and insert it back
again to restart the test procedure.
Functions
Instruction Manual
23
Ideal Blood Gluco Manual FEB09:Ideal Blood Gluco Manual 08 4/5/09 11:01 AM Page 23