
Owner manual


2
12
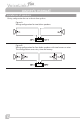
system operation
•Set volume control of receiver and microphone to
“Minimum”
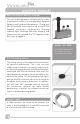
•Turn power “on”, push button on left side
•Red LED indicates power “on”
•Check power to sensor, “Yellow” LED on corner
sensor, “Green” on ceiling sensor
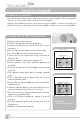
•Rotate “CH A” volume control to about mid scale
•Turn “on” microphone, Green LED
•Verify IR transmission, “Orange” LED adjacent to
volume control
•While standing either under or in front of a
speaker, slowly increase the volume of the
microphone while talking into microphone
•Adjust until you begin to get feedback (squealing)
•Reduce volume to stable non-ringing condition
•While talking into microphone, walk around
the room verifying continuous connectivity
throughout the room
•Hopefully the test was 100% satisfactory, this
competes the vocal test of the system
Test of the auxiliary input using an external audio
source i.e. iPod, DVD, or computer
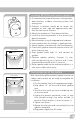
•With receiver turned “on”, set “AUX IN” volume
to minimum
•Plug in an auxiliary source using an audio cable
with a 3.5mm plug
•Turn “on” your auxiliary source i.e. iPod, DVD,
Computer
•Observe signal presence indicator, “Orange”
LED
•Increase “AUX” volume to about mid scale
•Slowly increase volume or gain of auxiliary source
to desired volume
operating the system
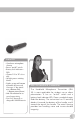
We will test of the system with the wireless microphone/transmitter purchased with the system
and an external auxiliary source i.e., an iPod™, computer, or DVD player.
VoiceLink