
Installation Guide

1
GENERAL PRODUCT INFORMATION:
This product can mount to either a 4" square electrical box with
round plaster ring or an octagon electrical box.
This product is suitable for damp locations.
This product can be dimmed with a standard incandescent
dimmer.
This instruction shows a typical installation.
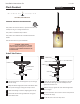
CEILING/SUSPENSION
Installation Instructions for
960CLARKP
Clark Pendant
600CLKP_
1.1
W I L M E T T E
L I G H T I N G
COMPANY
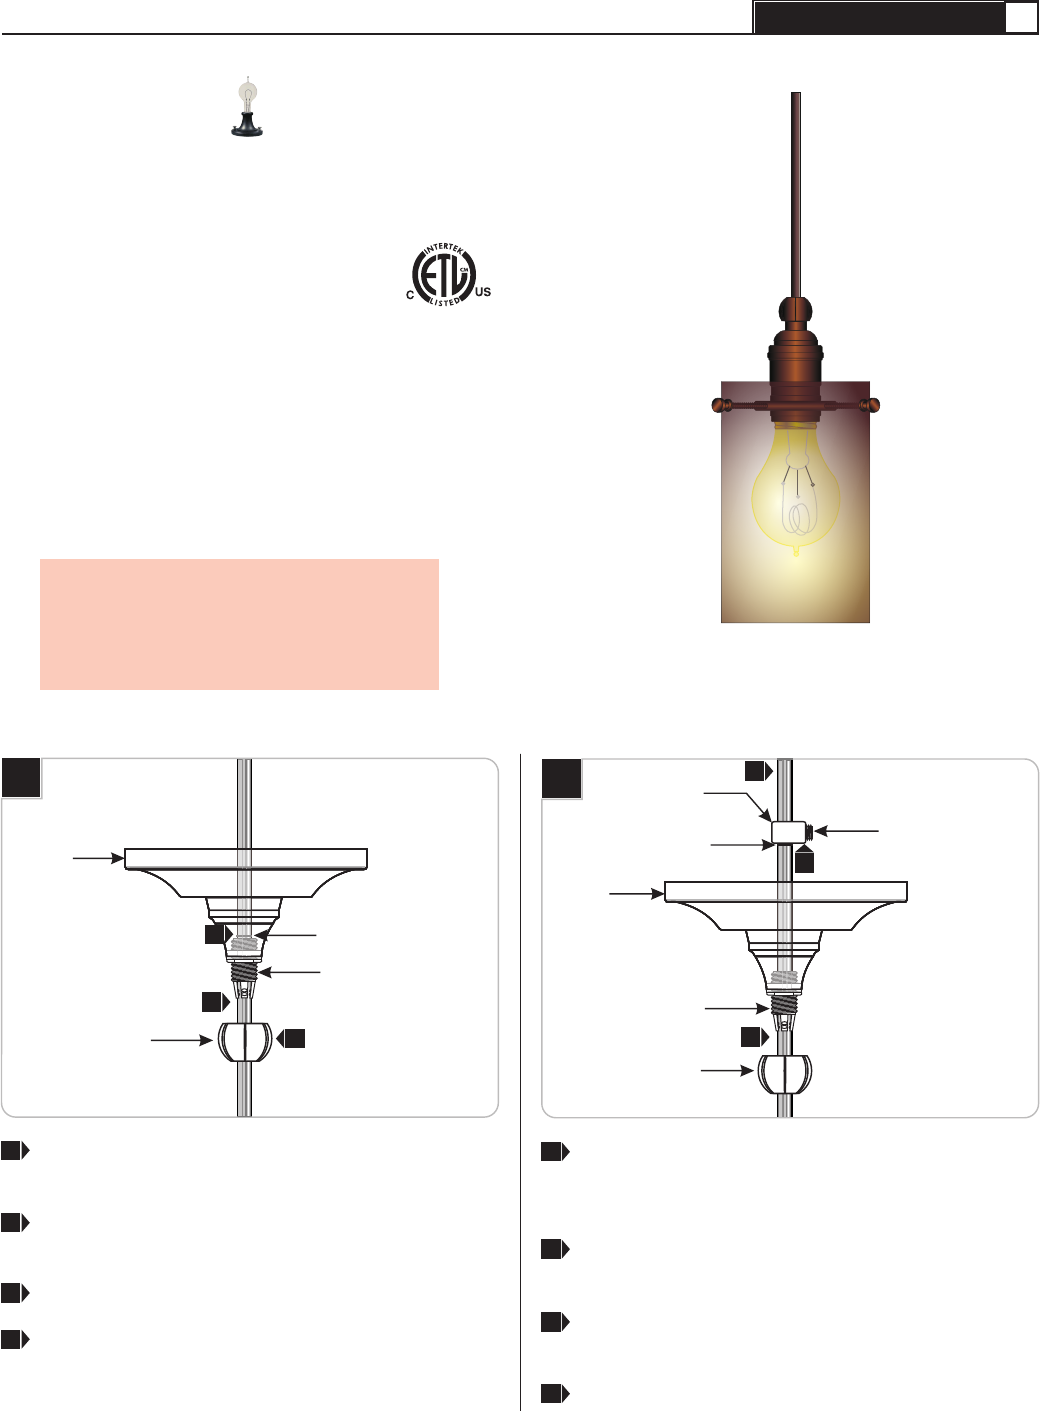
CAUTION - RISK OF FIRE
This product requires installation by a qualified
electrician. Before installing be sure to read all
instructions and DISCONNECT POWER TO THE
ELECTRICAL BOX.
Install the Fixture
1A
Feed end of the fixture cord through the cap, and cord grip
into the canopy.
Adjust the fixture height (from bottom of the fixture shade
to top of the canopy) by moving the cord up or down.
When desired height is achieved, slightly tighten the cap.
From inside mark the cord right behind the cord grip for
strain relief location.
CAP
MARKED POINT
CORD GRIP
CANOPY
1
2
3
4
1
3
4
1B
Loosen the cap and feed the cord through the strain relief.
Place the strain relief right above the marked point and
tighten the slot head screw.
Slide the canopy up against the strain relief and tighten the
cap to cord grip.
For power connection, leave at least 6" of the cord exposed in
the back of the canopy.
Cut off the excess cord with a sharp cutter.
CAP
MARKED POINT
CORD GRIP
STRAIN RELIEF
SLOT HEAD SCREW
CANOPY
5
6
7
8
5
6
7