User Guide
Contents Introduction HDMI Safety is Important In the box ATV Menu Setup 5 5 5 Safety Information Keep these instructions Important Electrical Information 6 6 7 Parts Identification Front panel Local keyboard panel Back panel 8 8 9 Connecting the TV Connecting the TV antenna Connecting external devices Connecting diagram 10 10 11 ATV Setting Picture Sound Function 23 24 25 25 Teletext Function Teletext Function 26 SCART / S-VIDEO / HDMI Menu Setup Video Setting Menu 27 VGA Menu Setup VGA Setti
Contents DVD Function Setup Picture Sound DVD Settting Function 42 42 42 44 Troubleshooting Display Troubleshooting Sound and TV Troubleshooting DVD Troubleshooting 45 45 46 Specifications Specifications 47 Display Mode Display Mode 49 Additional Information Care and Maintenance (Handling Discs) Disposal Warranty 50 50 50
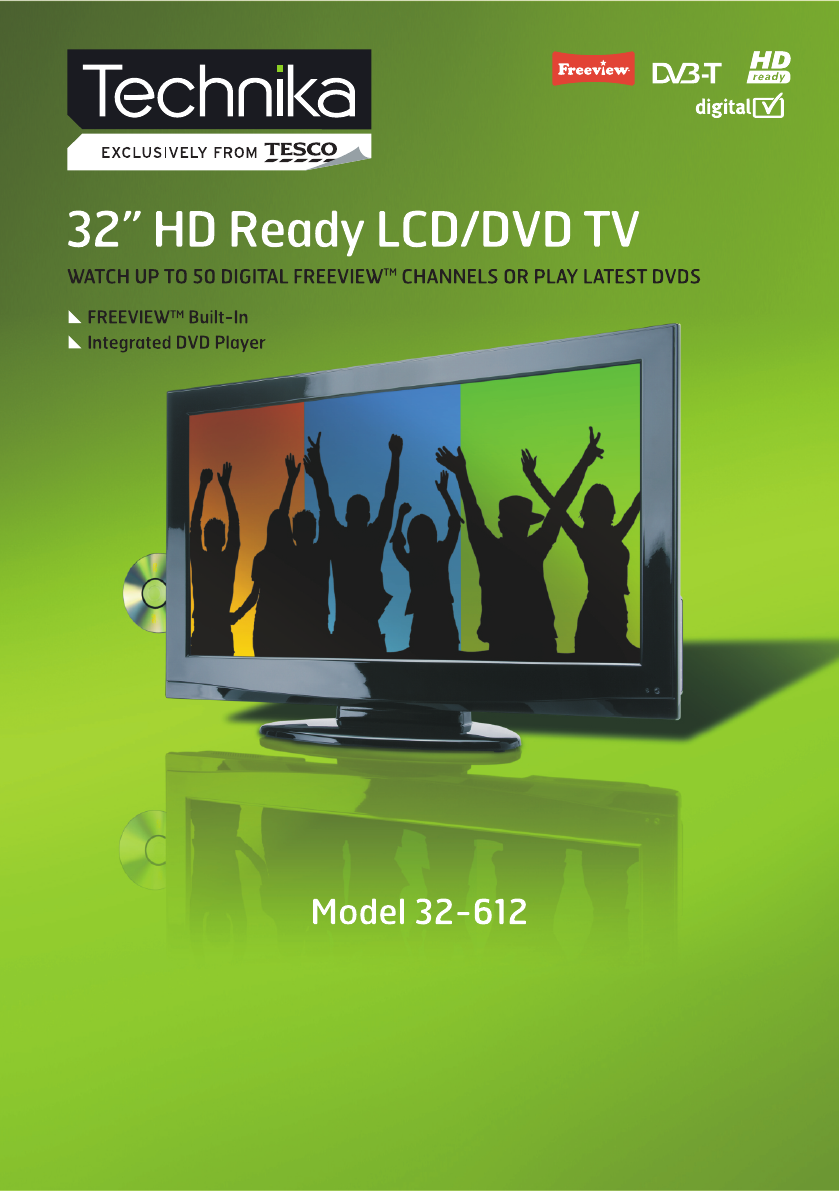
Introduction Thank you for purchasing this Technika HD Ready LCD/DVD TV which has been designed and manufactured to give you many years of trouble-free service. You may already be familiar with using a similar product but please take time to read these instructions which have been written to ensure you get the very best from your purchase. Throughout the remainder of this user guide the Technika HD Ready LCD/DVD TV will be referred to as the ‘TV’.
Safety Information IMPORTANT SAFETY INSTRUCTIONS READ CAREFULLY BEFORE USE Take note of the following safety information which appears on the back of this TV. CAUTION! RISK OF ELECTRIC SHOCK DO NOT OPEN. TO REDUCE THE RISK OF ELECTRIC SHOCK DO NOT REMOVE COVER (OR BACK). NO USER-REMOVABLE PARTS INSIDE REFER SERVICING TO QUALIFIED SERVICE PERSONNEL. This symbol indicates that there are important operating and maintenance instructions in the literature accompanying this TV.
Safety Information the user is encouraged to try to correct the interference by one of the following measures: • Re-orient or relocate the receiving antenna. • Increase the separation between the external device and the TV. • Connect the external device into an outlet on a circuit different from that to which the TV is connected. • Consult the dealer or an experienced radio/ TV technician for help.
Parts Identification FRONT PANEL 1. IR sensor window 2. Indicator (the indicator is red when in standby mode, and green when in working normally).
Parts Identification BACK PANEL 2 3 1 4 5 6 7 8 9 10 11 12 1. SCART connecting terminals 2. HDMI inputs 3. CI connector 4. PC audio input 5. PC VGA input 6. Y input 7. Pb input 8. Pr input 9. Audio Earphone output 10. TV signal input (75 Ohm) 11. S-Video input 12.
Connecting the TV WARNING! ENSURE THE TV AND ALL ANCILLARY EQUIPMENT IS UNPLUGGED FROM THE MAINS BEFORE MAKING ANY CONNECTIONS! Connecting the TV antenna Connect the TV antenna to the aerial socket with a 75 ohm co-axial plug. For best results use a high gain TV aerial, preferably roof or loft mounted. • To improve picture quality in a poor signal area, purchase and install a signal ampli er. • If the antenna needs to be split for two TV‘s, use a 2-Way Signal Splitter (not supplied).
Connecting the TV CONNECTING DIAGRAM NOTE You should insert all necessary cables BEFORE pluggin g in po wer cor d.
Common Interface slot COMMON INTERFACE The Common Interface (CI) slot is designed to accept the Conditional Access Module (CAM) and Smart Card in order to view the pay TV programmes and additional services. Contact your Common Interface service provider to get more information about the modules and subscription. Note: Conditional Access Modules and Smart Cards are sold separately. WARNING: SWITCH OFF YOUR TV BEFORE ANY MODULE IS INSERTED IN THE COMMON INTERFACE SLOT.
Wall Mounting WALL MOUNTING Suitable for wall mounting - VESA 400 x 200 mm 1. The base must first be removed. Place the TV face down. 2. Remove the three screws holding the base in position. 3. Remove and store the base and screws. 4. Use four machine screws (M4 x 10 mm) to mount the TV on the bracket. Mounting the wall bracket - please refer to the user instructions supplied with the wall bracket (not supplied).
32" HD Ready LCD/DVD TV User Guide
32" HD Ready LCD/DVD TV User Guide 15
Remote Control BATTERY INSTALLATION Remove the battery cover. Insert two SUM-4(AAA) batteries matching the -/+ polarities of the battery to the -/+ marks inside the battery compartment, as follows: BATTERY LIFE Normally, battery can be used for one year. If the remote control is still not working, when very near to the TV's remote sensor window, please use new batterys. Please use SUM-4(AAA) battery. NOTES Never use rechargeable battery.
Let's Start SWITCHING ON After the unit has been suitably placed / fixed, on the table or on the wall, and all necessary cables including the power have been connected, the next you should do is: Press the [STANDBY] button on the remote control to make the unit switch to power-on mode - you will see the LED indicator turn green. Now you can enjoy the many features of your new TV. STANDBY STANDBY INDICATOR SELECTING SOURCE OPERATION You can select input source by using source menu.
DTV Menu Setup In D TV mode, press [SETUP] button into the main menu and the main menu will show as follows: Press [ ] button on the remote control, you can select main menu sections (main menu sections consist of) " DTV SETTING " , " PICTURE ", " SOUND " , " FUNCTION ") . Press [ Press [ ] or [OK] button to enter this menu section. ] button on the remote control to select the item, and then press [ ] button to adjust parameter value. Press [SETUP] button to return to main menu sections.
DTV Menu Setup Audio Language item enables you to adjust audio language. Audio Language MPEG English MPEG English EXIT Subtitle language item enables you to adjust subtitle language. L R VI SETUP OK Subtitle Language Off English EXIT Time item enables you to enter submenu. Clock to adjust the real time. Time Zone to adjust the time zone from Canary GMT to Berlin GMT+1. Daylight to adjust summer time off or on.
DTV Menu Setup Change password item enables you to change the locked password. DTV SETTING Lock System Off Change Password Block Programme Parental Guidance Off Please enter password _ _ _ CI Information New _ _ _ _ Confirm Hearing Impaired Select Adjust Block Programme item enables you to set the lock channel. SETUP Return Block programme DTV DTV 5 five 16 QVC DTV 17 UK Gold DTV 23 bid-up.
DTV Menu Setup ELECTRONIC PROGRAM GUIDE (EPG) By pressing the EPG button, an Electronic Program Guide is displayed. The EPG supplies information, such as program lists, start and end times of all available channels. In addition, the detailed information about the program is often available in the EPG. (The availability and the amount of program details will vary depending on the broadcaster.) PROGRAMME GUIDE DTV 5 five The Streets of San Frandsco 14:35 -15:38 10 Mar 2004 14:53 10 Mar DTV 14:30 L...
DTV Menu Setup SOUND Select SOUND item to adjust sound parameters. You may adjust Sound Mode, Treble, Bass, Balance, Auto Volume and Surround Sound. SOUND Sound Mode Sound Mode item can be changed between Music, Film, News, User. User Treble 75 Bass 50 Balance Auto Volume item enables you to adjust off or on for control volume automatic. Off Surround Sound Off Select Surround Sound item enables you to select off or on for surround sound.
ATV Menu Setup This product can store up to 99-channel programs (1 99). You can select your favourite channel through pressing [CH+/-] or number buttons, and you can scan and store all of the channels through manual or automatic mode. In ATV mode, press [SETUP] button into the main menu and the main menu will show as follows: Press [ ] button on the remote control, you can select main menu sections (main menu sections consist of " ATV SETTING " , " PICTURE ", " SOUND " , " FUNCTION ") .
ATV Menu Setup Programme Edit item enables you to enter submenu to set channel DELETE, RENAME, MOVE, SKIP, FAV. Programme Edit 1 S-42 TV 2 C-04 TV 3 S-02 TV Press RED button to delete channel. Press GREEN button to rename channel. 4 S-04 TV Press YELLOW button to move channel. Press CYAN button to SKIP channel. Press FAV button to set favourite channel.
ATV Menu Setup SOUND Select SOUND item to adjust sound parameters. You may adjust Sound Mode, Treble, Bass, Balance, Auto Volume and Surround Sound. SOUND Sound Mode User Treble 75 Bass 50 Sound Mode item can be changed between Music, Film, News, User. Balance Auto Volume Off Auto Volume item enables you to adjust off or on for control volume automatic. Surround Sound item enables you to select off or on for surround sound.
Teletext Function Most TV stations provide cost-free teletext information, including the latest news, weather information, TV program list and stock information etc. You just input the needed teletext page according to the teletext content. Note : Press [CANCEL] button to cancel teletext.
SCART / S-VIDEO / HDMI Menu Setup VIDEO SETTING MENU The menu setup of SCART/ S-VIDEO/ COMPONENT/ HDMI modes is the same as that of TV mode, except the " "section . You can find it in preceding pages. NOTE If no signal input in DTV, ATV, SCART/ AV / S-VIDEO/ COMPONENT/ HDMI, the screen will show as below. This unit will switch to standby mode automatically if there is no signal input for more than 5 minutes.
VGA Menu Setup The VGA mode supported up to 1366X768@75Hz(for 32"), you can use this unit as a multimedia PC monitor. When this unit works in VGA mode, the following setup can be done. Press [SETUP] button to enter main section. Press [ ] button to select sections and then press [ ] button or [OK] button to enter. If all is complete, please press [SETUP] button twice to exit and your setup data will be saved automatically.
VGA Menu Setup PICTURE PICTURE Standard Colour Temp Select PICTURE item to adjust such parameters as Colour Temp, Red, Green, Blue. Red 50 Green 50 Blue 50 Colour Temp item can be set to: User, Standard, Warm and Cool. Red, Green and Blue items enables you to adjust RGB value of colour temperature. Select OK Enter SETUP Return NOTE The picture will be displayed incorrectly while adjusting. FUNCTION Select FUNCTION item to adjust function parameters.
DVD Operation BRIEF INTRODUCTION DVD provides brand-new AV effect for consumers with its extraordinarily large capacity and outstanding audio-video effects. Its capacity is as high as 4.7-17 GB (approximately 7-26 times the CD capacity) and horizontal resolution of picture is above 500-line. Comparison between DVD and other Discs DVD Capacity Playback Time LD Digital/MPEG2 Recording Method Single Single sided 1 layer 4.7G sided sided 2 layers 1 layer 9.4G 8.
DVD Operation TV Screen Disc Pictures 4:3 16:9 Pan-Scan Letterbox 4:3 16:9 FEATURES This player employs the new generation MTK decode chip with more convenient system and more stable operation. Super error correction slot-in loader with twin laser with good shockproof performance. Brand-new AV Effects 1 Compatible with MPEG 4 format discs to produce wonderful pictures. 2 108MHz/12bit video DAC with more vivid and brilliant pictures.
DVD Operation COMPATIBLE DISC TYPES Types Recorded Contents Sizes MPEG4 DIGITAL VIDEO 12cm DVD: Compressed digital audio + compressed digital video (dynamic picture) 12cm SVCD: Compressed digital audio + compressed digital video (dynamic picture) 12cm MPEG4: Compressed digital audio + compressed digital video (dynamic picture) 12cm VIDEO CD: Compressed digital audio + compressed digital video (dynamic picture) 12cm CD-DA: Digital audio NOTES Issues related to DVD MPEG4 SVCD VCD CD These
DVD Operation PLAYBACK DVD MPEG4 SVCD VCD CD 1. Power on and switch signal source to DVD mode and the unit begins to work. 2. Place the disc (with label side facing user) to the door and the unit will draw in the disc automatically. The unit begins to read disc information. 3. Press [PLAY] button to begin playing disc. When the unit is playing a disc, press[ ] button the first time and the unit enters pause state, while press [ ] button again and the unit resumes playback. 4.
DVD Operation VCD, SVCD MENU PLAYBACK SVCD VCD When playing SVCD, VCD2.0 discs with the menu playback function, you may enjoy simple menu playback alternative function. You may set menu playback state in the setup menu and select menu playback or sequence playback. For instance, VCD 2.0 disc menu playback. 1. TV screen displays main menu. 1. 2. Press number buttons to select. For instance, press number button 1 to select main menu 1. 1. 2. 2. After entering main menu 1, TV screen displays submenu. 1.
DVD Operation SELECT TRACK TO PLAY DIRECTLY BY NUMBER BUTTONS SVCD DVD VCD CD 1. Insert disc, after disc reading and normal playback, press number buttons to select track to play directly. If track number is less than 10, press number buttons 1 to 9 to directly select. For instance, select the seventh track: 7 If track number is more than or equal to 10, press [-/- -] button and then number buttons 0 to 9.
DVD Operation REPEAT PLAYBACK DVD MPEG4 SVCD CD VCD The repeat playback function enables a certain title/chapter/track/disc repeated. 1. Press [REPEAT] button. Each press of REPEAT button may realize different repeat functions. DVD DISC: Title Chapter ALL Repeat Off SVCD, VCD, CD discs: To SVCD, VCD2.0 discs, the repeat function is effective in sequence playback mode; to VCD1.1, CD discs, the repeat function may be directly operated. Track ALL Repeat Off To SVCD, VCD2.
DVD Operation FAST PLAYBACK MPEG4 DVD SVCD VCD CD When playing discs, you may select fast forward or fast backward playback to search for a certain point. 1. Press [ ] button and the unit begins fast forward playback. Press [ ] button each time and the disc playback speed switches in the following sequence circularly: 2X 4X 8X 16X 2. Press [ ] button and the unit begins fast backward playback.
DVD Operation Play MPEG4 disc 1. Select track Press [GOTO] button until TV screen displays the following figure. Then press number buttons to input the track. Select 2. Search track time Press [GOTO] button until TV screen displays the following figure. Then press number buttons to input hour, minute and second. Go To -:--:-- Play SVCD, VCD and CD discs 1. Search disc time Press [GOTO] button until TV screen displays the following figure. Then press number buttons to input minute and second.
DVD Operation MPEG4 AND JPEG FILE PLAYBACK MPEG4 is the audio standard published by MPEG(Moving Pictures Experts Group) in November,1998. As the discrepant parts between frames of picture are only processed and the same parts are deleted, the data number are greatly decreased. The most distinct feature of MPEG4 is the high compression and clear imaging. Furthermore, MPEG4 provides elastic specifications to adjust the stream according to the used requirements.
DVD Operation 1. Play MPEG4 file After you put an MPEG4 format file into the unit, it will search disc information and display the operation menu as figure A (The displayed content varies with disc.). A: B: 00:00 00:00 001/004 00:00 00:00 001/369 \Du000\ \ .. Du000 Press [ Du001 A/V MP000 Du002 A/V MP001 Du003 A/V MP002 ] button to select the directory you desired and press [OK] button to confirm.
DVD Operation 3. When playing JPEG file, pressing [ ] button may realize preview playback function. At the same time, all JPEG files are displayed on the TV screen. One frame can display up to 12 pictures at most. The other ones are shown on the next frame. Pressing [ ] button may enter the next frame and [ ] button may enter the previous frame. You may press number buttons or [ ] button to select the picture you desired and press [OK] button to confirm. 4.
DVD Function Setup PICTURE Select PICTURE item to adjust picture parameters. You may adjust Picture Mode, Contrast, Brightness, Colour, Sharpness, Tint and Preference. PICTURE Picture Mode Picture mode item can be changed between User, Standard , Soft, Dynamic. You may adjust Brightness, Contrast, Colour, Sharpness, Tint for User mode. Dynamic Contrast 50 Brightness 50 Colour 50 Sharpness 50 Tint 0 Preference Preference item enables you to enter sub menu. Colour Temp.
DVD Function Setup GENERAL SETUP You may select TV DISPLAY, SCREEN SAVE and DOWNMIX and Divx. TV display: this item is used to set the output picture ratio of this unit.
DVD Function Setup NOTE Audio, subtitle and disc menu language are only effective to DVD disc. If the disc is not recorded with the language you appointed, the unit will apply the language that the disc appointed to play. Select other languages: press [ ] button to move cursor to "OTHER" item, press [OK] button and then number buttons to input the language code you desire. After input finishes, press [OK] button again.
Troubleshooting Please check for causes of problems in accordance with the following chart before contacting any maintenance personnel. DISPLAY TROUBLESHOOTING Causes and Correction Symptom Black screen, power indicator light off Check whether power cord is correctly connected, and whether this unit is in power on. Check whether the signal cord of input device is correctly connected. Check whether input device is in power on mode.
Troubleshooting DVD TROUBLESHOOTING Causes Symptom Correction Not play 1. Condensation on laser head 2. Disc not properly loaded 3. Disc not compatible with the unit 1. Switch on power and wait for 1 to 2 hours 2. Make sure label side of the disc is facing up 3. Confirm whether this unit compatible with the inserted disc 1. Too large volume of connected device 2. Sound field mode not suitable for disc 1. Adjust the device volume Sound distortion No sound No image No colour 1.
Specifications LCD Screen Panel 32": 81 cm Resolution Input signal ATV 32": 1366 x 768 Video System PALǃSECAM Frequency Band 42.25-- 863.25 MHz Sound System BG/DK/I/L/L’ NICAM/A2 VLF(50.5-142.5MHz) Frequency Band VHF(149.5-426MHz Channel bandwidth 7/8M Modulation COFDM 2K/8K QPSK,16QAM, 64QAM Video System MPEG-2 MP@ML UHF(434-858MHz) DTV CVBS Analog RGB Sound System MPEG-1 layer 1,2 Basic Functions EPG, Subtitle, Teletext (EURO) Input Level 1.
Specifications Comb Filter Teletext Scart 1 Full Scart Scart 2 Half Scart HDMI1/HDMI2 Format Audio Input Level 0.2 2 Vr.m.s.
Display Mode Below the preset mode for VGAǃYPbPr (pixel formatǃH-Frequency and V-Frequency) ANALOGIC RGB FORMAT TABLE Pixel Format Resolution Horiz. Freq. (KHz) Vert. Freq. (Hz) Standard SXGA 1280X1024 63.5 80.0 60 75 VESA XGA 1024X768 48.4 56.5 60.0 60 70 75 VESA SVGA 800X600 37.9 47.2 46.9 60 72 75 VESA VGA 640X480 31.5 37.9 37.5 60 72 75 VESA DOS 640X480 720X400 31.5 31.5 60 70 VESA YPbPr FORMAT TABLE Format Resolution Horiz. Freq. (KHz) Vert. Freq.
Additional Information Care and Maintenance Handling Discs • To remove a disc from its storage case, press down on the centre of the case and lift the disc out. • Discs should be returned to their cases after use. This avoids serious scratches that could cause the laser pickup to skip. • Hold the disc by the edges, to avoid touching the recorded side of the disc. • Fingerprints and dust should be carefully wiped from the disc’s surface with a soft cloth.