
user manual
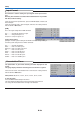
Table Of Contents
- INDEX
- English
- IMPORTANT SAFETY INFORMATION
- Major Features
- Table of Contents
- Checking the Supplied Accessories
- Names of the Main Unit Parts
- Names of the Remote Control Parts/Preparing the Remote Control
- The Procedure Up to Projecting to the Screen
- Placement Guide
- Connecting Personal Computers and Video Equipment
- Power Cable Connections and Switching the Power On/Off
- Adjustment of the Projection Screen
- General Operation
- Input Selection
- Automatic Adjustment
- Selection of Aspect Ratio
- Freezing a Moving Picture
- Cancelling Video and Audio Temporarily
- Lamp Mode
- Keystone
- Adjustment of the Volume
- Enlargement of the Image and Video Movement
- Using the Presentation Timer
- Using the Laser Pointer
- Performing Mouse Operations on the Computer with the Remote Control Unit
- Controlling the Projector from a Computer
- Use as a High-Brightness Monochrome Projector
- Protecting the Projector with the Security Lock
- Using the Quick Menu
- Menu Operation Method
- Image
- Color
- View
- Setup
- Option
- Info.
- When an Indicator is Lit or Flashing
- Troubleshooting
- Cleaning
- Replacing the Lamp Cartridge
- Specifications
- Table of Supported Frequency
- Cabinet Dimensions
E-50
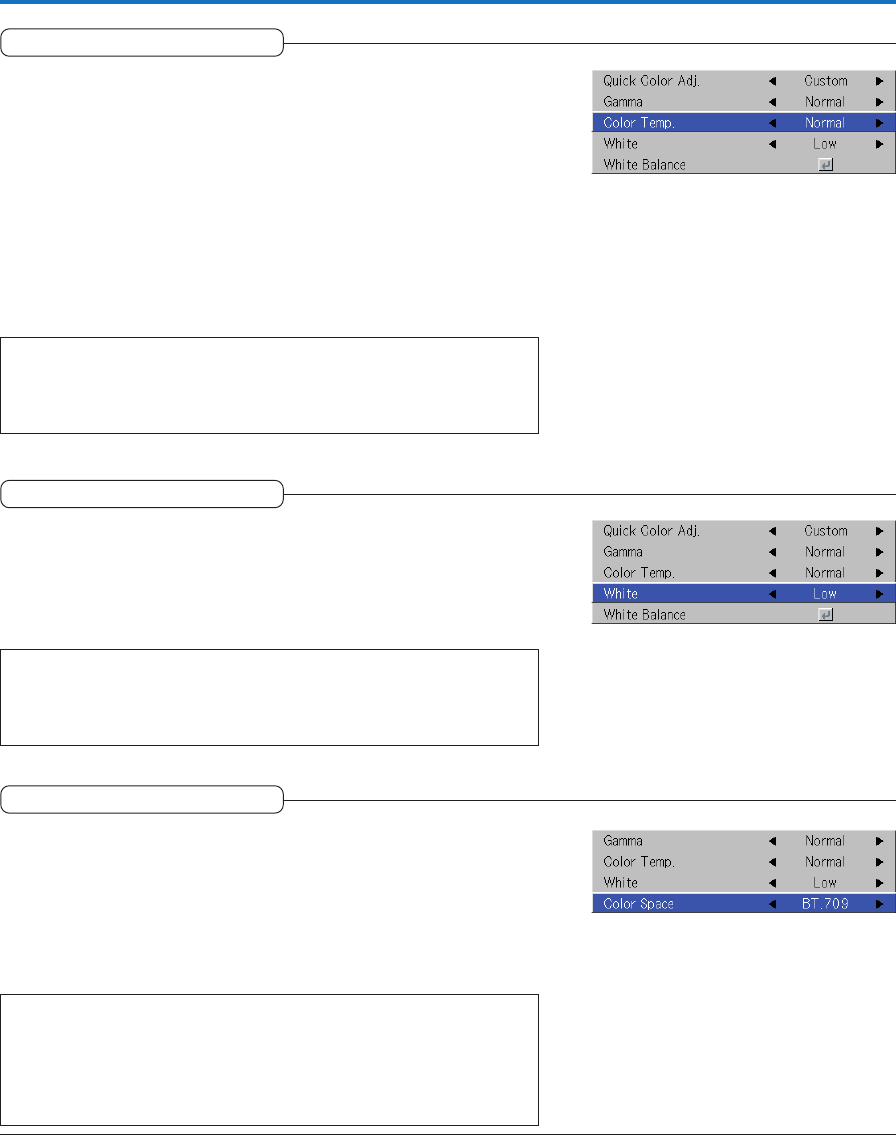
Color Space
Set this function when a component signal (YPbPr) is projected and the
image is extremely red or extremely green.
Select the item name “Color Space” and use the SELECT 왗왘 buttons to
select a color space setting that provides a normal image.
Selection contents at the time of YPbPr input
BT.709, SMPTE240
Note:
* When the component signal undergoes conversion processing to red, green,
and blue which express the image of the projector, the correct color cannot be
reproduced unless a system compliant with the color difference conversion sys-
tem of the input signal is used. Color Space serves to make this selection.
* The color space can only be adjusted with high definition TVs.
Color
Color Temp.
The screen color is affected by the color of the illumination and other
extraneous light.
This function adjusts the white, which is the reference color for video
equipment, and improves the quality of color reproduction. Adjustment
can also be used to enhance skin colors.
Select the item name “Color Temp.” and select the setting contents with the
SELECT 왗왘 buttons.
Low ............ Produces warm whites (reddish)
Medium ...... Produces warm whites (yellowish)
Normal ....... Produces the white of sunlight
High ............ Produces cool whites (bluish)
Note:
When “Color” or “Standard” is selected for “Quick Color Adj.”, the “Color Temp.”
adjustment item is displayed in gray and cannot be selected or adjusted. See “Quick
Color Adj.” on E-49.
White
When projecting, this function is used to emphasize the whites of text or
diagrams on the personal computer.
Select the item name “White” and use the SELECT 왗왘 buttons to select the
setting contents.
Select the desired degree of white from among “Low”, “Medium”, and “High”.
Note:
When “Color” or “Standard” is selected for “Quick Color Adj.”, the “White” adjust-
ment item is displayed in gray and cannot be selected or adjusted. See “Quick Color
Adj.” on E-49.