
Instruction manual


24
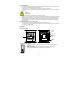
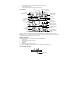
The LCD contrast can be set within 8 levels, from LCD 0 to LCD 7 (Default is LCD 3):
1. The digit starts flashing
2. Press the + button or MIN/MAX button to set the level of contrast desired.
3. Press the SET button to enter the “Daylight saving time On/Off setting,” or exit the setting mode by
pressing the ALARM button or SUN button.
DAYLIGHT SAVING TIME ON/OFF SETTING
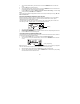
The daylight saving time (DST) function can be set ON/OFF. Default setting is “ON”:
1. “ON” will flash on the LCD with "dSt" displayed.
2. Use the + button to turn the daylight saving time function ON or OFF.
3. Press the SET button to enter the “Manual time setting” or exit the setting mode by pressing the
ALARM button or SUN button.
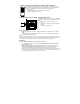
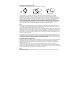
MANUAL TIME SETTING
To set the clock:
1. The hour digit in the time section will start flashing.
2. Use the + button to increase or MIN/MAX button to decrease the value. Keep holding the button
allows the value to advance faster.
3. Press the SET button to enter minute setting.
4. The minute will be flashing. Use the + button to increase or MIN/MAX button to decrease the value.
5. Press the SET button to enter the “Calendar Setting” or exit the setting mode by pressing the
ALARM button or SUN button.
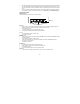
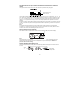
CALENDAR SETTING
1. The year digits will start flashing.
2. Use the + button to increase or MIN/MAX button to decrease the value. The range runs from 2011 to
2025.
3. Press the SET button to enter the month setting mode.
Minutes (flashing)
Hour (flashing)
Weekday
Year (flashing)
Day. Month.
Flashing