
Use and Care Manual


Instructions for Converting Range to Operate on Liquefied Petroleum Gas
a. The Back panel is not needed to be take out, broiler orifice will be exchanged from the front of the unit.
b. Locate the screws connecting the top broiler L-shape burner, there’re two on the oven back panel and on the
front of the broiler L-shape burner. Take out these three screws, hold the broiler burner to make sure it’s not
falling. Screw out the four screws holding the flame tamer so that the burner could be taken out and the broiler
orifice is accessible.
c. You will then see the orifice coming into the bake burner. Remove the orifice using an adjustable wrench.
There’s an aluminum pipe connecting safety valve and orifice, be careful so that you won’t break the pipe.
d. Use adjustable wrench to lose the orifice nut with the orifice, then screw out the screws on the bracket so that
you could get access to the orifice, at last screw out the orifice and replace with the LP Bake Orifice (0.9mm).
e. Make sure the bake burner it put back correctly. Make sure the orifice must be dead center of the burner or it
will create a vortex.
5. Convert Burner Valves for LP/Propane Gas
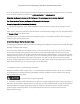
One 5/64” flat screw driver is needed for the Bypass Adjustment on Buner Valve (Not included in LPK Package),
a. Please take out the top burner knobs and take out the bezel and the screws on the bezel so that we could get
access to the burner valve part. You could get access to the burner valve part.
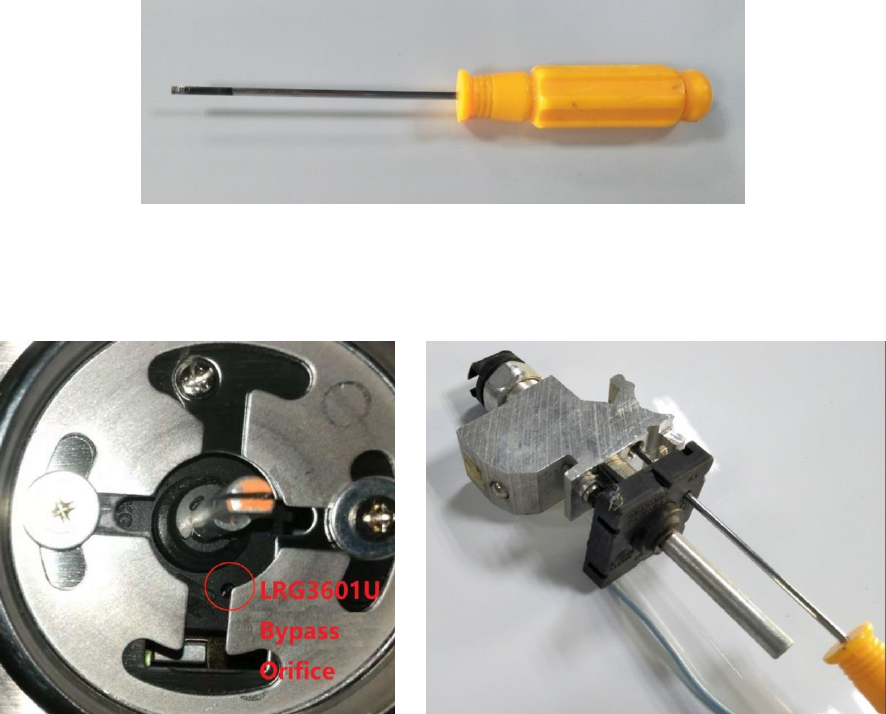
There’s a hole on the micro-switch (the black part) so that the screw driver could go across the micro-switch and
reach the bypass orifice on the burner valve. Bypass orifice could help to control the flame.