
Operator's Manual

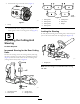
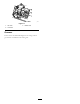
4.InstalltheO-ringonthereelmotor(Figure7).
g191072
Figure7
1.O-ring
5.Installthereelmotor,andgreasethesideplateuntil
excessgreasecomesoutofthegreasevent(Figure6).
5
AdjustingtheCutting-Unit
Steering
NoPartsRequired
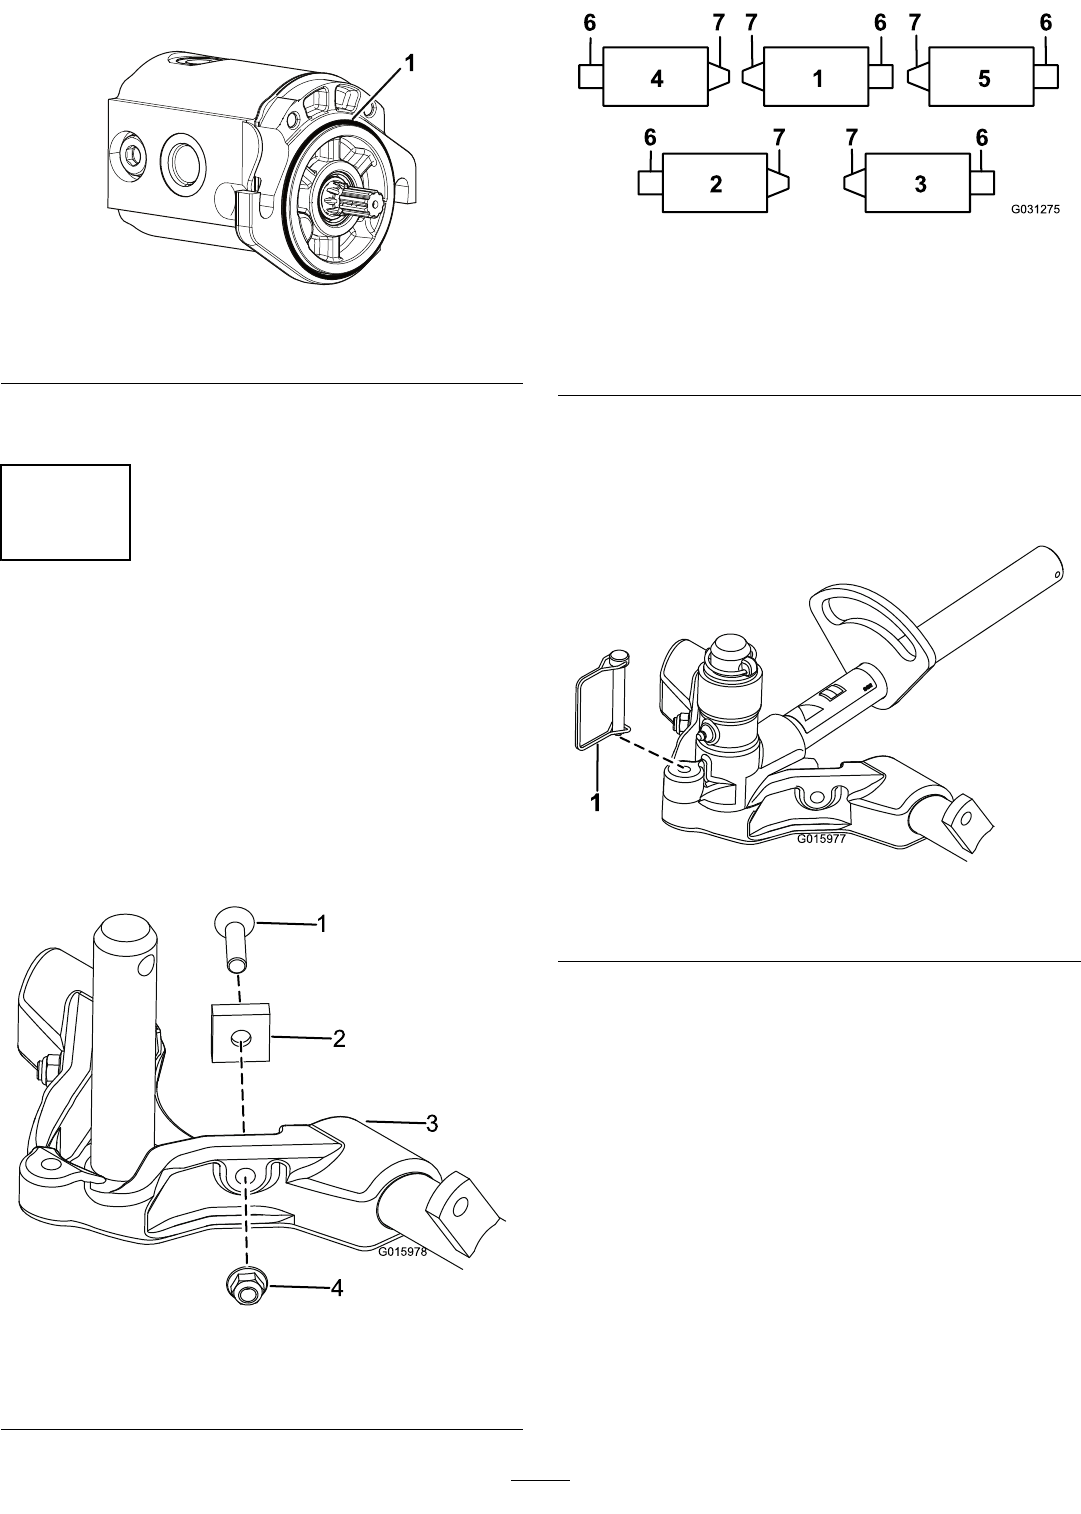
IncreasedSteeringfortheRearCutting
Units
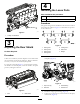
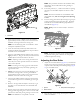
Increasethesteeringontherearcuttingunitsbyremoving
the2pivotspacers,hexsocketscrews,andangelocknuts
(Figure8)fromthecarrierframesoftherearcuttingunits
(cuttingunits2and3);refertoFigure9.
1
2
3
4
G015978
g015978
Figure8
1.Hexsocketscrew
3.Carrierframe
2.Pivotspacer4.Flangelocknut
g031275
Figure9
1.Cuttingunit15.Cuttingunit5
2.Cuttingunit2
6.Reelmotor
3.Cuttingunit3
7.Weight
4.Cuttingunit4
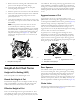
LockingtheSteering
Tolock(x)thesteeringonthecuttingunits,securethepivot
yoketothecarrierframewiththesnapperpin(Figure10).
1
G015977
g015977
Figure10
1.Snapperpin
Note:Fixedsteeringisrecommendedwhencutting
sidehills.
6