
Installation Instructions


1
FORM NO. 106-1225
This manual includes set-up instructions for the MULTI PRO
®
1100, MULTI PRO
®
1200, MULTI PRO
®
1250, MULTI PRO
®
5500, MULTI PRO
®
5600 and WORKMAN
®
Vehicles. Refer to the sections that contain
information pertaining to the set-up for your Vehicle or Sprayer. This kit will install on only MULTI PRO
®
1100 Vehicles are those with serial number of 30000 and up. Refer to the illustrated Parts List for the details
of parts used in assembling the Sonic Boom
Kit.
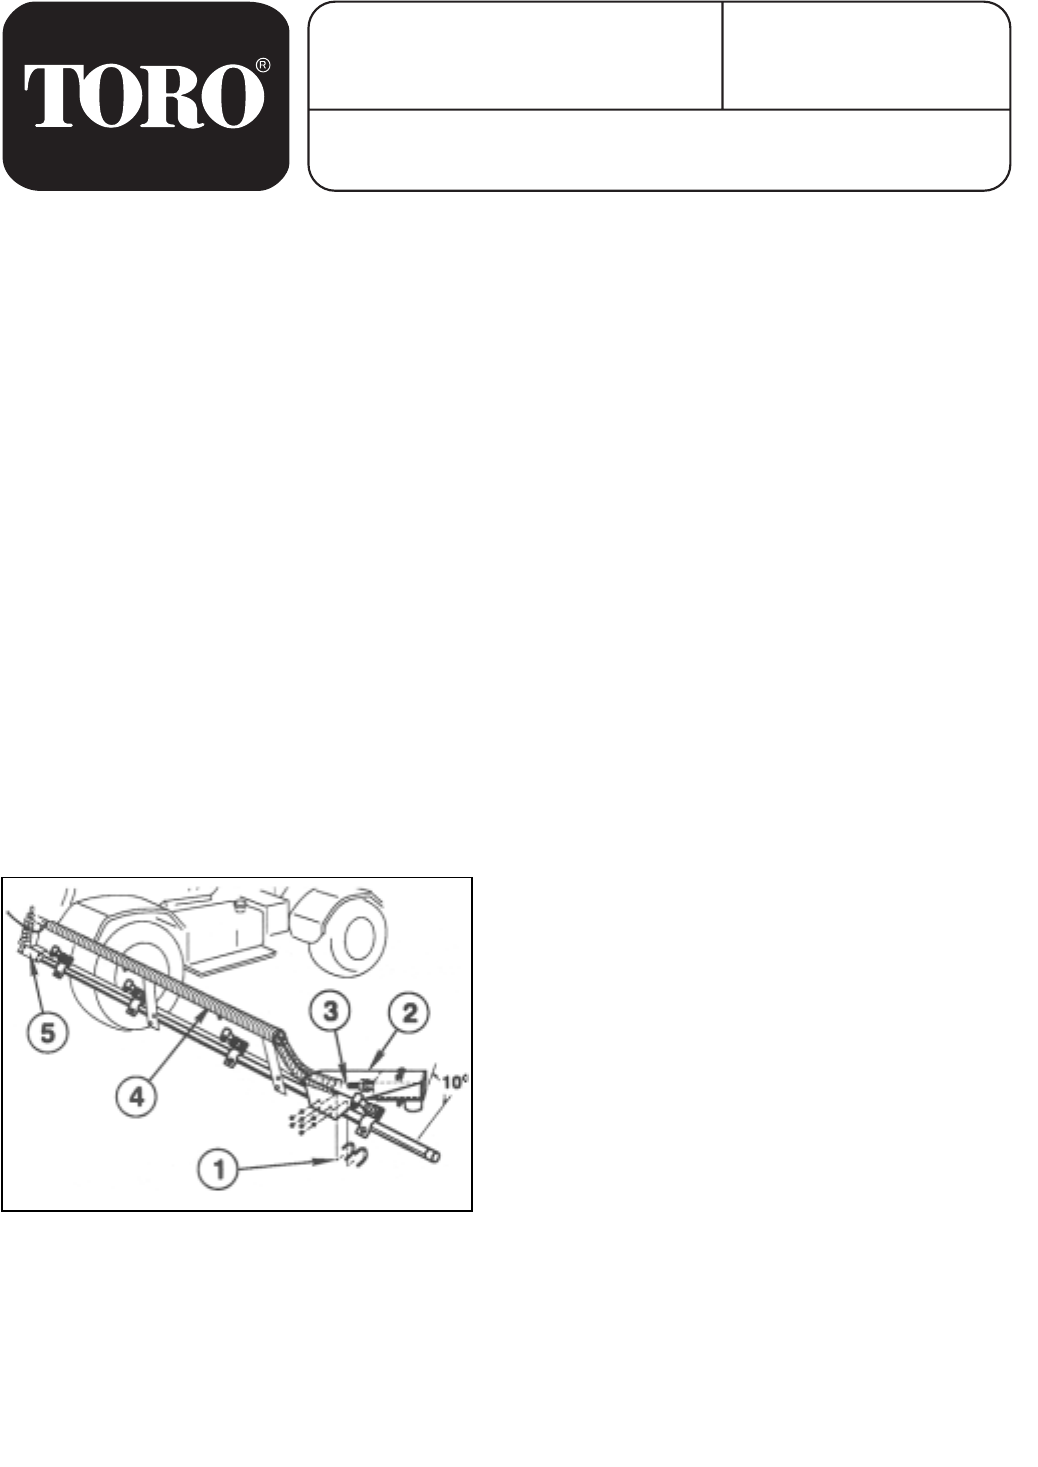
FIG. 1
NOTE: "Right" and "Left" as used in the
following instructions, refer to the operator's
right and left when seated in the normal
operating position. Likewise, "Front" and
"Rear" as seen from the operator's position.
©The TORO Company - 2002
All Rights Reserved
1725
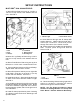
SONAR SENSOR INSTALLATION:
1. Mount the Sensor Bracket to the Boom Pipes
between the Vertical Support and the last Nozzle,
using two (2) "U" Bolts, (4) locknuts, and flat
washers. The Brackets should be tilted up 10°.
Right side is shown in FIG. 1.
NOTE: In order to use a Sonic Boom
Kit your sprayer must first be equipped
with an Electric Boom Lift Kit. The Harness
included with the Electric Boom Lift Kit will
not be used with the Sonic Boom
accessory and may be discarded.
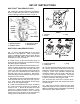
1. "U" Bolts
2. Sensor Bracket
3. Sonar Cord
4. Corrugated Split Tubing
5. Boom Hinge
3. Route the Sonar Cord along the top of the
Boom Support and toward the center of the
Vehicle. Install Corrugated Split Tubing over
Sonar Cable and Boom Support. Use Tie Straps
to secure the Sonar Cords and Corrugated
Tubing to the Boom Support at each end and at
the center. Allow sufficient slack in the Sonar Cord
at the Boom Hinge to permit the Boom to pivot
freely. See FIG. 1.
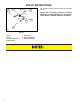
NOTE: Be sure that no obstructions (hoses
or nozzles are in the path of the Sonar
signal as it travels from the Sonar Head to
the ground surface.
Refer to the following section that contains
information pertaining to the set-up for your
Vehicle or Sprayer.
NOTE: Due to the commonality of the
Sonic Boom Kit there will be extra length
of Harness in some areas. This extra length
should be doubled over and tied using the
Tie Straps included with the Kit.
IMPORTANT: DO NOT ROUTE HARNESS
NEAR MOVING PARTS!
2. Attach the left Sensor Bracket in the
same manner on the left Boom Pipe.
MODEL NO. 41089
SONIC BOOM
for the WORKMAN
®
and MULTI PRO
®
SPRAYERS
SET-UP AND
PARTS MANUAL