
Operation Manual
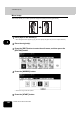
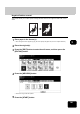

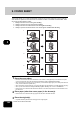
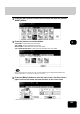
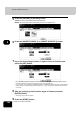
Table Of Contents
- CONTENTS
- NOTICE TO USERS
- TOSHIBA QUALITY IS SECOND TO NONE
- PREFACE
- FEATURES OF THE e-STUDIO520/600/720/850
- GENERAL PRECAUTIONS
- DISCLAIMER NOTICE
- 1. BEFORE USING EQUIPMENT
- 1. Description of Each Component
- 2. Turning Power On / Shutdown
- 3. Energy Saving Mode
- 4. Setting Copy Paper
- 2. HOW TO MAKE COPIES
- 3. SETTING OF BASIC COPY MODES
- 1. Paper Selection
- 2. Enlargement and Reduction Copying
- 3. Selecting Finishing Modes
- 4. Duplex Copying
- 5. Original Mode
- 6. Copy Density Adjustment
- 4. IMAGE ADJUSTMENT
- 5. USING THE EDITING FUNCTIONS
- 6. e-FILING
- 7. TEMPLATE
- 8. JOB STATUS
- 9. BLINKING GRAPHIC SYMBOLS
- 10. WHEN THIS MESSAGE APPEARS
- 1. “Toner low”
- 2. “Check staple cartridge”
- 3. “Check staple cartridge in the saddle stitch unit”
- 4. “Examine stapler”
- 5. “READY (CHECK STAPLER)”
- 6. “Examine stapler in the saddle stitch unit”
- 7. “READY (CHECK SADDLE STITCH STAPLER)”
- 8. “READY (HOLE PUNCH DUST BIN IS FULL)”
- 9. “POWER FAILURE”
- 10. “Time for periodic maintenance”
- 11. “Check paper size setting on control panel for drawer N”
- 12. “Reboot the machine”
- 11. MAINTENANCE
- 12. SPECIFICATIONS & OPTIONS
- INDEX
145
5
4
Press the [EDIT] button to enter the edit menu and then the [COVER
SHEET] button.
5
Press the desired cover sheet button.
TOP BLANK: To add a blank front cover sheet
TOP COPIED: To add a copied front cover sheet
BOTH BLANK: To add blank front and back cover sheets
TOP COPIED BACK BLANK: To add copied front and blank back cover sheets
When “1-Sided Original to 2-Sided Copy” with the [TOP COPIED] or [TOP COPIED BACK BLANK] button
pressed is performed, a 1-sided copy is made for a cover sheet.
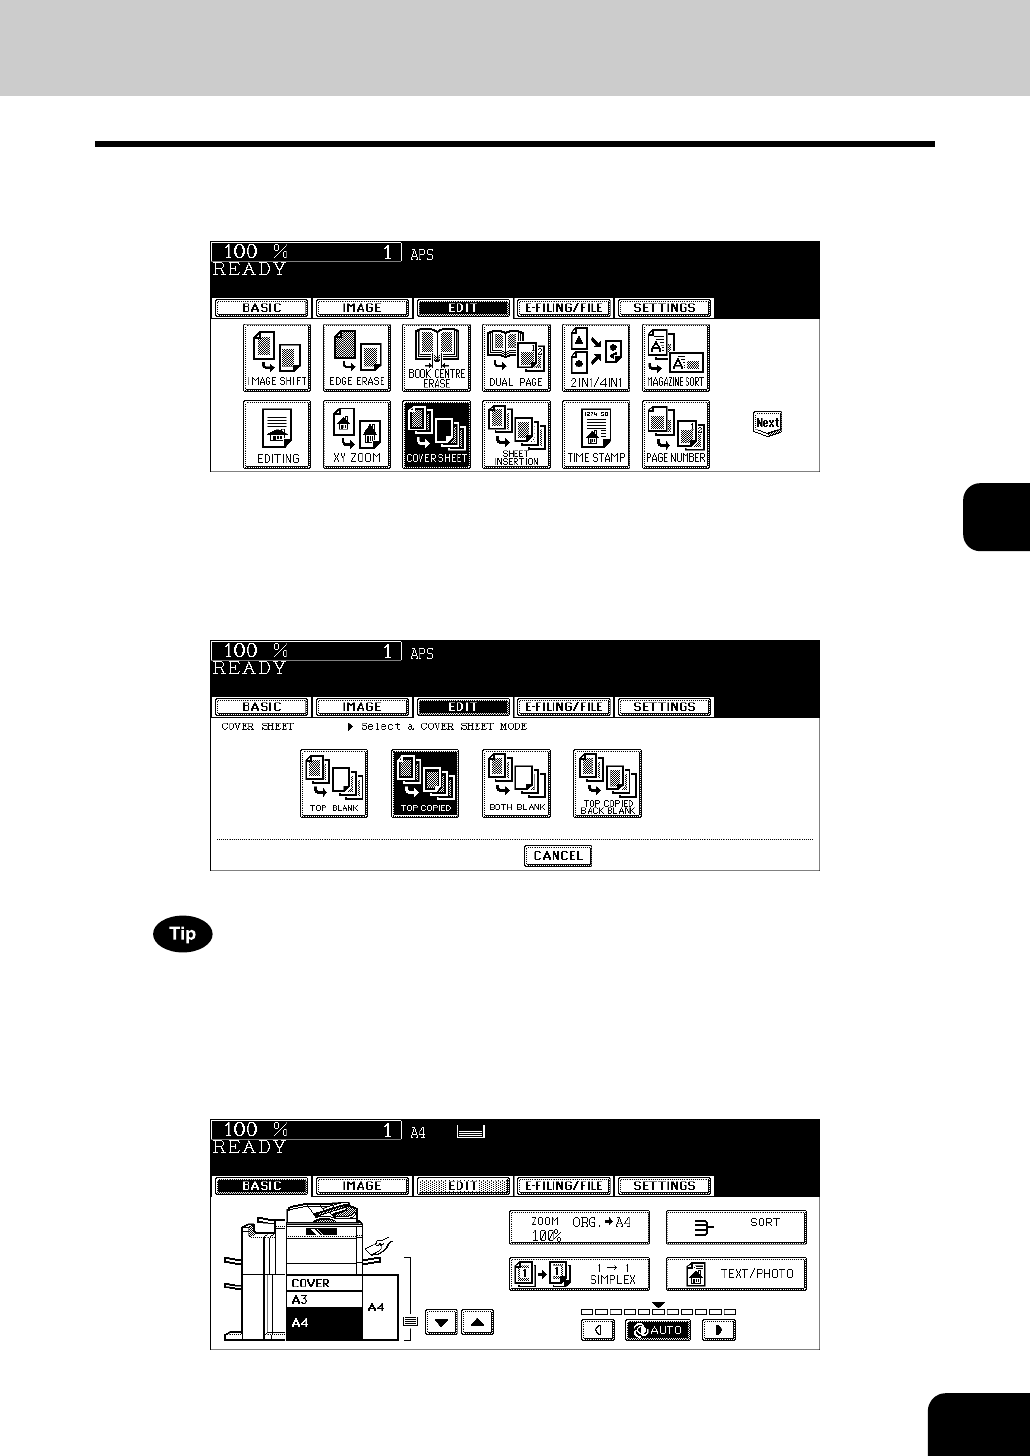
6
Press the [BASIC] button to enter the basic menu, and then select a
paper source of the same size and direction as the cover sheet.
• Select other copy modes as required.