
Tablet User Manual
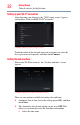
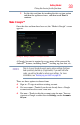
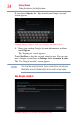
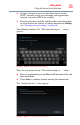
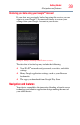
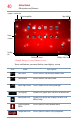
Table Of Contents
- Excite 10 User’s Guide
- Contents
- Introduction
- Chapter 1: Getting Started
- Features and components
- Connecting to a power source
- Battery Notice
- Charging the battery
- Taking care of your battery
- Disposing of your device
- Using the device for the first time
- Registering your Toshiba device
- Backing up your data
- Navigation and features
- Customizing your Home screens
- Turning off the device
- Syncing and managing your accounts
- Navigation, Maps, Places, and Latitude
- Managing downloads
- Factory data reset
- Caring for your device
- Chapter 2: Settings
- Customizing your device’s settings
- Apps and Settings menus
- Wireless and networks settings
- Sound settings
- Display settings
- Multimedia settings
- Location services settings
- Security settings
- Apps settings
- Accounts & sync settings
- Backup & reset settings
- Storage settings
- Language & input settings
- Accessibility settings
- Date & time settings
- About tablet
- Customizing your device’s settings
- Chapter 3: Working with Apps
- Chapter 4: Exploring the Features on your Device
- Chapter 5: Utilities
- Chapter 6: If Something Goes Wrong
- Appendix A: Power Cord/Cable Connectors
- Glossary
- Index
31
Getting Started
Using the device for the first time
manufacturing technology. Over a period of time, and depending on
the usage of the device, the brightness of the screen will deteriorate.
This is also an intrinsic characteristic of the screen technology.
Setting up your device
To take full advantage of features for your device, Toshiba
recommends that you have access to a Wi-Fi
®
network and a
Google™ Account before setting up your device.
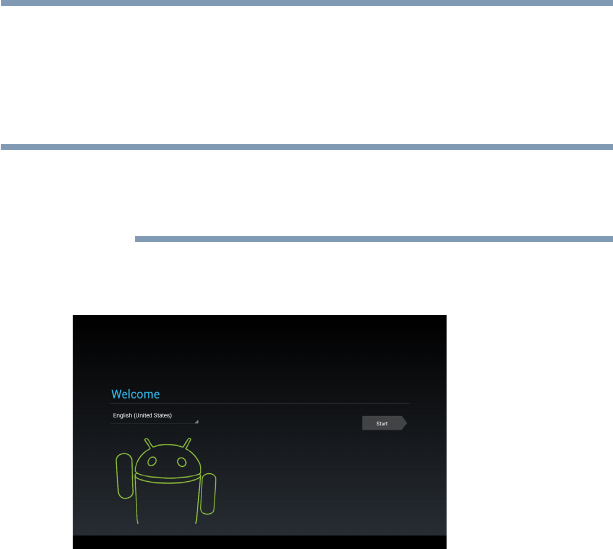
The first time you power on your tablet the “Welcome” screen
appears and you will be asked to choose a language.
(Sample Image) Welcome screen
❖ If English is your language of choice touch Start.
❖ Touch English to change your language. Choose from the list
of language options and then touch Start.
Your tablet begins the activation process when you touch Start on
the Welcome screen.
NOTE