
User's Manual


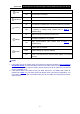
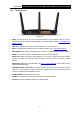
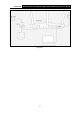
Table Of Contents
- Package Contents
- Chapter 1. Product Overview
- Chapter 2. Connecting the Modem Router
- Chapter 3. Quick Installation Guide
- Chapter 4. Configuring the Modem Router
- 4.1 Login
- 4.2 Status
- 4.3 Quick Setup
- 4.4 Operation Mode
- 4.5 Network
- 4.6 IPTV
- 4.7 DHCP Server
- 4.8 Wireless 2.4GHz
- 4.9 Wireless 5GHz
- 4.10 Guest Network
- 4.11 USB Settings
- 4.12 Route Settings
- 4.13 IPv6 Route Settings
- 4.14 Forwarding
- 4.15 Parental Control
- 4.16 Firewall
- 4.17 IPv6 Firewall
- 4.18 IPv6 Tunnel
- 4.19 Bandwidth Control
- 4.20 IP&MAC Binding
- 4.21 Dynamic DNS
- 4.22 Diagnostic
- 4.23 System Tools
- 4.24 Logout
- Appendix A: Specifications
- Appendix B: Troubleshooting
- Appendix C: Technical Support
Archer D2
AC750 Wireless Dual Band Gigabit ADSL2+ Modem Router User Guide
Chapter 3. Quick Installation Guide
This chapter will show you how to configure the basic functions of your Archer D2 AC750 Wireless
Dual Band Gigabit ADSL2+ Modem Router using Quick Setup Wizard within minutes.
3.1 TCP/IP Configuration
The default IP address of the Archer D2 AC750 Wireless Dual Band Gigabit ADSL2+ Modem
Router is 192.168.1.1. And the default Subnet Mask is 255.255.255.0. These values can be
changed as you desire. In this guide, we use all the default values for description.
Connect the local PC to the LAN/WAN port of the modem router. And then you can configure your
PC in the following way.
1) Set up the TCP/IP Protocol in "Obtain an IP address automatically" mode on your PC.
If you need instructions as to how to do this, please refer to T3 in
Appendix B:
Troubleshooting.
2) Then the built-in DHCP server will assign IP address for the PC.
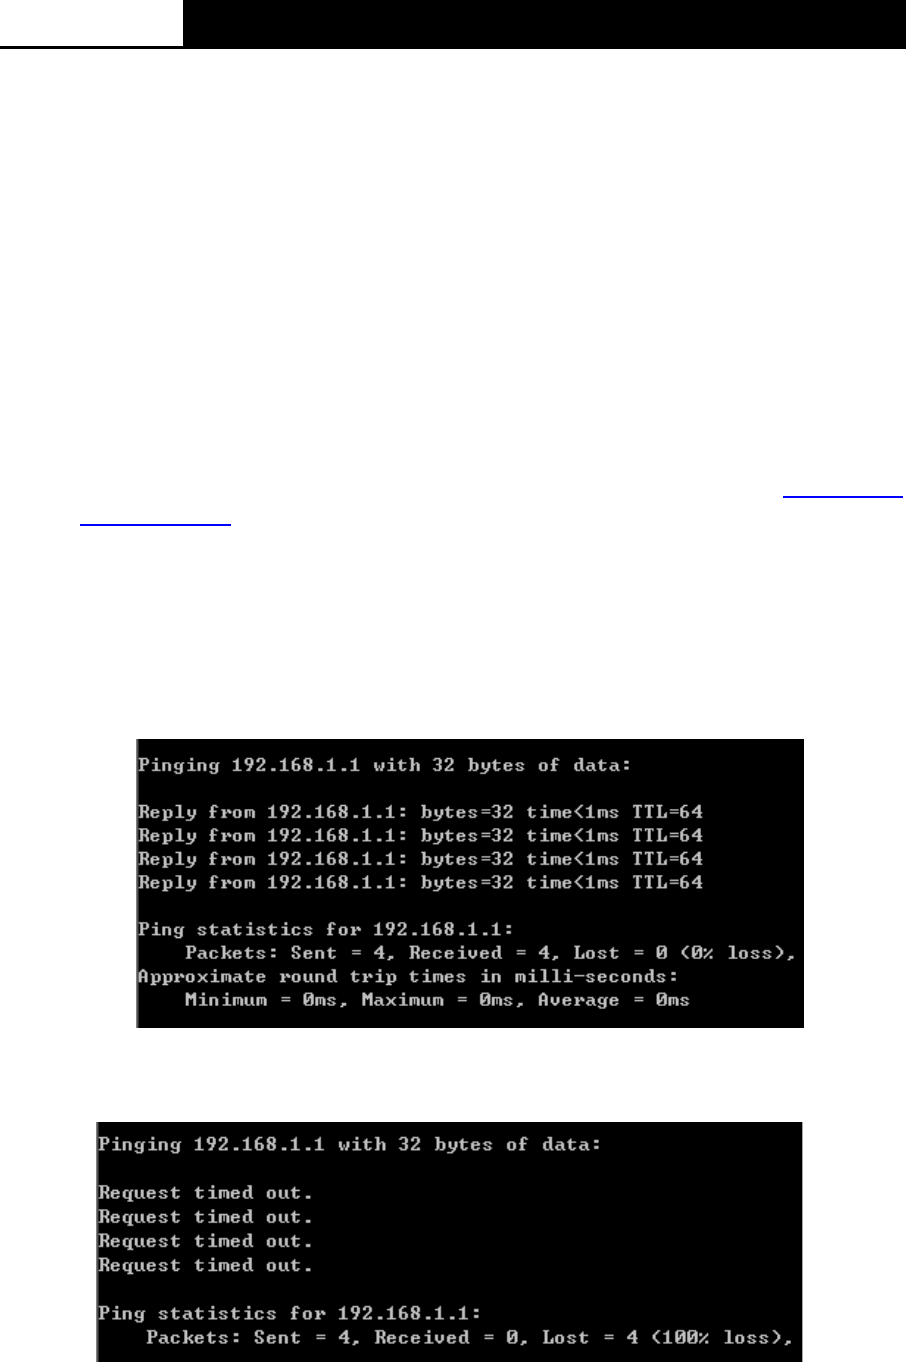
Now, you can run the Ping command in the command prompt to verify the network connection.
Please click the Start menu on your desktop, select run tab, type cmd or command in the field
and press Enter. Type ping 192.168.1.1 on the next screen, and then press Enter.
If the result displayed is similar to the screen below, the connection between your PC and the
router has been established.
If the result displayed is similar to the screen shown below, it means that your PC has not
connected to the router.
You can check it following the steps below:
1) Is the connection between your PC and the router correct?
9