
User's Manual
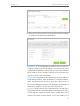

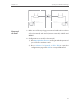
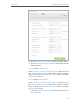
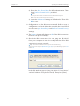
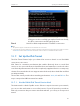
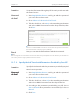
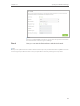

Table Of Contents
- About This Guide
- Get to Know About Your Modem Router
- Connect the Hardware
- Log into Your Modem Router
- Set Up Internet Connections
- Bandwidth Control
- Network Security
- IPTV
- USB Settings
- Parental Controls
- Guest Network
- NAT Forwarding
- Specify Your Network Settings
- Administrate Your Network
- Appendix A: Specifications
- Appendix B: Troubleshooting
86
Chapter 13
Administrate Your Network
13. 1. Set System Time
System time is the time displayed while the modem router is running. The system time
you configure here will be used for other time-based functions like Parental Controls
and Wireless Schedule. You can manually set how to get the system time.
Follow the steps below to set your system time.
1. Visit http://tplinkmodem.net, and log in with the password you set for the modem
router.
2. Go to Advanced > System Tools > Time Settings page.
3. Configure the system time using the following methods :
Manually: Select your time zone and enter your local time.
Get from PC: Click this button if you want to use the current managing PC’s time.
Get GMT: Click this button if you want to get time from the Internet. Make sure your
modem router can access the Internet before you select this way to get system
time.
4. Click Save to make your settings effective.
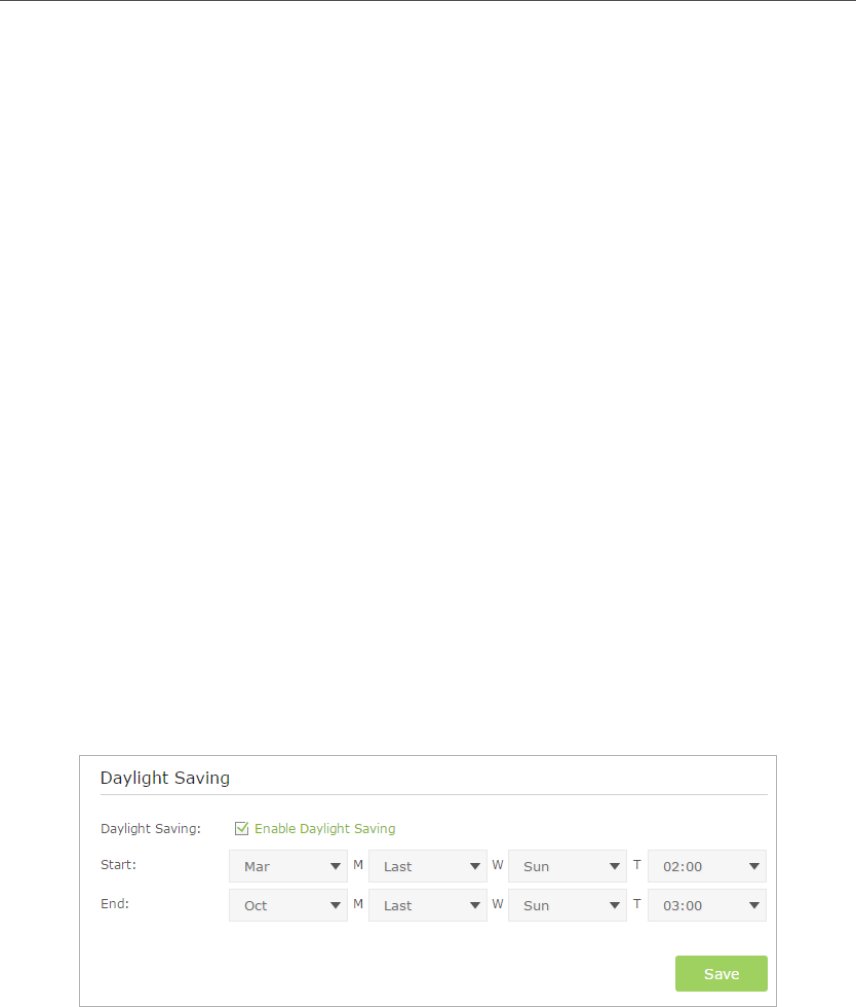
5. After setting the system time, you can set Daylight Saving time according to your
needs. Tick the checkbox to enable Daylight Saving, set the start and end time and
then click Save to make the settings effective.
13. 2. Update the Firmware
TP-LINK is dedicated to improving and enriching the product features, giving you a
better network experience. We will release the latest firmware at TP-LINK official
website, you can download the latest firmware file from our website: www.tp-link.com
and upgrade the firmware to the latest version.
Follow the steps below to update your firmware to the latest.
1. Download the latest firmware file from our website: www.tp-link.com.