
User's Manual
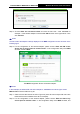
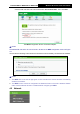
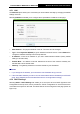


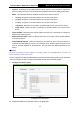
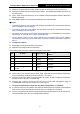
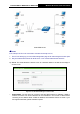
Table Of Contents
- 组合 4.pdf
- 组合 2.pdf
- TL-WA801ND UG.pdf
- Package Contents
- Chapter 1 Introduction
- Chapter 2 Hardware Installation
- Chapter 3 Quick Installation Guide
- Chapter 4 Configure the Device
- Appendix A: Application Example
- Appendix B: Factory Defaults
- Appendix C: Troubleshooting
- Appendix D: Specifications
- Appendix E: Glossary
- RF Exposure Information
- TL-WA801ND UG.pdf
- RF Exposure Information
- 组合 2.pdf
- TL-WA801ND IC UG
- 组合 2
- TL-WA801ND UG.pdf
- Package Contents
- Chapter 1 Introduction
- Chapter 2 Hardware Installation
- Chapter 3 Quick Installation Guide
- Chapter 4 Configure the Device
- Appendix A: Application Example
- Appendix B: Factory Defaults
- Appendix C: Troubleshooting
- Appendix D: Specifications
- Appendix E: Glossary
- RF Exposure Information
- TL-WA801ND UG.pdf
- TL-WA801ND UG.pdf
- Package Contents
- Chapter 1 Introduction
- Chapter 2 Hardware Installation
- Chapter 3 Quick Installation Guide
- Chapter 4 Configure the Device
- Appendix A: Application Example
- Appendix B: Factory Defaults
- Appendix C: Troubleshooting
- Appendix D: Specifications
- Appendix E: Glossary
- 组合 2
TL-WA701ND/TL-WA801ND/TL-WA901ND
Wireless N Access Point User Guide
24
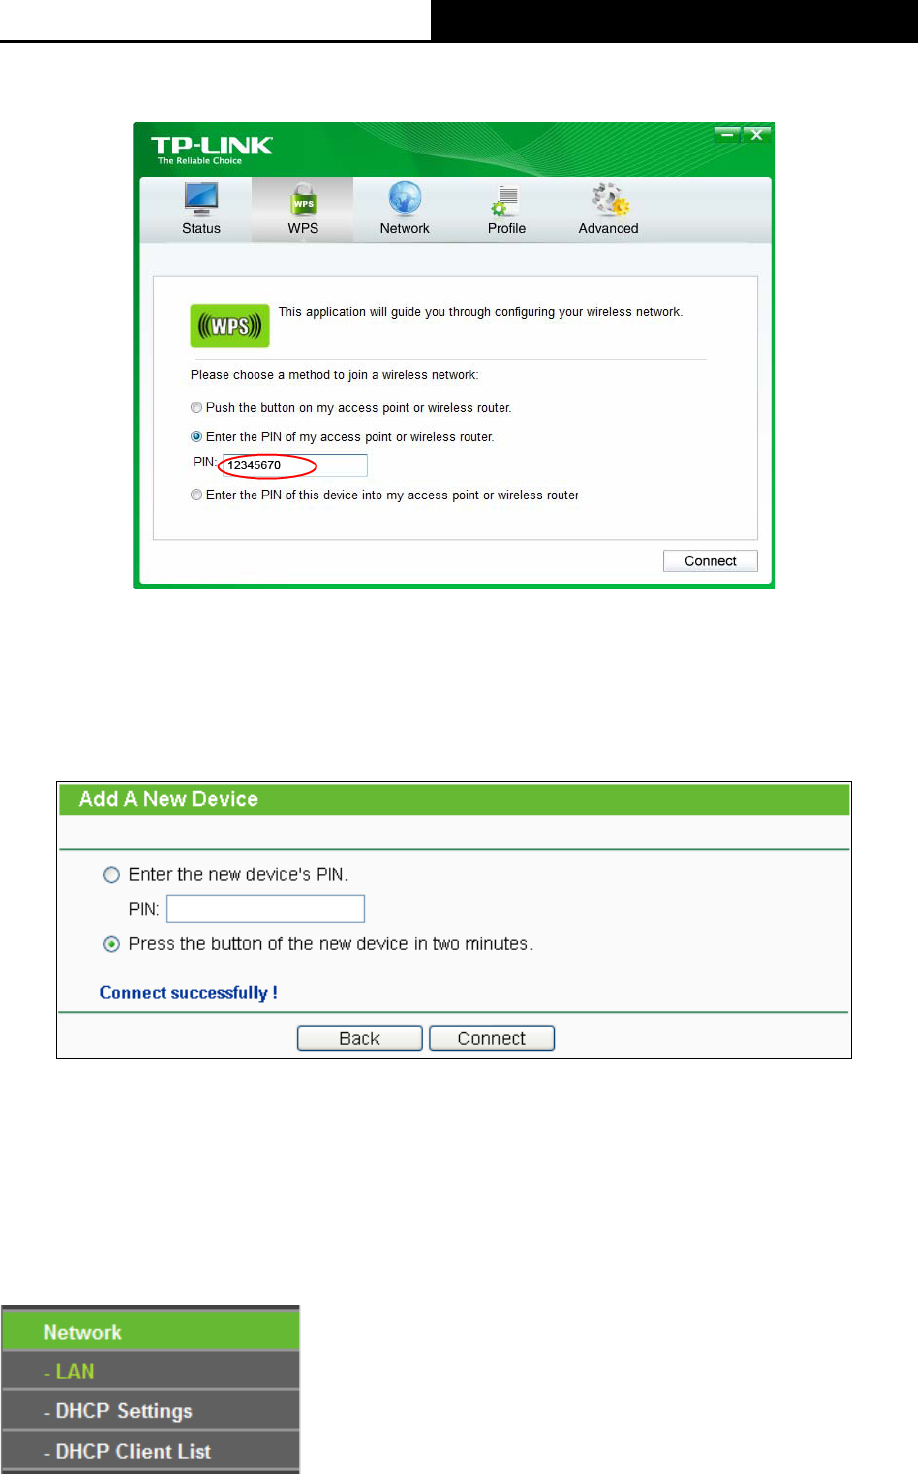
enter the PIN code of the AP into the field after “Access Point PIN”. Then click Next.
The WPS Configuration Screen of Wireless Adapter
Note:
The default PIN code of the AP can be found in its label or the WPS configuration screen as Figure
4-5 .
You will see the following screen when the new device has successfully connected to the network.
Note:
1. The WPS LED on the AP will light green for five minutes if the device has been successfully
added to the network.
2. The WPS function cannot be configured if the Wireless function of the AP is disabled. Please
make sure the Wireless function is enabled before configuring the WPS.
4.5 Network