
User Guide
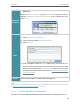


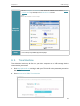
Table Of Contents
- About This Guide
- Get to Know About Your Router
- Connect the Hardware
- Log In to Your Router
- Set Up Internet Connection
- TP-Link Cloud Service
- Wireless Settings
- Guest Network
- USB Settings
- HomeShield
- OneMesh with Seamless Roaming
- Network Security
- NAT Forwarding
- VPN Server
- Customize Your Network Settings
- Manage the Router
- 15. 1. Upgrade the Firmware
- 15. 2. Backup and Restore Configuration Settings
- 15. 3. Change the Login Password
- 15. 4. Password Recovery
- 15. 5. Local Management
- 15. 6. Remote Management
- 15. 7. System Log
- 15. 8. Test the Network Connectivity
- 15. 9. Set Up System Time
- 15. 10. Set the Router to Reboot Regularly
- 15. 11. Control the LED
- FAQ
44
Chapter 8
USB Settings
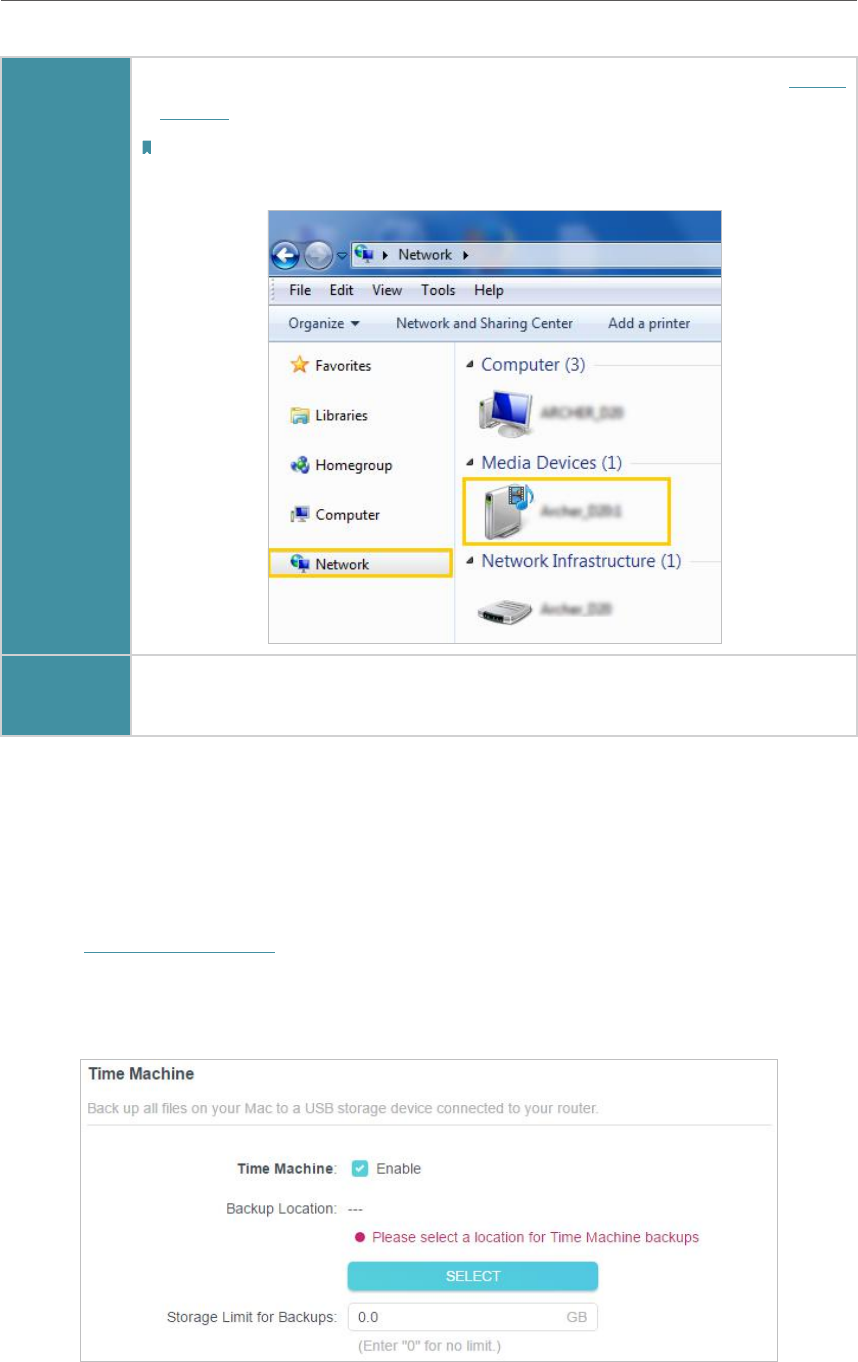
Windows
Computer
• Go to Computer > Network, then click the Media Server Name (Model
number-share by default) in the Media Devices section.
Note:
Here we take Windows 7 as an example.
Tablet
• Use a third-party DLNA-supported player.
8. 3. Time Machine
Time Machine backs up all files on your Mac computer to a USB storage device
connected to your router.
1. Visit http://tplinkwifi.net, and log in with your TP-Link ID or the password you set for
the router.
2. Go to Advanced > USB > Time Machine.