TRENDnet User’s Guide Cover Page
TRENDnet User’s Guide Table of Contents Contents Product Overview .................................................................................... 2 Package Contents ...................................................................................................... 2 Technical Specifications .........................................................................40 Troubleshooting.....................................................................................42 Features ....................
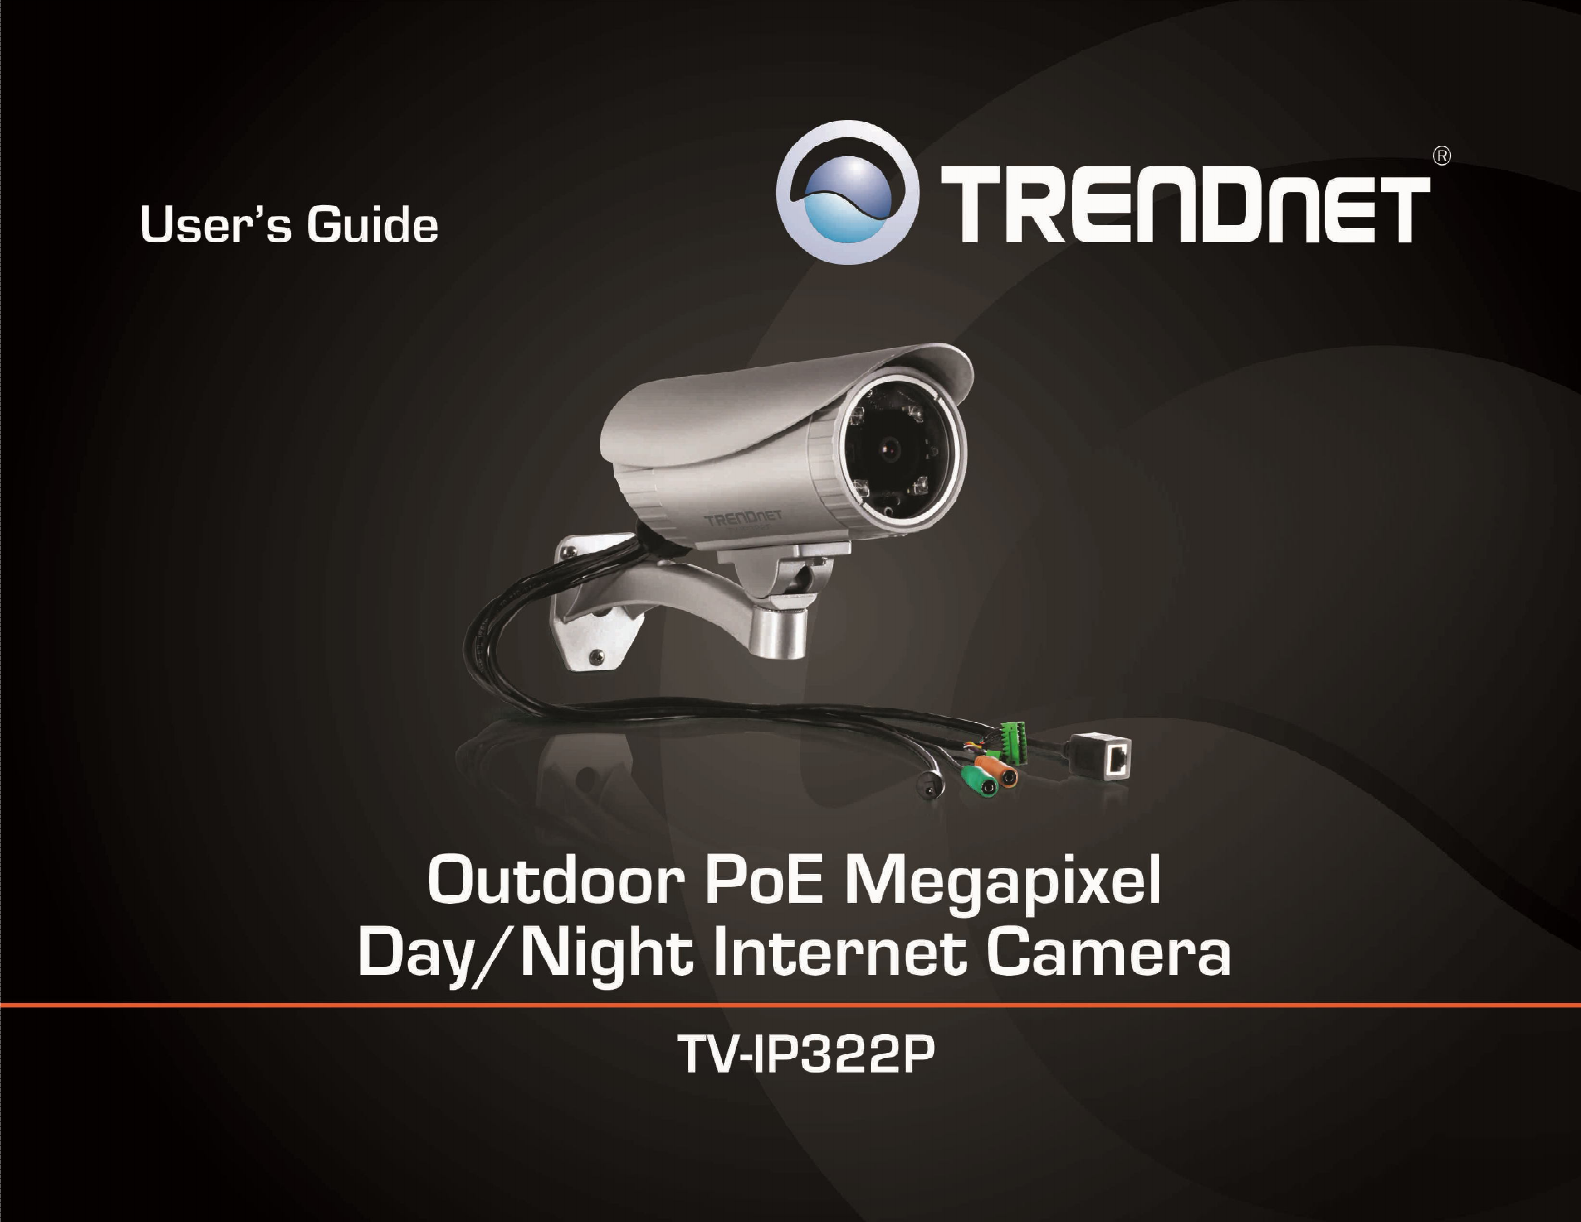
TV-IP322P TRENDnet User’s Guide Product Overview Features The SecurView Pro Outdoor PoE Megapixel Day/Night Internet Camera, model TVIP322P, provides powerful Megapixel night vision in complete darkness for up to 20 meters (66 feet). This camera is outdoor installation ready with an IP66 rated weather proof and vandal proof outdoor enclosure. No need to install this camera near a power source, power and data are received through a single Ethernet cable using Power over Ethernet (PoE) technology.
TV-IP322P TRENDnet User’s Guide Product Hardware Features Camera Connectors Camera Overview Shield Lens Camera Connectors Power Connector Shield: It is used to protect the camera for the inclement weather. Several Speaker Out: Connects an external audio device (such as the active speaker) to deliver sound via the camera. Microphone In: Connects an external microphone to receive the on-the-spot sound where the camera is installed.
TV-IP322P TRENDnet User’s Guide Application Diagram Installation Hardware Installation 1. Use the included drill template to drill three mounting holes on the desire location and hammer the plastic anchors into the holes. 2. Secured the provided screws to the camera. © Copyright 2012 TRENDnet. All Rights Reserved.
TV-IP322P TRENDnet User’s Guide 3. Assemble the sun visor to the camera by using the provided screws and washers. 5. Align the mounting bracket to the anchors that you hammer on step 1, and then use the provided screws to secure it. Secure the camera to the mounting bracket. 6. Adjust the swivel ball on the mounting bracket to desired position. 7. The camera hardware installation is now completed. 4. Assemble the camera mounting bracket to the camera by using the provided screws and washers.
TV-IP322P TRENDnet User’s Guide Hardware Feature 3. Replace the back cover and then screw the three screws. Camera Focus: Open the front cover and adjust the lens focus by turning the lens ring slowly in either clockwise or counter clockwise direction. SD Slot Lens Waterproofing The camera is designed featuring waterproof. However, you need to protect the connectors from water soak.
TV-IP322P TRENDnet User’s Guide Camera Installation 1. Insert the Installation CD-ROM into your computer’s CD-ROM drive to initiate the Auto-Run program. 2. Click the Install Camera. 3. Write down the MAC address of your camera. 4. If using PoE, please skip to the next step. For non-PoE user, please plug and connect the power adapter to the camera. Please wait for 60 seconds for the camera to boot up. © Copyright 2012 TRENDnet. All Rights Reserved.
TV-IP322P TRENDnet User’s Guide 5. Connect a network cable to the camera’s network port and then to your network. If you are using PoE, please ensure the cable is connected to a PoE switch or PoE injector. 7. The founded cameras will show on the screen. The camera already selected by default if you have only one camera installed. If you have more than one camera in the same Network, you will need to identify the camera by the MAC address. 6. Wait while camera is searching. 8. Type in the Password.
TV-IP322P TRENDnet User’s Guide 9. Click here on the screen to access the camera now or click Next button for later accessing. If you will access the camera later and the DHCP mode was selected, you will need to run Camera Finder (IPSetup) utility as described in next section. Starting Camera Finder (IPSetup) The camera comes with a conveniently utility, IPSetup, which is included in the Installation CD-ROM, allowing you to search the camera on your network easily. 1.
TV-IP322P TRENDnet User’s Guide 2. 3. Click Install 4. After installing the IPSetup utility, the application is installed to your computer, and creates a folder in Start\Program\TRENDnet\IPSetup. 5. Click Start>Programs>TRENDnet>IPSetup, and then click IPSetup. 6. The IPSetup window will appear. It will search for the cameras within the same network. Click Finish. Camera Display Area - © Copyright 2012 TRENDnet. All Rights Reserved.
TV-IP322P TRENDnet User’s Guide - Camera Display Area: By default, the IP setting on the Camera is set to DHCP. If you have DHCP server, the camera will automatic get the IP address from DHCP server. If you do not have DHCP server on your network, it will show the default IP as 192.168.10.30. Double click the IP address; it will link to camera’s web configuration page. - Access Camera: Click this button to go to camera’s web configuration page.
TV-IP322P TRENDnet User’s Guide After you login into the Web Configuration of the camera, the main page will appear as below: Compression Buttons: Select to transmit and record the video using H.264, MPEG4, or MJPEG compression. Function Buttons: Manual Record allows you manually record and save a video clip*. Snapshot allows you to capture and save a still image*. Browse allows you to assign the destination folder to store the video clips and still images*.
TV-IP322P TRENDnet User’s Guide * If you are using Microsoft 7/Vista platform, you may not be able to find the recorded files by Snapshot or Manual Record. You will need to disable the protected mode of Security in the IE browser before recording a video file or taking a snapshot. Please follow the below steps: Configuring the Camera Setting To configure the camera, click on the Main screen of Web Configuration. The Web Configuration will start from the Basic page. 1. Open IE Browser 2.
TV-IP322P TRENDnet User’s Guide Smart Wizard IP Setting Select the IP setting according to your network: DHCP, Static IP, or PPPoE. The camera’s Smart Wizard lets you configure your camera easily and quickly. The wizard will guide you through the necessary settings with detailed instructions on each step. To start the wizard, click Smart Wizard in the left menu bar. Camera Setting By default, the camera name is set as model number. Change the name if necessary.
TV-IP322P TRENDnet User’s Guide Confirm Settings Basic The last step shows the configuration of your camera. When you confirm the settings, click Apply to finish the wizard and reboot the camera. Otherwise, click Prev to go back to the previous step(s) and change the settings; or click Cancel to end the wizard and discard the changes. The Basic menu contains three sub-menus that provide the system settings for the camera, such as the Camera Name, Location, Date & Time, and User management.
TV-IP322P TRENDnet User’s Guide Basic >> System Basic: This item allows you to assign the camera name and location information. Camera Name: Enter a descriptive name for the camera, which is helpful to identify the camera easily while multiple cameras are connected within the network. Location: Enter a descriptive name for the location where is monitored by the camera. Language Default: Select the displayed language as default.
TV-IP322P TRENDnet User’s Guide Basic >> User NOTE: The “General User” is allowed to access the camera and control the Function buttons on the Main screen of the Web Configuration.; the “Guest” can only view the live view image from the Main screen while accessing the camera. Only the “Administrator” is allowed to configure the camera through the Web Configuration.
TV-IP322P TRENDnet User’s Guide Network Network >> Network The Network menu contains two sub-menus that provide the networking settings for the camera, such as the IP Setting, DDNS Setting, and IP Filter. IP Setting: This item allows you to select the IP address mode and set up the related configuration. - DHCP: Select this option when your network uses the DHCP server. When the camera starts up, it will be assigned an IP address from the DHCP server automatically.
TV-IP322P TRENDnet User’s Guide - Subnet Mask Enter the Subnet Mask of the camera. The default setting is 255.255.255.0. Default Gateway Enter the Default Gateway of the camera. The default setting is 192.168.10.1. Primary/ Secondary DNS DNS (Domain Name System) translates domain names into IP addresses. Enter the Primary DNS and Secondary DNS that are provided by ISP. NOTE: If the camera is behind an NAT router of firewall, the suggested to be used is from 1024 to 65535.
TV-IP322P TRENDnet User’s Guide The Apple Safari is already with Bonjour. You can download the complete Bonjour for Internet Explorer browser from Apple's web site by visiting http://www.apple.com/bonjour/. RTSP - RTSP Streaming: The camera supports three levels of RTSP access. The default RTSP Port is 554. Disable Basic Digest QoS Live Video DSCP: Assign the DSCP (DiffServ Code Point) of the stream video from the camera.
TV-IP322P TRENDnet User’s Guide For example, when you enter 192.168.0.50 in Start IP Address and 192.168.0.80 in End IP Address, the user whose IP address located within 192.168.0.50 ~ 192.168.0.80 will be allowed to access the camera. The Video & Audio menu contains four sub-menus that provide the video and audio settings for the camera. IPv6: Enter the IP Address that is allowed to access the camera.
TV-IP322P TRENDnet User’s Guide Video & Audio >> Camera - AE Control: Select AE (Auto Exposure) speed as Fast, Normal or Slow. Mode Frequency AE Control (Day Time) min. shutter speed Fast Normal AE Control (Night Time) min. shutter speed Slow Fast Normal Slow 60Hz 1/120s 1/60s 1/30s 1/120s 1/60s 1/30s 50Hz 1/100s 1/50s 1/25s 1/100s 1/50s 1/25s 60Hz 1/120s 1/60s 1/15s 1/120s 1/60s 1/15s 50Hz 1/100s 1/50s 1/12.5s 1/100s 1/50s 1/12.
TV-IP322P TRENDnet User’s Guide - - Video Resolution: Select the desired video resolution from the three formats: VGA, QVGA and QQVGA. The higher setting (VGA) obtains better video quality while it uses more resource within your network. - Video Quality: Select the desired image quality from five levels: Lowest, Low, Medium, High, and Highest. Frame Rate: Select Auto or a proper setting depending on your network status.
TV-IP322P TRENDnet User’s Guide This sub-menu is used to set the image overlay and mask feature of the camera. Image Overlay: This item allows you to set the image overlay. In the Image File option, click Browse to select the image file from your computer, and then click Upload. You can click Preview to check the image size and adjust the image position before clicking Upload. The preview image area is displayed with red dotted line.
TV-IP322P TRENDnet User’s Guide Event Server Event Server Setting >> HTTP The Event Server menu contains four sub-menus that allow you to upload images to FTP, send emails that include still images, and store the images to a NAS system. When you complete the required settings for HTTP, FTP, Email, or Network Storage, click Test to test the related configuration is correct or not. Once the camera connects to the server successfully, click Apply.
TV-IP322P TRENDnet User’s Guide Event Server Setting >> FTP Event Server Setting >> Email FTP - Host Address: Enter the IP address of the target FTP server. Port Number: Enter the port number used for the FTP server. User Name: Enter the user name to login into the FTP server. Password: Enter the password to login into the FTP server. Directory Path: Enter the destination folder for uploading the images. For example, test. Passive Mode: Select the Enable option to enable passive mode.
TV-IP322P TRENDnet User’s Guide communication protocols. It offers a way to upgrade a plain text connection to an encrypted (TLS or SSL) connection. - - Event Server Setting >> Network Storage Authentication Mode: Select None to disable the authentication feature, or select SMTP and then enter the User Name and Password according to the mail server configuration. Sender User Name: Enter the user name to login the mail server. Sender Password: Enter the password to login the mail server.
TV-IP322P TRENDnet User’s Guide Event Server Setting >> Instant Message Motion Detect The Motion Detect menu contains the command and option that allow you to enable and set up the motion detection feature of the camera. The camera provides three detecting areas. The camera supports the Jabber IM service, so that you can send an instant message once you have a Jabber account. For more information of Jabber, please visit the Jabber Website at: http://jabber.org/Main_Page.
TV-IP322P TRENDnet User’s Guide Event Config Event Configuration >> General Setting The Event Config menu contains five sub-menus that provide the commands to configure event profiles. General - Filename Prefix (Snapshot/Recording Subfolder): You can assign a descriptive name for the subfolder to save the captured image/video files. Otherwise, leave this option blank to use the default setting.
TV-IP322P TRENDnet User’s Guide Event Configuration >> Motion Detect Trigger - - - Profile Name: Display the profile name that you select in the Schedule Profiles list. Weekdays: Select the weekday(s) that you want to separately assign in the schedule profile. The weekday that has been assigned will be displayed with green color. Time List: Display the time period that you have assigned within the selected weekday.
TV-IP322P TRENDnet User’s Guide Event Configuration >> Schedule Trigger Event Configuration >> GPIO Trigger You can separately configure the schedule for trigger function of the camera by Email, FTP, or Network Storage. Select the Enable option on each item, and then select a Schedule Profile from the pull-down list and set the Interval time.
TV-IP322P TRENDnet User’s Guide - Tools The Tools menu provides the commands that allow you to restart or reset the camera. You can also backup and restore your configuration, and upgrade the firmware for the camera. - Update Firmware: You can upgrade the firmware for your camera once you obtained a latest version of firmware. - Current Firmware Version: This item displays the current firmware version. - Select the firmware: Click Browse to locate the backup file and then click Update.
TV-IP322P TRENDnet User’s Guide RS-485 RS-485 >> RS-485 Setting The RS-485 menu provides the control settings for external device through the I/O port. Select the Enable option and complete the required configuration to use the RS-485 function of the device. Popular Protocol Setting: Select a Protocol (Pelco-D or Pelco-P) and then select a Camera ID. Custom Protocol Setting: Select this option to configure the commands protocol manually.
TV-IP322P TRENDnet User’s Guide RS-485 >> Patrol - Zoom Speed: Adjust the speed (1 ~ 10) while zooming the lens. - Focus Speed: Adjust the speed (1 ~ 10) while focusing the lens. Zoom In/Zoom Out: Click to zoom in/out the live view image. - Focus Far/Focus Near: Click to adjust the focus by far/near. - Patrol Position This field allows you to set the positions for camera’s patrolling: 1. 2. 3. 4.
TV-IP322P TRENDnet User’s Guide SD Card The SD Card menu allows you to set the SD card function installed in the camera. - When Storage Full: Select Stop Recording or Recycle – Delete Oldest Folder when the storage space on the SD card is full. - Encode Format: Select MPEG4 or H.264 as the encode format while recording. - File Format: Select MP4 or AVI as the file format while recording. SD Card >> File Manager The File Manager menu allows you to download files from the SD card.
TV-IP322P TRENDnet User’s Guide Device Info Device Info >> Device Info The Information menu displays the current configuration and events log of the camera. Display the Basic, Video & Audio, and Network settings of the camera. © Copyright 2012 TRENDnet. All Rights Reserved.
TV-IP322P TRENDnet User’s Guide Device Info >> System Logs How to setup/access the camera behind a Router The Logs table displays the events log recorded by the system. You can either setup the Dynamic DNS connection via camera itself or your home router. An account from any of the listed DDNS providers is required prior to this operation. Configure DDNS on your Camera 1. Go to Camera’s DDNS Setting page, click Enable to activate the feature. Then select a DDNS provider from the list. 2.
TV-IP322P TRENDnet User’s Guide 4. Open another web browser and go to your Router’s Web Configuration page. (In the example, TRENDnet’s TEW-651BR Wireless N router is used) 5. Go to Virtual Server* section and create a new entry. Enable: Click Enable Name: Enter the application name (eg. CameraName) Protocol: Select TCP Private Port: The HTTP port that you assign on your Camera. Public Port: The port used on remote side to access to your Camera. LAN Server: The local IP address of your Camera.
TV-IP322P TRENDnet User’s Guide 6. Open another web browser and enter your DDNS domain and camera’s port number. http://yourDomainName:PortNumber 7. Camera’s login page will appear. 3. Find the Dynamic DNS configuration section. 4. Enable DDNS, fill out the following information and then click Apply. Configure DDNS on your router 1. 2. Go to Camera’s DDNS Ports Number section, assign a HTTP port for your camera and click Apply. Login to your router’s web configuration page.
TV-IP322P TRENDnet User’s Guide 5. Go to Virtual Server* section and create a new entry. Enable: Click Enable Name: Enter the application name (eg. Camera Name) Protocol: Select TCP Private Port: The HTTP port that you assign on your Camera. Public Port: The port used on remote side to access to your Camera. LAN Server: The local IP address of your Camera.
TV-IP322P TRENDnet User’s Guide LED Power, Link Backup / Restore IR Wavelength 850nm Settings Reset Button Reboot or restore to factory default Image Power Over Ethernet PoE Power on RJ-45 pin 3,6 for Power+ and pin 1,2 for Power- Brightness, saturation, sharpness, and mirror (horizontal/vertical) Video Encoding type: H.264, MPEG-4, MJPEG Power Consumption 9.5 Watts max. Power Input: 100 ~ 240V AC , 0.
TV-IP322P TRENDnet User’s Guide Troubleshooting 1. Take a pen and press the reset button for 10 seconds, then let go. I inserted the Utility CD-ROM into my computer's CD-ROM Drive but the installation menu does not appear automatically. What should I do? Windows 7 If the installation menu does not appear automatically, click on the Windows Icon on the bottom left hand corner of the screen, click the “Search programs and files” box, and type D:\autorun.exe, where “D” in “D:\autorun.
TV-IP322P TRENDnet User’s Guide 4. The image is blurry. How can I adjust the focus on the IP camera? Open the front cover of the TV-IP322P. Adjust the lens focus by turning the lens ring slowly in either clockwise or counter clockwise direction. 5. 6. I forgot my password. What should I do? Open the front cover of the TV-IP322P. Located the reset button and press it for 10 seconds and let go. Wait for 60 seconds for camera rebooting then login to IP camera.
TRENDnet User’s Guide Limited Warranty TRENDnet warrants its products against defects in material and workmanship, under normal use and service, for the following lengths of time from the date of purchase. TV-IP322P – 3 Years Limited Warranty AC/DC Power Adapter, Cooling Fan, and Power Supply carry 1 year warranty.