
Owner's Manual


www.TurtleBeach.com
Page 6
Downloading and Updating New Presets
If you would prefer manually downloading preset bundles rather than using the “Check
for New Presets” button, follow these instructions:
1. Go to www.turtlebeach.com/customize.aspx and select PX3.
2. Select a preset bundle from the listed ones on the page.
3. After you download the zip file, open it and copy the xml preset file to the
PresetBundles folder in the directory where you installed the PX3 Presets Manager.
If you used the default settings when installing the program, this would be C:\Turtle
Beach\PX3 Presets Manager\PresetBundles.
4. On the PX3 Presets manager, click on the pull-down box for the preset bundles and
you should see the file name you just downloaded. Select it and press the headphone
icon button to load the bundle into the headset.
5. Wait while the tool loads the presets into the unit, this can take up to 1 minute.
6. Once the tool finishes you can safely remove the transmitter from the PC – you are
now updated!
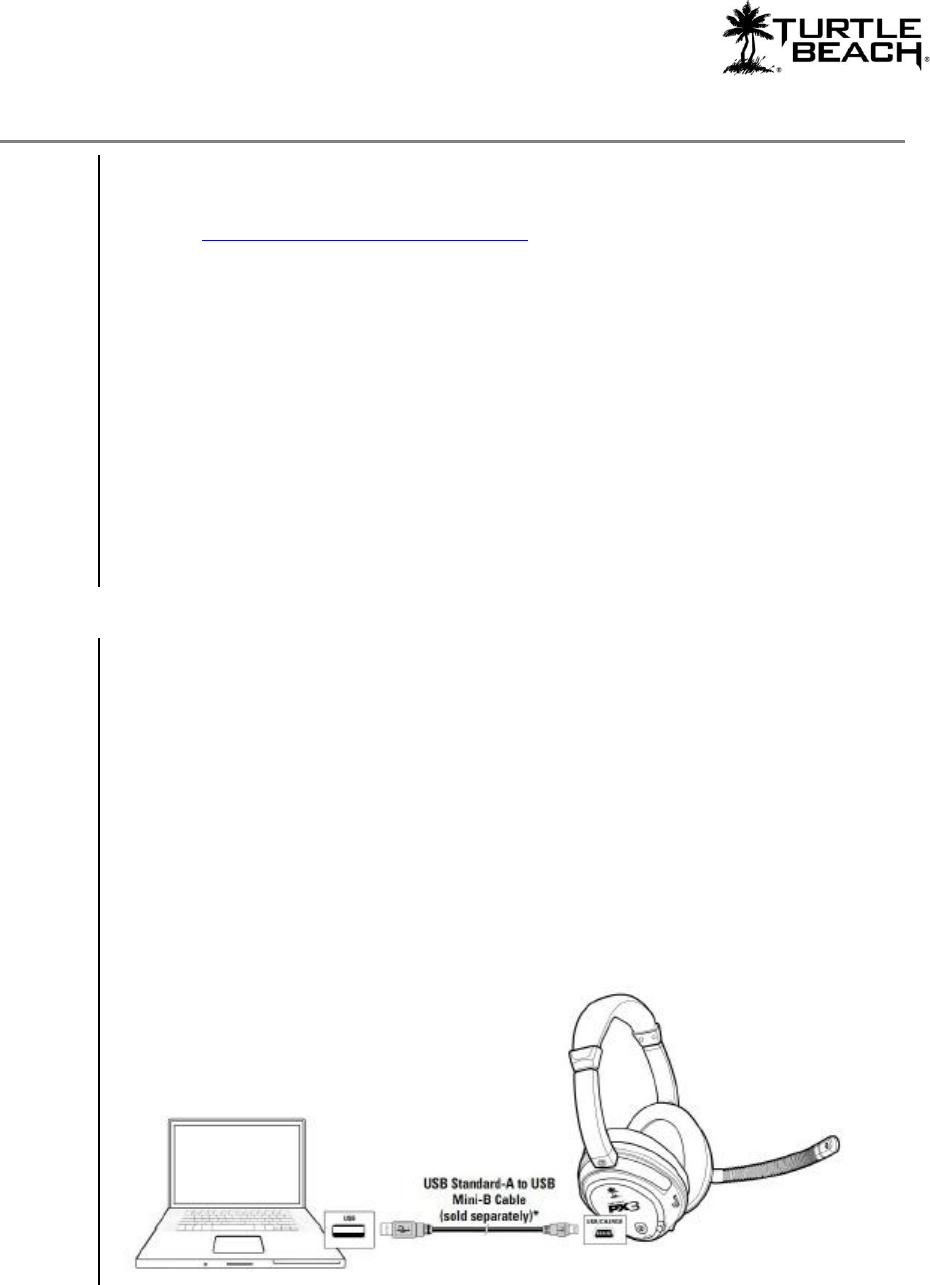
Updating the Headset
Periodically we may release firmware updates for the headset. Using the PX3 Preset
Manager you can also update the headset of your PX3 unit as follows:
1. Open the PX3 Manager and connect your PX3 headset to the PC with an optional
mini-USB data cable. The tool should notify you that the headset is connected in the
lower left-hand corner.
2. You will see that the drop down box will now only populate with headset compatible
firmware, choose the latest one from the dropdown and press the headphone shaped
icon to load it into the headset.
3. Wait while the tool loads the firmware into the unit, this can take up to 1 minute.
4. Once the tool finishes you can safely remove the headset from the PC – you are now
updated!