Installation Instructions


Table Of Contents
- 页 1
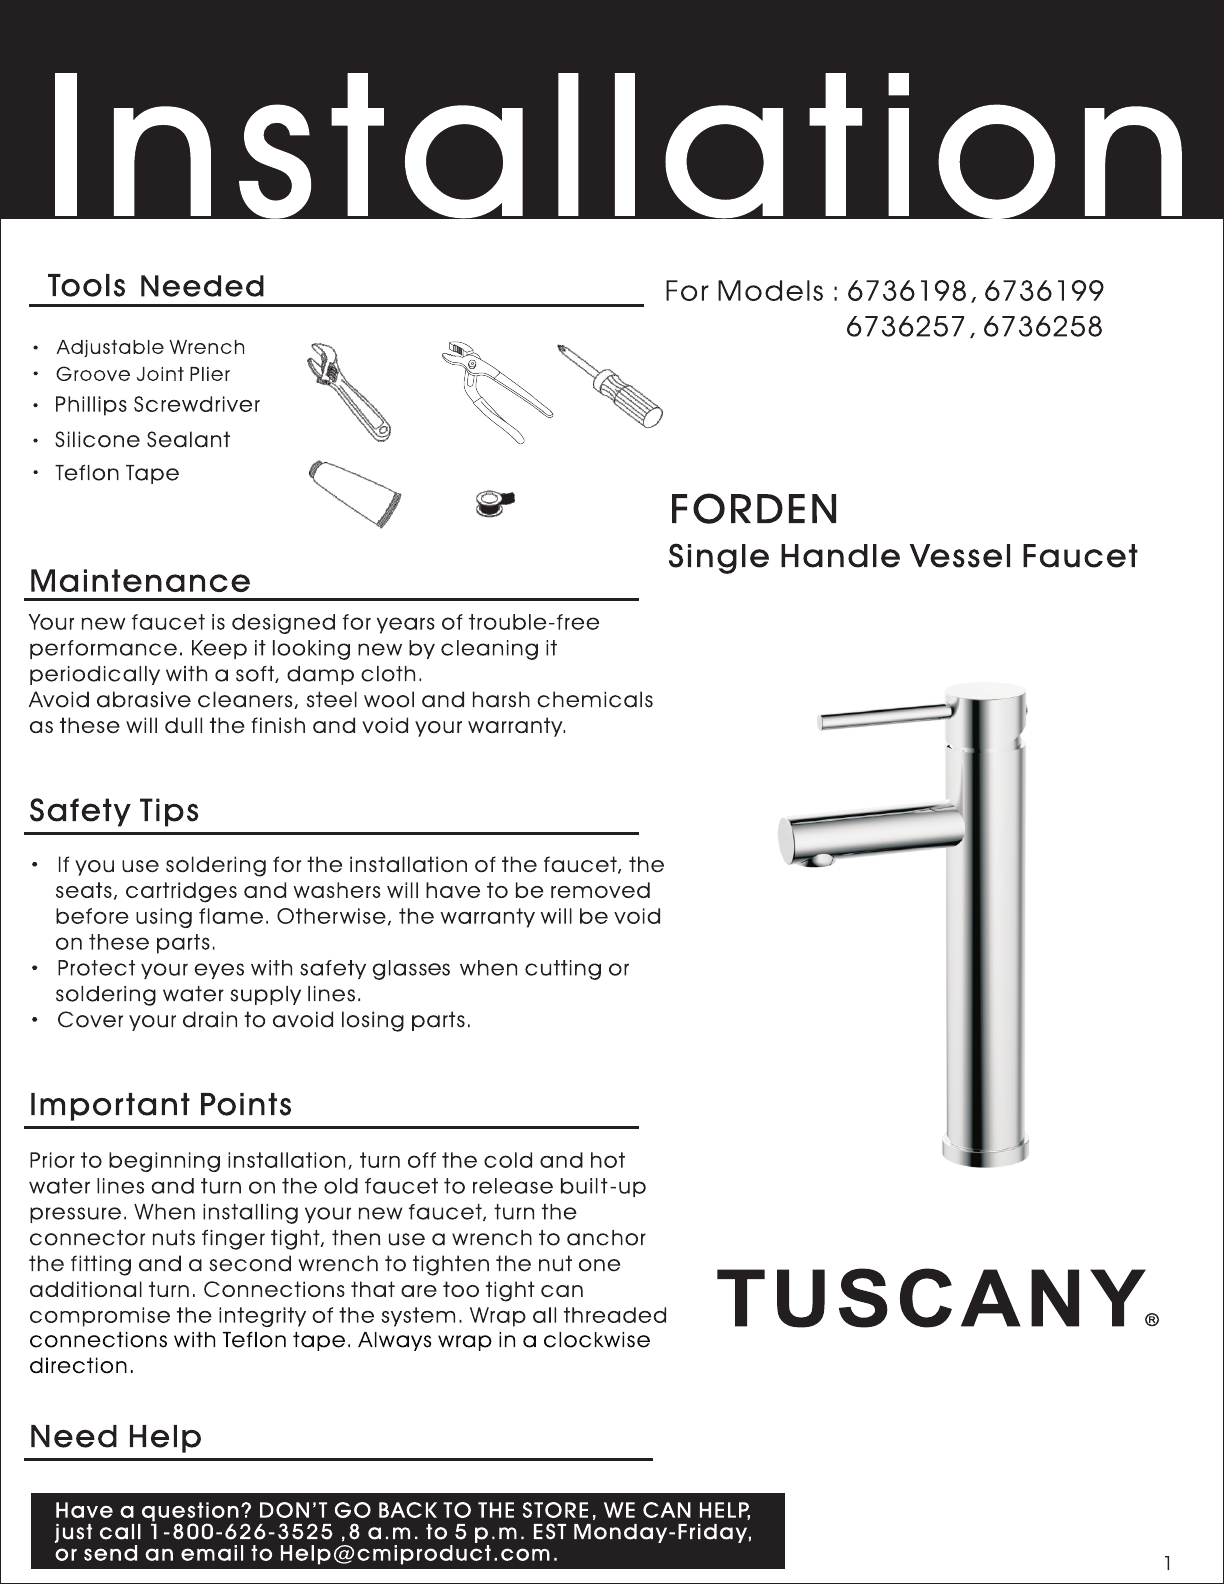
- 书签D46730BC For Models : 6736198, 6736199
- 书签EEE1151D Needed
- 书签C773CB7A Adjustable Wrench Groove Joint Plier
- 书签2D96351B Teflon Tape
- 书签FDC56AFD 6736257, 6736258
- 书签13C06F22 Single Handle Vessel Faucet
- 书签3837B22F FORDEN
- 书签7ACD9DBC connections with Teflon tape. Always wrap in a clockwise direction.
- 书签7800CCDA TUSCANY
- 页 2
- 书签D9197922 Bottom Rubber Washer
- 书签2F881CB2 Top Rubber Washer
- 书签BE9E552E Wearing Ring
- 书签3F8DF9E0 Lock Nut
- 书签C2C1D4CF O-ring
- 书签EB2B684E Outlet Pipe
- 书签01CC8482 Nut
- 书签C644F980 Cover
- 书签822CF6A9 Stopper Core
- 书签BF14C93C Stopper Housing \(Without Overflow Hole\)
- 书签4E0E081D Stopper Housing \(With Overflow Hole\)
- 书签C12CC1A7 1
- 书签1FF4C156 2
- 书签883790EB 3
- 书签D8F03205 4
- 书签2CE523EC 5
- 书签C88B1EB4 6
- 书签BBB5A9CE 7
- 书签004AC3E1 8
- 书签04269ED4 9
- 书签B95849D4 10
- 书签8EE1C745 11
- 书签AC0071E6 12
- 书签7E2B0975 13
- 书签D96FE6E7 14
- 书签F2796677 15
- 书签3545C217 16
- 书签481DD856 17
- 书签837B379C 18
- 书签BAEB91B9 19
- 书签B7963FC6 20
- 书签8D95F7F3 21
- 书签73C1A2DC 22
- 书签1DFC14DA 23
- 书签EAE116F3 24
- 书签B686094B 25
- 书签95400404 26
- 书签4E5E8362 27
- 书签48133BD1 28
- 书签BC0BB4CF 29
- 书签479F58DC 30
- 书签911D167A 31
- 书签83E06A54 32
- 书签1AF332B3 34
- 书签0ED18DB7 35
- 书签C62593AF 36
- 书签3534EC4F 37
- 书签C6FD4B27 33
- 书签4214C09A Part Name
- 书签A589566E No.
- 书签7AD935EC Handle Bar
- 书签2527965E Handle Cap
- 书签B3988B92 Screw
- 书签A31E36C0 Handle Button
- 书签942252CF Trim Cap
- 书签98A21BF4 Lock Nut
- 书签0A3D9CB4 Cartridge
- 书签107EF2EE O-ring
- 书签48407FEB Waterway
- 书签E1C56EA6 Screw
- 书签D7043F05 Body
- 书签99B9FCE7 O-ring
- 书签86104199 Aerator Core
- 书签2DE45B85 Aerator Collar
- 书签F4941467 Base
- 书签F6EBAA3C O-ring
- 书签E016B84E Rubber Washer
- 书签C0273EF7 Metal Washer
- 书签B4DAE228 Threaded Shank
- 书签73BA36BF Lock Nut
- 书签26A6C477 Screw
- 书签F3283A1E Aerator Assembly
- 书签423DF3E4 Aerator Wrench
- 书签5F94DCD0 Handle Assembly
- 书签B1853ADC Gasket Assembly
- 书签B9B02681 Allen Wrench
- 书签D0AF92BF 20
- 书签1232C523 21
- 书签1509C671 22
- 书签443E3B13 23
- 书签2DEE228F 24
- 书签6407B284 25
- 书签25C97EB7 26
- 书签12C4F579 27
- 书签FF7DBF15 28
- 书签F3CCD7DE 29
- 书签4F551E61 30
- 书签60D6BCAA 31
- 书签8C61EE8A 32
- 书签AC256775 33
- 书签2152BCEF 1
- 书签8432FE46 2
- 书签7AC9C4C0 3
- 书签3CEFEF05 4
- 书签6C3445DD 5
- 书签9708D2D2 6
- 书签30D09146 7
- 书签229702CB 8
- 书签5F45B926 9
- 书签15A85BE1 10
- 书签AF6A5097 11
- 书签B56BE93C 12
- 书签8C39F148 13
- 书签DD1C1006 14
- 书签59484A7A 15
- 书签95C1D42C 16
- 书签04D4C16B 17
- 书签B82BC4C5 18
- 书签5E0B789B 19
- 书签9C6007BA 34
- 书签62D4D0B8 35
- 书签39840861 37
- 书签0C7F4848 36
- 页 3
- 书签429F6EDF 31
- 书签25C2BDBD 2. Remove the lock nut \(#31\) and gasket assembly \(#37\). Note: Do not remove the customer service tag with the model number and phone number. This information will be needed when calling the customer service department.
- 书签143FED93 1. Shut off the water supplies before installation. Remove the current faucet. Clean and dry the surface the new faucet will be installed on. Note: This faucet fits 3 cm/1-3/16" countertops.
- 书签FDC893CF 3. Apply Teflon tape to the threads of the hot and cold water supply tubes on the waterway \(#9\) in a clockwise direction.
- 书签70CEE50B 18
- 书签4040ABD2 16
- 书签BF9C081E 31
- 书签4600D8BC 32
- 书签7E86A42D 4. Verify the O-ring \(#16\) is in place. Apply silicone sealant beneath the base \(#15\). Install the faucet through the single faucet hole. From underneath, reassemble the gasket assembly \(#37\) and the lock nut \(#31\). Hand tighten the lock nut \(#31\) lining up one of the screws \(#32\) with the groove in the gasket assembly \(#37\). Do not over tighten. Use a Philips screwdriver to tighten the screws \(#32\) on the lock nut \(#31\). Note: Assemble in the order listed with the rubber washer \(#17\) against the mounting surface. See the diagram for a visual. Hint: Have someone hold the body \(#11\) in place while tightening.
- 书签C9170A3C 17
- 书签C455F4C7 Step 1-4
- 书签03F90C3D 37
- 书签5AC1E839 9
- 书签DC418A11 15
- 书签36853630 11
- 书签1DC42F19 37
- 页 4
- 书签57AF034D 9. Overflow Hole Instructions: Note: Skip this step if installing the drain into a sink without an overflow hole. Unscrew the cover \(#20\) counterclockwise by hand. Unscrew the stopper core \(#21\) counterclockwise using a pair of pliers if needed. Screw the stopper core \(#21\) into the stopper housing \(with overflow hole\) \(#23\). Screw the cover \(#20\) onto the stopper core \(#21\).
- 书签3CF39475 20
- 书签4687E83D 21
- 书签2890B328 22
- 书签F55B7CCB 23
- 书签EE5E07F9 7. Remove the nut \(#30\), outlet pipe \(#29\), O-ring \(#28\), lock nut \(#27\), wearing ring \(#26\), and bottom washer \(#25\) from the drain assembly. Note: Before installation, verify there is no damage to the push down pop-up drain. If there is damage, please call customer service for a replacement. Do NOT install damaged parts.
- 书签73C378EE 6. Apply Teflon tape onto the threads of the faucet water shut offs in a clockwise direction. Tighten the water supply hoses onto the water supply shut offs. Be sure to connect the cold water supply hose to the cold water shut off \(typically on the right\) and the hot water supply hose to the hot water shut off \(typically on the left\).
- 书签F64A6094 5. Slip ½" coupling nuts onto the water supply tubes or use flexible stainless steel supply lines \(recommended\) - both are sold separately. Use two wrenches \(as shown\) to keep from twisting the supply tube off of the faucet when tightening the nut.
- 书签C85685A4 22 or 23
- 书签EF962946 24
- 书签3B99EA9F 22
- 书签324831E9 24
- 书签F001CDD9 25
- 书签E93FCC27 26
- 书签A4340050 27
- 书签B493A17D 28
- 书签60713CBE 29
- 书签D47C3005 30
- 书签0B00648F Installation Instructions
- 书签196069C8 8. Remove the old drain assembly. Clean the surface to remove the old adhesive and dirt before installing the new drain. Dry the area thoroughly.
- 书签F7E1328E 20
- 书签ED2827A9 10. Place a ring of silicone sealant around the top rubber washer \(#24\) on the stopper housing \(#22 or #23\) or the drain opening of the sink. Insert the stopper housing \(#22 or #23\) into the drain hole from the top.
- 书签3759D121 Step 5-10
- 页 5
- 书签0A82634A 11. From underneath the sink, slide the bottom rubber washer \(#25\) and wearing ring \(#26\) onto the stopper housing \(#22 or #23\), then screw on the lock nut \(#27\) hand tight. Do not over tighten. See the diagram for a visual.
- 书签630C48C5 22 or 23
- 书签8237AB3F 25
- 书签97C27D5C 26
- 书签BE14C1BF 27
- 书签9E578C42 Installation Instructions
- 书签ECD5CBCE 13. Use the aerator wrench \(#35\) to remove the aerator assembly \(#34\). Open the hot and cold shut offs and check for leaks. If a leak occurs, refer to step 5 or 6. Note: Do NOT use pliers to remove the aerator assembly \(#34\) as this may cause damage. Use the aerator wrench \(#35\) provided.
- 书签E9BCDA87 14. Close the drain and fill the sink with water. Check for leaks. If water is leaking from the drain, refer to step 11 to 12.
- 书签9FE5BD95 12
- 书签09B24EC2 13
- 书签31D65C67 14
- 书签8296EBDD 34
- 书签1F9CC53F 35
- 书签C1D81914 12. Slide the nut \(#30\) over the outlet pipe \(#29\) and insert the O-ring \(#28\) onto the outlet pipe \(#29\). Screw the nut \(#30\) onto the stopper housing \(#22 or #23\) hand tight. Do not over tighten. Note: The outlet pipe \(#29\) connects to the p-trap drain. Refer to the installation instructions for the p-trap for more information on how to connect the outlet pipe \(#29\) to the p-trap drain.
- 书签F10220D7 Step 11-15
- 书签0BB8D9B4 28
- 书签72E50EA8 30
- 书签A5BADB57 29
- 书签1563048F 22 or 23
- 书签18D88D14 15. Turn on both the hot and cold water and let it run for one minute. This will help clear any debris that may have come loose during installation and prevent the system from becoming clogged. Turn off the water and reinstall the aerator assembly \(#34\), using the aerator wrench \(#35\).
- 书签53009AC6 12
- 书签5B9E28BB 13
- 书签55DF8274 14
- 书签C36C827F 34
- 书签9B92550A 35
- 页 6
- 书签3A4BE804 Revised on 04/30/2020
- 书签6421CABE Turn off the water supplies. Turn on the handle assembly \(#36\) to release the pressure, then close the handle assembly \(#36\). Remove the handle button \(#4\), set screw \(#3\), handle assembly \(#36\) and trim cap \(#5\). If the lock nut \(#6\) is loose tighten it. If the lock nut \(#6\) is tight, remove the lock nut \(#6\) and cartridge \(#7\). Verify the O-ring is clean and in proper alignment on the cartridge \(#7\). If the O-ring is dirty rinse with warm water. Reinstall the O-ring onto the cartridge \(#7\). Reinstall the cartridge \(#7\), lock nut \(#6\), trim cap \(#5\), handle assembly \(#36\), set screw \(#3\), and handle button \(#4\). Turn the water supplies on.
- 书签0F3D1835 The lock nut \(#6\) has come loose or the O-ring on the cartridge \(#7\) is dirty or misaligned.
- 书签FA94A80F Dirty or damaged cartridge \(#7\).
- 书签423CEA51 Turn off the water supplies. Turn on the handle assembly \(#36\) to release the pressure, then close the handle assembly \(#36\). Remove the handle button \(#4\), set screw \(#3\), handle assembly \(#36\), trim cap \(#5\), lock nut \(#6\), and cartridge \(#7\). Check the ceramic disk for dirt and damage. Replace the cartridge \(#7\) if damaged. If the cartridge \(#7\) is dirty, soak it in warm white vinegar for 4 hours. Every 30 minutes, while the cartridge \(#7\) is completely submerged, turn the stem on and off 10 times. Reinstall the cartridge \(#7\), lock nut \(#6\), trim cap \(#5\), handle assembly \(#36\), set screw \(#3\), and handle button \(#4\). Turn the water supplies on.
- 书签AB25227E Remove the aerator assembly \(#34\), using the aerator wrench \(#35\) and check the O-ring \(#12\). If the O-ring \(#12\) is misaligned, realign the O-ring \(#12\) and reinstall. If the aerator assembly \(#34\) is dirty, rinse in warm water. Reinstall or replace the aerator assembly \(#34\), using the aerator wrench \(#35\).
- 书签7C267158 Troubleshooting
- 书签43D2F82C The aerator assembly \(#34\) is dirty or misaligned.
- 书签E16ADF32 Leaks underneath the handle assembly \(#36\).
- 书签BA4BF495 The water will not shut off completely.
- 书签3AC7DAF0 The aerator assembly \(#34\) leaks or has an inconsistent water flow pattern.
- 书签8CB9C9B0 The manufacturer warrants that the parts and assemblies of this product will be free from defects in material and workmanship under normal household use for as long as it is owned by the original consumer purchaser. This warranty covers the original purchaser with original receipt only and does not include business, commercial or industrial use of this product. This warranty shall not apply to goods which have been subject to accidents, negligence or improper installation. Our responsibility under this warranty is limited only to the replacement of parts and no other costs. Should a malfunction occur within the time covered by this warranty, replacement parts may be obtained from Customer Service Department 1-800-626-3525 or email warranty@cmiproduct.com. The manufacturer will, at its discretion, provide replacement parts for installation by consumer for any parts that prove defective under normal usage and care with new or equivalent parts.