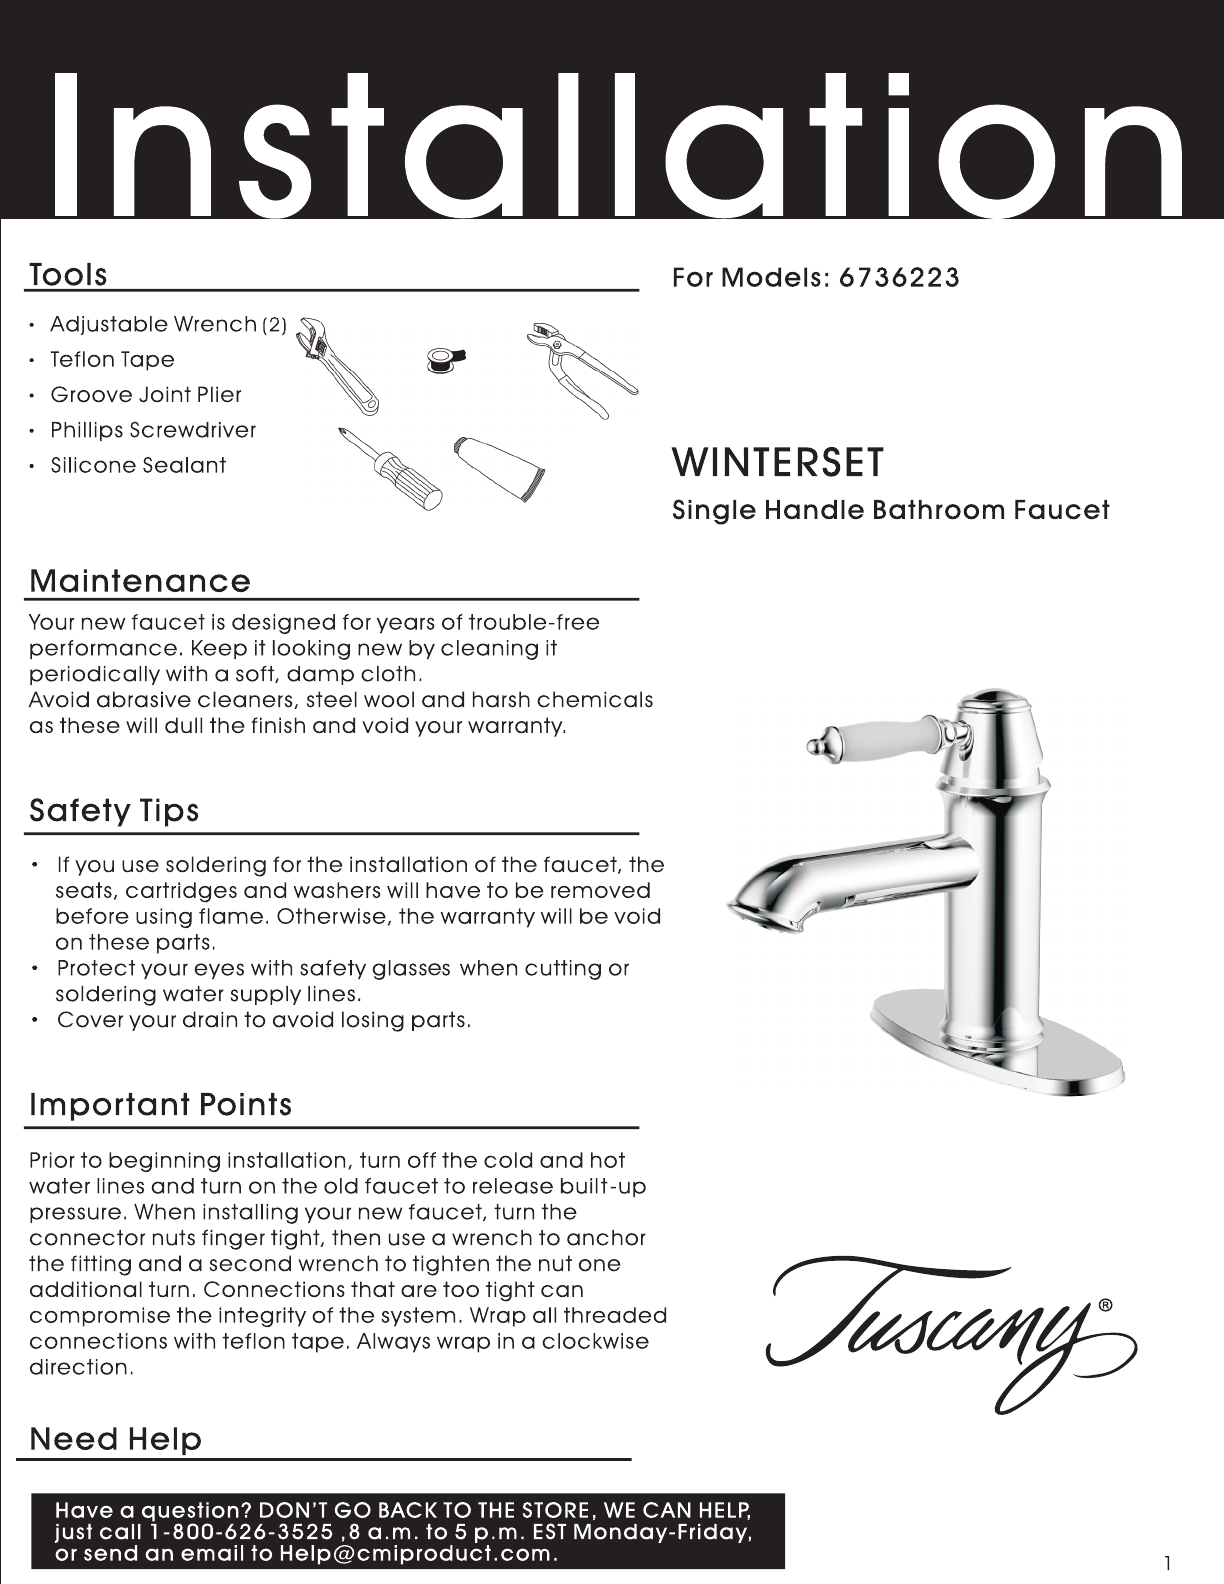
Tools « Adjustable Wrench (2) « Teflon Tape Groove Jo lint Puller « Phillips Screwdriver Silicone Sealant Maintenance Your new faucet Is designed for years of trouble-free performance. Keep It looking new by cleaning It periodically with a soft, damp cloth. Av old abrasive cleaners, steel wool and harsh chemicals as these will dull the finish and void your warranty.
Parts Diagram / List No. Part Name T g 1 Bus'e \@ 2 | O-ring ? 3 Clamp e A 4 | Tube O-ring 1 Tube ”@ %66“ 7 Allen Wrench 8 Decorative Cap ]2/@ 9 Handle Button 10 | Screw 11 | Trim Cap 12 | Lock Nut 13 | Cartridge 14 | Body 15 | Nut 16 | Aerator Wrench 17 | Mounting Bolt 18 | Aerator 192 | Handle Bar {Zinc) 20 | Handle Base 21 | Screw 22 | Handle Connector 23 | O-ring 24 | Handle Red 25 | Handle Bar {Ceramic} 26 | Handle Cap 27 | Deck Plate 28 | Gasket 29 | Knob 30 | Lift Rod 31 | Sealer 32 | Rod Strap 33 |
Preparation/Assembly 1. . Apply Teflon tape to the threads of the tube (#4 and #6) . From underneath the sink, slide the clamp (#3) onto the Shut off the water supplies before Installation. Remove the current faucet. Clean and dry the surface the new faucet will be Installed on. Note: This faucet fits 3 counter tops. Attach the gasket (#28) to the deck plate ensuring the notches on the deck plate (#27) line up for proper installation. Place silicone sealant beneath the gasket.
Installation Instructions 6. Slip 2" coupling nuts onto the water supply tubes or use flexible stainless steel supply lines (recommended) both are sold separately. Use two wrenches (as shown) to keep from twisting the supply tube off of the faucet when tightening the nut. Water Supply Hoses 7. Apply Teflon tape onto the threads of the faucet water shut offs in a clockwise direction. Tighten the Water Supply water supply hoses onto the water supply shut offs.
Installation Instructions 12. Remove the ball nut (#40) and the sealer Insert 3‘@' the stopper (#34) into the pop-up body Align the hole in the stopper (#34) with the guide rod opening. (See the diagram for a visual.) Slide the sealer (#31) onto the ball rod then insert the ball rod (#39) ®— through the hole in the stopper Screw on the ball nut 39 40 13.
Troubleshooting If you've followed the Instructions carefully and your faucet still does not work properly, take these corrective steps. Problem Cause Acton Turn off the water supplies. Remove the handle assembly and trim cap [f the lock nut (#12} Is loose tighten t, If the lock nut Is tight, The lock nut {#12) has come | remove the lock nut {#12) and cartridge Leaks underneath the handle loose or the O-ring on the Verify the O-ring Is clean and In proper alignment assembly.