
User Guide & Service Manual
USER GUIDE
Remove Fan and Cover 2
u-line.com
SAFETY • INSTALLATION & INTEGRATION • OPERATING INSTRUCTIONS • MAINTENANCE • SERVICE
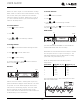
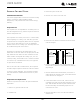
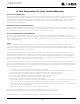
10.Remove two evaporator cover screws from top of
evaporator cover to be removed.
11.Grasp evaporator fan cover and gently pull plate away
from the rear of the unit.
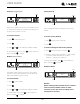
12.While pulling the evaporator cover clear of the unit, it
may be necessary to use your free hand to manipulate
the fan plug end through the pass-through hole.
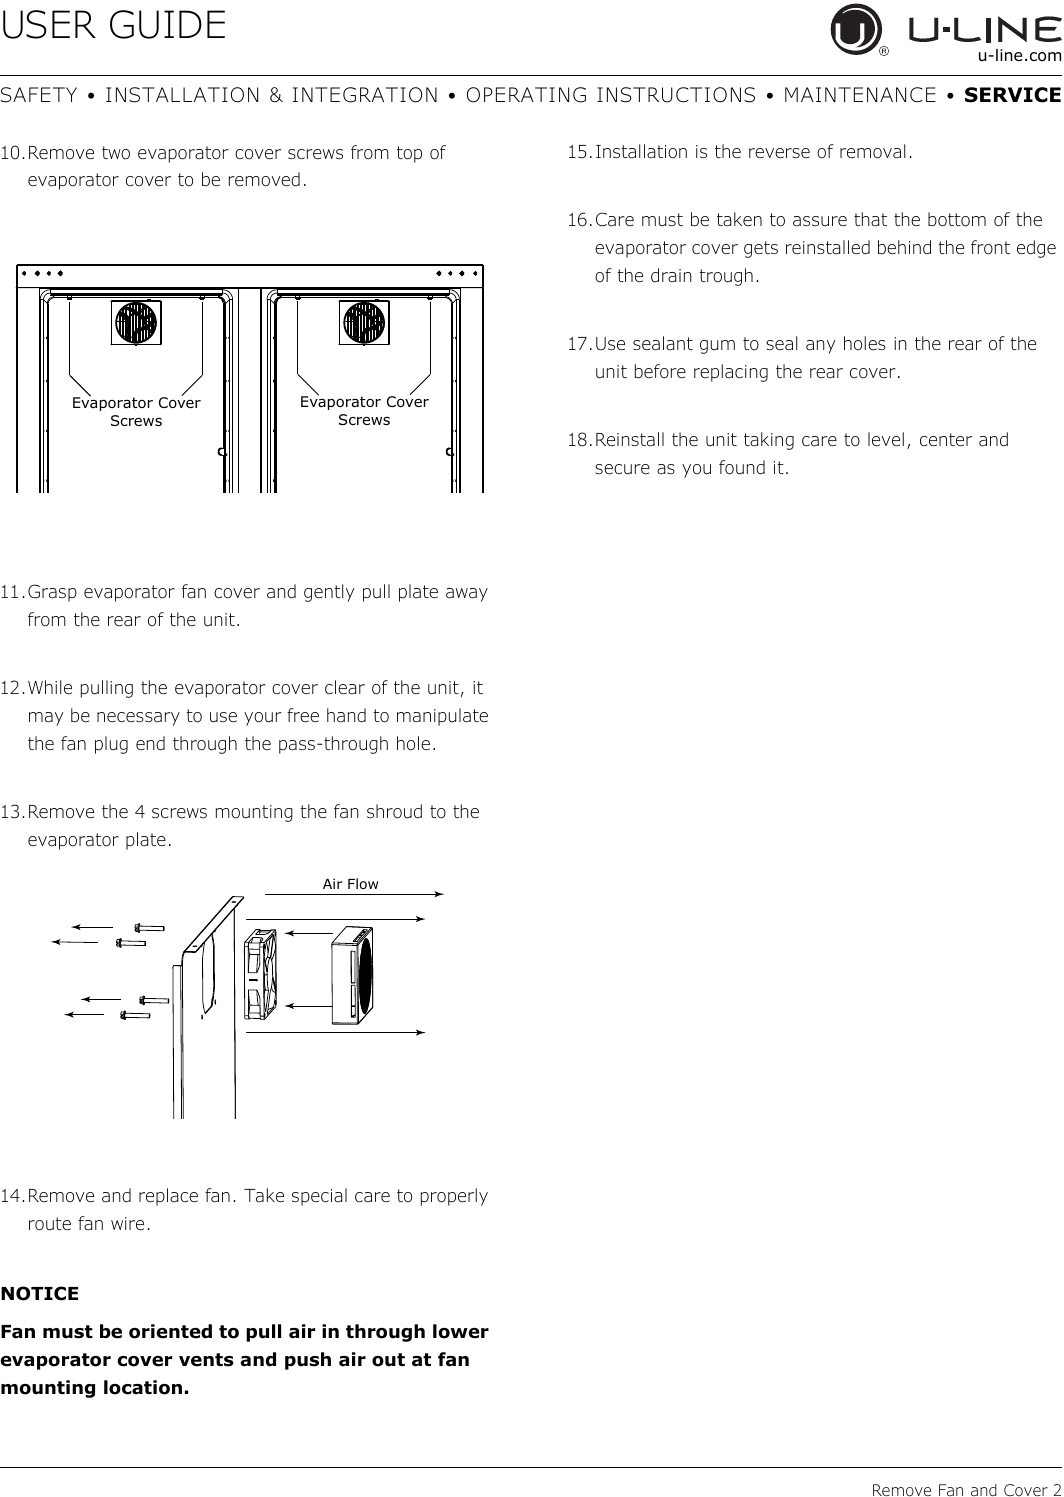
13.Remove the 4 screws mounting the fan shroud to the
evaporator plate.
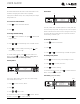
14.Remove and replace fan. Take special care to properly
route fan wire.
NOTICE
Fan must be oriented to pull air in through lower
evaporator cover vents and push air out at fan
mounting location.
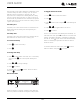
15.Installation is the reverse of removal.
16.Care must be taken to assure that the bottom of the
evaporator cover gets reinstalled behind the front edge
of the drain trough.
17.Use sealant gum to seal any holes in the rear of the
unit before replacing the rear cover.
18.Reinstall the unit taking care to level, center and
secure as you found it.
Evaporator Cover
Screws
Evaporator Cover
Screws
Air Flow
59