QUICK START GUIDE Combo® Models • 115 V / 60 Hz
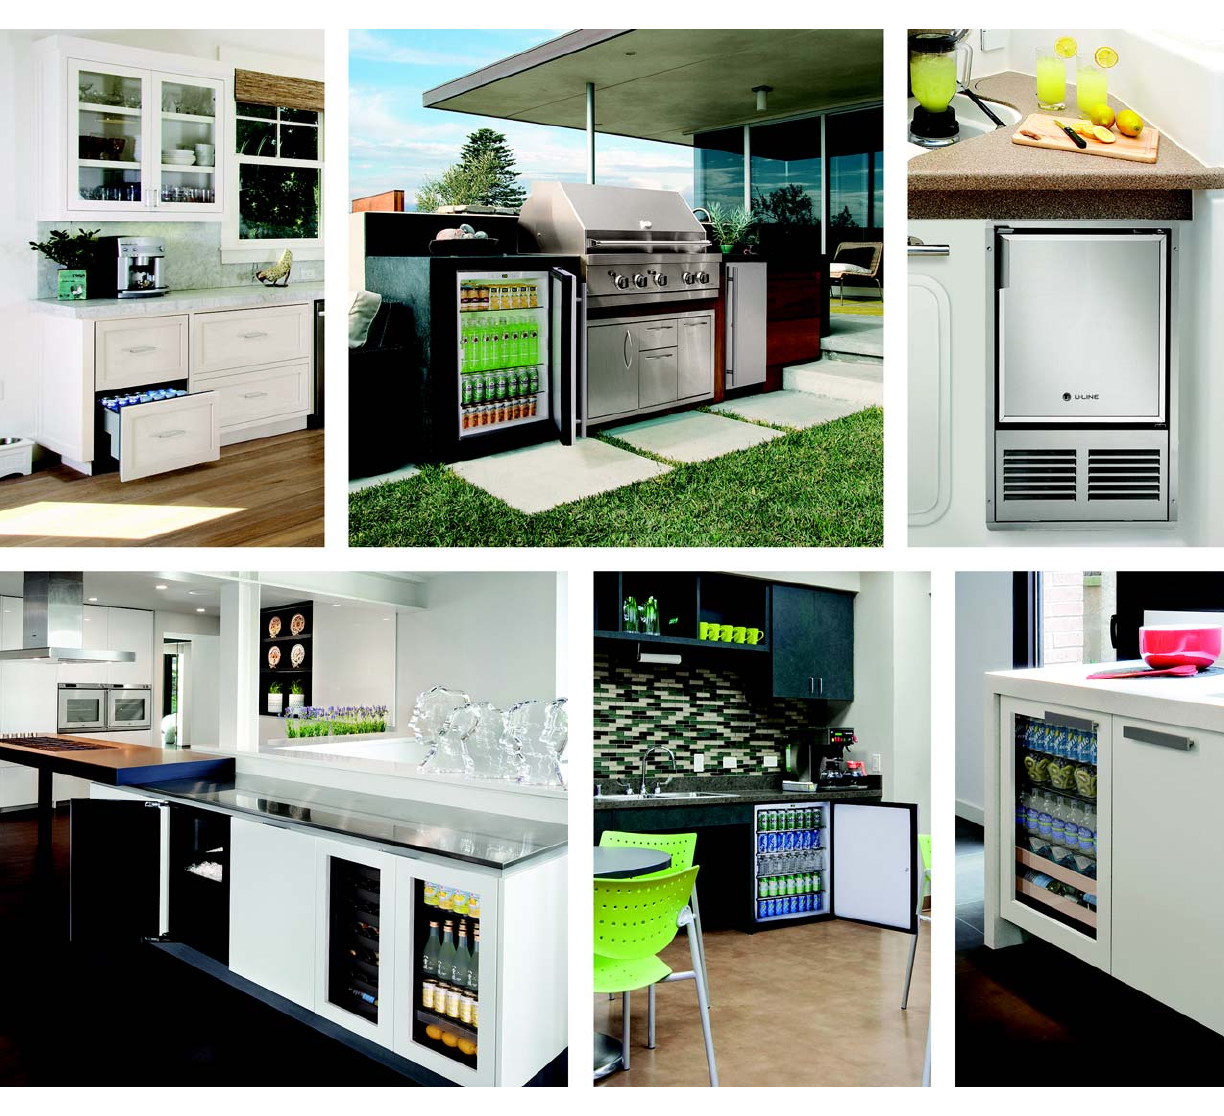
QUICK START GUIDE u-line.com WELCOME TO U-LINE Congratulations on your U-Line purchase. Your product comes from a company with over five decades and three generations of premium modular ice making, refrigeration, and wine preservation experience. U-Line continues to be the American leader, delivering versatility and flexibility for multiple applications including residential, light commercial, outdoor and marine use.
QUICK START GUIDE Contents 1 Model List 2 Safety and Warning 2 Environmental Requirements 3 Electrical 3 Water Hookup 5 Door Swing 6 General Installation 7 Integrated Panel Installation 10 Control Operation 10 First Use 11 Ice 11 Sabbath Mode 12 Warranty u-line.
QUICK START GUIDE u-line.com Model List This guide provides the basics to get you started. Looking for more information? Visit u-line.com to view detailed User Guides for all U-Line products. Combo® Models U-CO29FB-00A U-CO1224FS-00A U-CO29FW-00A U-CO1224FINT-00A U-CO1224FB-40A U-CO1224FW-00A Marine Series ULN-CO29B-03A ULN-CO29B-20A ULN-CO29W-03A ULN-CO29W-20A Visit http://www.u-line.com/product-literature/userguides or scan this QR code to view all user guides online.
QUICK START GUIDE u-line.com Safety and Warning Environmental Requirements NOTICE This model is intended for indoor/interior applications only and is not to be used in installations that are open/ Please read all instructions before installing, exposed to natural elements. operating, or servicing the appliance. This unit is designed to operate between 50°F (10°C) and Use this appliance for its intended purpose only and follow 100°F (38°C).
QUICK START GUIDE u-line.com Electrical Water Hookup PREPARE PLUMBING ! WARNING The water valve uses a standard 1/4" (6.35 mm) compression fitting. U-Line recommends using accessory SHOCK HAZARD — Electrical Grounding water hook up kit – part # WATERHOOKUP. The kit Required. Never attempt to repair or perform includes a 10' (3 m) braided flexible water supply line and maintenance on the unit until the electricity has a brass hose fitting. When using a 1/4" (6.35 mm) O.D. been disconnected.
QUICK START GUIDE u-line.com 3. Locate water valve inlet. ! CAUTION Do not use any plastic water supply line. The line is under pressure at all times. Plastic may crack or rupture with age and cause damage to your home. Do not use tape or joint compound when attaching a braided flexible water supply line that includes a rubber gasket. The gasket provides an adequate seal – other materials could cause blockage of the valve. 4.
QUICK START GUIDE u-line.com Integrated models require 1/4" (6 mm) clearance if 9. Install retaining clip. installed next to a wall. Allow for additional space for any knobs or pulls installed on the integrated panel/frame. BI95/BI98 SERIES All units have a zero clearance for the door to open 90°. U-Line recommends a minimum door clearance of 1/4" (6 mm) to accommodate the handle if the unit is installed next to a wall. 1/4" Min.
QUICK START GUIDE u-line.com General Installation CRESCENT ICE MAKERS, OUTDOOR SERIES AND ADA15IM MARINE AND BI95/BI98 SERIES LEVELING INFORMATION LEVELING INFORMATION 1. Use a level to confirm the unit is NOTICE level. Level should Because these units do not have leveling legs, it be placed along top is extremely important that they sit on a level edge and side edge surface. If they are not level, the ice mold will as shown. not fill evenly. Use a level to confirm 1 the unit is level.
QUICK START GUIDE u-line.com 1. Remove top hinge screw pin INSTALLATION with Phillips head screwdriver. 1. Plug in the power/electrical cord. Remove door by tilting forward and lifting off bottom hinge pin. 2. Gently push the unit into position. Be careful not to kink the water supply line or entangle the cord. 3. Re-check the leveling, from front to back and side to side. Make any necessary adjustments. The unit’s top surface should be approximately 1/8" (3 mm) below the countertop. 2.
QUICK START GUIDE u-line.com 6. Secure integrated 8. Starting at the corners and working inward, push door panel to door/drawer gasket into place on door. Bar Clamp using clamps. A robust tape may also 9. Place door on bottom hinge pin and install upper hinge be used. U-Line screw. recommends the use of bar clamps to CO1224F secure the panel to 1. Fully open door/drawer. the door/drawer. If using tape, be Door/Drawer Wood Panel certain the tape will 2.
QUICK START GUIDE u-line.com 11.Remove clamps from door/drawer. NOTICE If panel requires additional adjustment after removing clamps, slightly loosen each screw and adjust panel as necessary. Tighten screws upon completion. 12.Starting at the corners, re-install the gasket into the gasket channel in the frame. Make sure the gasket is fully seated. This may take some force.
QUICK START GUIDE u-line.com Control Operation Not Alert Light Power Used LED Up Down CONTROL FUNCTION GUIDE FUNCTION COMMAND DISPLAY/OPTIONS ON/OFF Press and release Unit will immediately turn ON or OFF.
QUICK START GUIDE u-line.com Ice During periods of limited use or high ambient ICE MAKER OPERATION Gently shake the bucket to break apart cubes. If not using When the ice bucket is full, the ice making mechanism will the ice maker regularly, empty the ice bucket periodically shut off. However, the refrigeration system will continue to ensure fresh cubes. temperatures, it is common for cubes to fuse together. to cool and maintain the ice supply. It is normal for cubes to appear cloudy.
QUICK START GUIDE u-line.com connection with the replacement of any defective part 3. NOTE: Although the display will not be visible, the temperature controls in the unit remain active and of the sealed system. All other charges, including preserve the interior temperature. transportation charges for replacements under this warranty and labor costs not specifically covered by this warranty, shall be the responsibility of the 4. Access the Ice Maker behind the freezer door and lift purchaser.
QUICK START GUIDE u-line.com Some states do not allow limitations on how long an 6. U-Line’s Outdoor Limited Warranty, set forth in this Paragraph 6 shall apply to U-Line models deemed implied warranty lasts or the exclusion or limitation of suitable for outdoor use by Underwriters Laboratory incidental or consequential damages, so the above (“UL”) as noted in the U-Line Product Catalog, U-Line’s limitations may not apply to you.