MODEL ST1008 MINI WOOD LATHE OWNER'S MANUAL For Models Manufactured Since 06/16 Phone: (360) 734-3482 • Online Technical Support: tech-support@shopfox.biz COPYRIGHT © MARCH, 2016 BY WOODSTOCK INTERNATIONAL, INC. REVISED MARCH, 2017 (HE) #18045DN WARNING: NO PORTION OF THIS MANUAL MAY BE REPRODUCED IN ANY SHAPE OR FORM WITHOUT THE WRITTEN APPROVAL OF WOODSTOCK INTERNATIONAL, INC. V2.03.
Some dust created by power sanding, sawing, grinding, drilling, and other construction activities contains chemicals known to the State of California to cause cancer, birth defects or other reproductive harm. Some examples of these chemicals are: • Lead from lead-based paints. • Crystalline silica from bricks, cement and other masonry products. • Arsenic and chromium from chemically-treated lumber. Your risk from these exposures varies, depending on how often you do this type of work.
Table of Contents INTRODUCTION..................................................... 2 Contact Info..................................................................... 2 Manual Accuracy........................................................... 2 Identification................................................................... 5 Controls & Features...................................................... 6 SAFETY...................................................................
INTRODUCTION Contact Info Manual Accuracy We are committed to customer satisfaction. If you have any questions or need help, use the information below to contact us. We are proud to provide a high-quality owner’s manual with your new machine! IMPORTANT: Before contacting, please get the original purchase receipt, serial number, and manufacture date of your machine. This information is required for all Technical Support calls and it will help us help you faster.
MACHINE SPECIFICATIONS © Woodstock International, Inc. • Phone: (800) 840-8420 • Web: www.woodstockint.com MODEL ST1008 10" X 15" BENCHTOP WOOD LATHE Product Dimensions: Weight ........................................................................................................................................................................................................................92 lbs. Length x Width x Height ......................................................................................
Spindle Information Spindle Taper ................................................................................................................................................................................................ MT#2 Spindle Thread Size ............................................................................................................................................................................. 1" x 8 TPI Spindle Thread Direction ..................................................
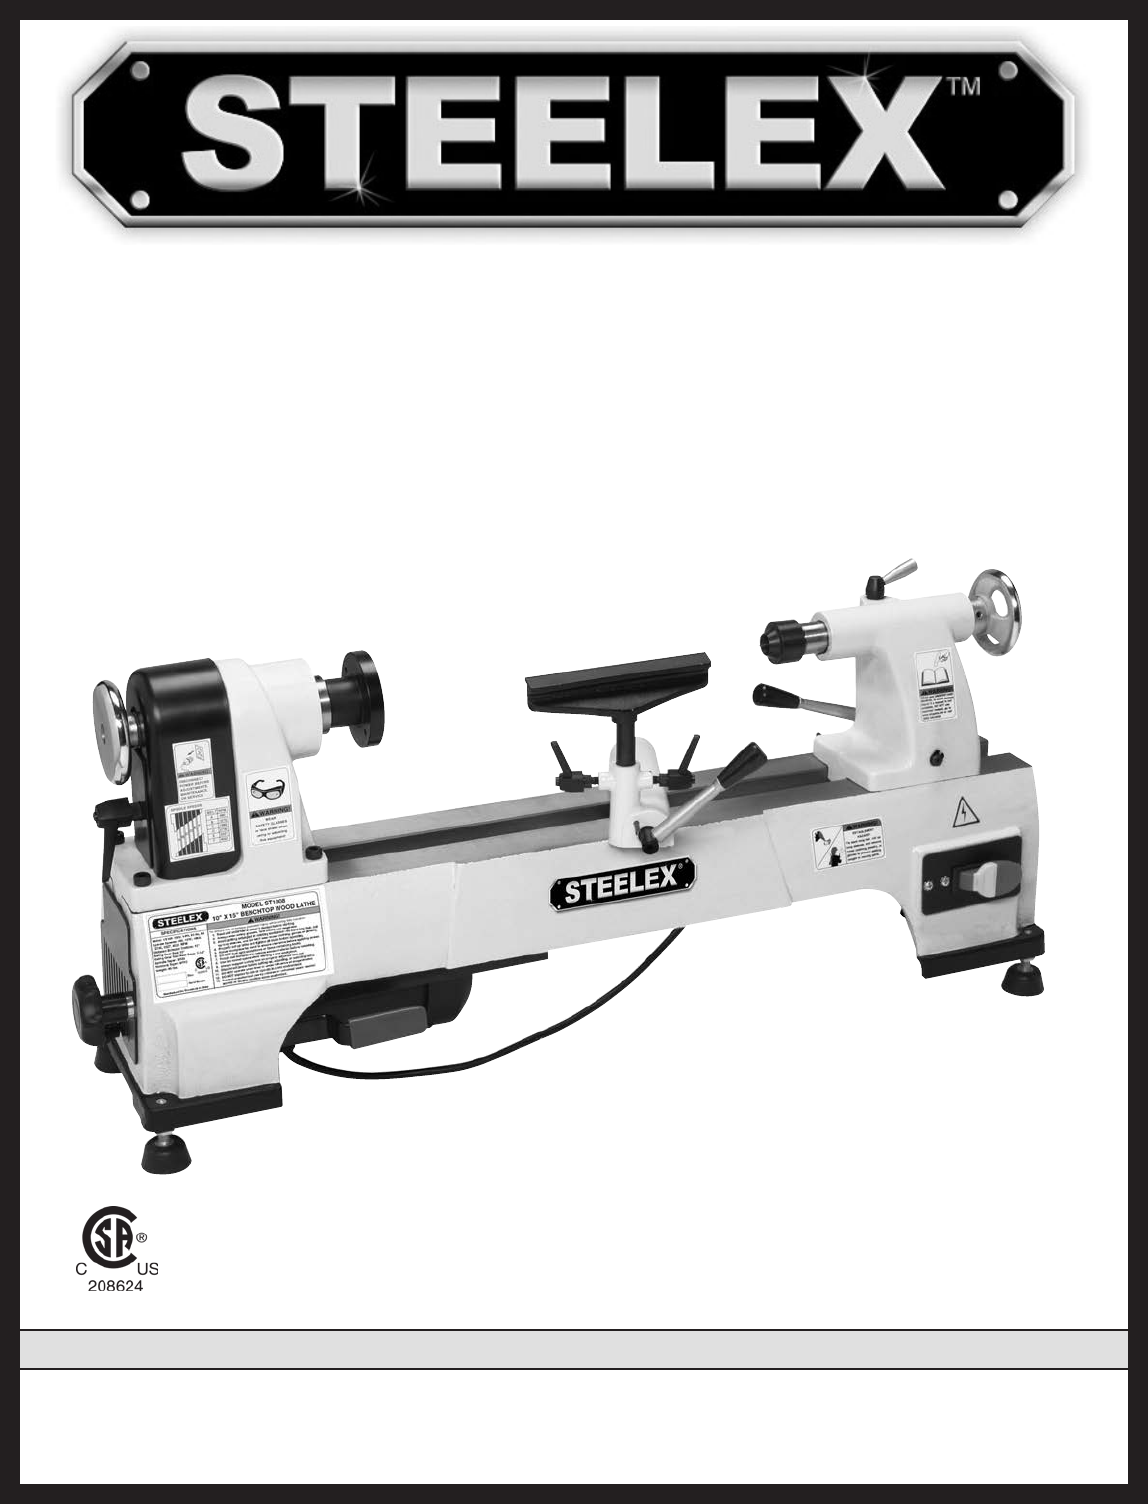
Identification Become familiar with the names and locations of the controls and features shown below to better understand the instructions in this manual. C K E D H L M J N O G B F I A P Q R U T S Figure 1. ST1008 identification. A. B. C. D. E. F. G. H. I. J. K. Belt Tension Lock Knob Belt Cover Lock Handle Spindle Cover Headstock Faceplate Tool Rest Lock Handle Tool Rest Base Tool Rest Tool Rest Release Lever Tailstock Lock Lever Live Center L. M. N. O. P. Q. R. S. T. U.
Controls & Features Use descriptions and following figures to become familiar with basic controls of your lathe. Belt Cover Lock Handle: Removes the belt cover when loosened. Belt Tension Lock Knob: Locks or unlocks belt tension lever. Tool Rest: Provides a stable resting position for turning tools. Tool Rest Lock Handle: Locks tool rest in position relative to tool rest base. Tool Rest Release Lever: Lock and unlocks tool rest base and allows it to be repositioned along lathe bed.
SAFETY For Your Own Safety, Read Instruction Manual Before Operating This Machine The purpose of safety symbols is to attract your attention to possible hazardous conditions. This manual uses a series of symbols and signal words intended to convey the level of importance of the safety messages. The progression of symbols is described below. Remember that safety messages by themselves do not eliminate danger and are not a substitute for proper accident prevention measures.
WEARING PROPER APPAREL. Do not wear clothing, apparel or jewelry that can become entangled in moving parts. Always tie back or cover long hair. Wear non-slip footwear to reduce risk of slipping and losing control or accidentally contacting cutting tool or moving parts. HAZARDOUS DUST. Dust created by machinery operations may cause cancer, birth defects, or longterm respiratory damage. Be aware of dust hazards associated with each workpiece material.
Additional Safety for Wood Lathes MAIN INJURY HAZARDS: Death or crushing injury from getting entangled in rotating spindle or workpiece; death, blindness, or broken bones from being struck by a workpiece that breaks apart or comes loose during rotation, turning tool kickback, or flying wood chips. To minimize your risk of these hazards, always heed the following warning information: INTEGRITY OF STOCK.
ELECTRICAL Circuit Requirements Serious personal injury could occur if you connect the machine to the power source before you have completed the set up process. DO NOT connect the machine to the power source until instructed to do so. This machine must be connected to the correct size and type of power supply circuit, or fire or electrical damage may occur. Read through this section to determine if an adequate power supply circuit is available.
Grounding Requirements This machine MUST be grounded. In the event of certain types of malfunctions or breakdowns, grounding provides a path of least resistance for electric current to travel—in order to reduce the risk of electric shock. Improper connection of the equipment-grounding wire will increase the risk of electric shock. The wire with green insulation (with/without yellow stripes) is the equipment-grounding wire.
SETUP Inventory This machine presents serious injury hazards to untrained users. Read through this entire manual to become familiar with the controls and operations before starting the machine! UNPLUG-power cord before you do any assembly or adjustment tasks! Otherwise, serious personal injury to you or others may occur!. The following is a description of the main components shipped with the STEELEX™ Model ST1008. Lay the components out to inventory them.
Cleanup The unpainted surfaces are coated with a waxy oil to protect them from corrosion during shipment. Remove this protective coating with a solvent cleaner or citrus-based degreaser. To clean thoroughly, some parts may need to be removed. For optimum performance from your machine, make sure you clean all moving parts or sliding contact surfaces that are coated. Avoid chlorine-based solvents as they may damage painted surfaces should they come in contact.
Bench Mounting Number of Mounting Holes.................................. 4 Dia. of Mounting Hardware Needed ................ 5⁄16" The base of this machine has mounting holes that allow it to be fastened to a workbench or other mounting surface to prevent it from moving during operation and causing accidental injury or damage. The rubber feet on this machine must be removed before bench mounting. Assembly To assemble the lathe: 1.
Test Run 4. Remove switch disabling key, as shown in Figure 12. Once assembly is complete, test run the machine to ensure it is properly connected to power and safety components are functioning correctly. If you find an unusual problem during the test run, immediately stop the machine, disconnect it from power, and fix the problem BEFORE operating the machine again. The Troubleshooting table in the SERVICE section of this manual can help.
OPERATIONS Overview Eye injuries or respiratory problems can occur while operating this tool. Wear personal protective equipment to reduce your risk from these hazards. The Model ST1008 will perform many types of operations that are beyond the scope of this manual. Many of these operations can be dangerous or deadly if performed incorrectly. The instructions in this section are written with the understanding that the operator has the necessary knowledge and skills to operate this machine.
Disabling Switch The switch can be disabled by removing the key, as shown below. Disabling the switch in this manner can prevent unauthorized operation of the machine, which is important if it is not kept inside an accessrestricted building or in a location where children may be present. IMPORTANT: Disabling the switch only restricts its function. It is not a substitute for disconnecting machine from power when adjusting or servicing.
Changing Spindle Speeds For Example: As indicated in the speed chart, belt position B creates 1270 RPM (see Figure 15). Spindle Pulley To change speeds, the belt in the headstock must be repositioned. A chart on the spindle cover shows the belt positions needed to make the lathe run at the desired speed. To change speeds: 1. DISCONNECT MACHINE FROM POWER! 2. Loosen the lock handle, remove the spindle cover, and open the access plate (Figure 14).
Adjusting Tailstock Adjusting Tool Rest The tailstock is equipped with a cam-action clamping system to secure it to the lathe bed. When the lever is tightened, a locking plate lifts up and secures the tool rest to the bed. The tool rest is equipped with a cam-action clamping system to secure it to the lathe bed. When the lever is engaged, a locking plate lifts up and secures the tool rest base to the bed. To position the tailstock along the bed: To adjust tool rest: 1. Loosen the release lever. 1.
Installing/Removing Spur Center Removing Spur Center 1. DISCONNECT LATHE FROM POWER! The spur center installs into the headstock spindle with a taper fit. 2. Hold a clean rag under the spindle or wear a glove to catch the center when you remove it. Installing Spur Center 3. Insert the knock-out bar through the outboard end of the spindle and tap the center, as shown in Figure 20. Catch the center as it falls out. 1. DISCONNECT LATHE FROM POWER! 2.
Installing/Removing Live Center The live center installs into the tailstock quill with a taper fit. Installing Live Center Installing/Removing Faceplate The faceplate can be installed only if the live or spur center has been removed from the headstock spindle. The knock-out bar is included with the lathe for installing and removing the faceplate. 1. Loosen the quill lock handle (if locked) approximately half a turn counterclockwise. 2.
Selecting Turning Tools Lathe tools come in a variety of shapes and sizes and usually fall into five major categories. Scrapers—Mainly used where access for other tools is limited, such as hollowing operations. This is a flat, double-ground tool that comes in a variety of profiles (Round Nose, Spear Point, Square Nose, etc.) to match many different contours. Figure 25 shows an example of a round nose scraper. Gouges—Mainly used for rough cutting, detail cutting, and cove profiles.
Spindle Turning 5. Drive the spur center into the center of the workpiece with a wood mallet to embed it at least 1⁄4", as shown in Figure 29. Spindle turning (Figure 27) is the operation performed when a workpiece is mounted between centers in the headstock and tailstock. /4" 1 Figure 29. Spur center properly embedded. 6. With the workpiece still attached, insert the spur center into the headstock spindle. 7.
Faceplate Turning Spindle Turning Tips: • When turning the lathe ON, stand to the side of the spinning direction until the lathe reaches full speed and you can verify that the lathe will not throw the workpiece. • Select the right speed for the size of workpiece you are turning. Use slower speeds for large workpieces (4" diameter and over); use the middle range speeds for medium sized workpieces (2" to 4" diameter); and use faster speeds for small sized workpieces (under 2" in diameter).
NOTICE: Only use tap screws or wood screws with non-tapered heads (Figure 32) to attach the faceplate to the workpiece. Do NOT use drywall screws or screws with tapered heads because these can split the faceplate, or the screws may snap off during operation. GOOD After turning, the workpiece can be sanded, as shown in Figure 34, and finished (in the same manner) before removing it from the lathe. BAD Figure 32. Correct and incorrect screw types for mounting faceplate to workpiece.
ACCESSORIES Lathe Accessories The following lathe accessories may be available through your local Woodstock International Inc. Dealer. If you do not have a dealer in your area, these products are also available through online dealers. Please call or e-mail Woodstock International Inc. Customer Service to get a current listing of dealers at: 1-800-545-8420 or at sales@woodstockint.com. The D3640 SHOP FOX® Tool Table is great for bench-top tools such as chop saws, drill presses, scroll saws, and bandsaws.
MAINTENANCE Changing Belt Always disconnect power to the machine before performing maintenance. Failure to do this may result in serious personal injury. General Regular periodic maintenance on your STEELEX™ Model ST1008 will ensure its optimum performance. Make a habit of inspecting your machine each time you use it. Check for the following conditions and repair or replace when necessary: To change the belt: 1. Perform Steps 1-2 in the Changing Speeds procedure on Page 18. 2.
SERVICE Troubleshooting The following troubleshooting tables cover common problems that may occur with this machine. If you need replacement parts or additional troubleshooting help, contact our Technical Support. Note: Before contacting Tech Support, find the machine serial number and manufacture date, and if available, your original purchase receipt. This information is required to properly assist you. Motor & Electrical PROBLEM POSSIBLE CAUSE CORRECTIVE ACTION 1.
Operation PROBLEM POSSIBLE CAUSE CORRECTIVE ACTION 1. Replace or adjust fan cover. Inspect motor fan and replace if damaged. 2. Tighten the spindle cover lock handle; if necessary install a soft, vibration dampening material (between the spindle cover and the headstock casting. 3. Spindle cover bent or dented and is 3. Remove spindle cover and inspect the inside for dents, bends, or indications of rubbing.
Wiring Diagram COLOR KEY BLACK Bk WHITE Wt GREEN Gn RED Rd PADDLE SWITCH (viewed from behind) Neutral Hot 120 VAC Gn Bk Wt Bk Bk Wt Bk Gn Gn Ground Wt 5-15 Plug (As Recommended) Gn Wt Ground Bk Bk Bk Bk Run Capacitor 25MFD 250VAC 120V MOTOR Figure 40. Motor connections. -30- Figure 41. Switch connections.
PARTS Main 83 82 46 81 80 79 45 78 43 44 76 77 75 42 41 40 39 74V2 73 72 71V2 69 38 37 36 68 35 34 33 32 31 26 25 70 63 62 61 51 60 50 58 67 66 65 64 59 24 23 22 21 97 47 28 29 30 19 18 57 56 55 54 53V2 52V2 49 48 1 99 20 96 7 17 16 13 15 14 16-4 16-3 11 12 11 16-1 4 3 2 10 9 8 27 27-3 16-2 27-6 16-5 ST1008 Mini Wood Lathe 16-6 5 6 27-4 27-5 27-2 27-1 -31-
Main Parts List REF PART # DESCRIPTION REF PART # DESCRIPTION 1 2 3 4 5 6 7 8 9 10 11 12 13 14 15 16 16-1 16-2 16-3 16-4 16-5 16-6 17 18 19 20 21 97 22 23 24 25 26 27 27-1 27-2 27-3 27-4 27-5 27-6 28 29 30 31 32 33 34 35 36 HEX WRENCH 2.5MM TOOL REST RELEASE LEVER LEVER KNOB ECCENTRIC SHAFT EXT RETAINING RING 14MM ROLL PIN 4 X 20 TOOL REST LOCK NUT M10-1.
Labels & Cosmetics Safety labels warn about machine hazards and how to prevent machine damage or injury. The owner of this machine MUST maintain the original location and readability of all labels on this machine. If any label is removed or becomes unreadable, REPLACE that label before allowing the machine to enter service again. Contact Woodstock International, Inc. at (360) 734-3482 or www.shopfoxtools.com to order new labels. 13.
WARRANTY Woodstock International, Inc. warrants all STEELEX™ machinery to be free of defects from workmanship and materials for a period of two years from the date of original purchase by the original owner. This warranty does not apply to defects due directly or indirectly to misuse, abuse, negligence or accidents, lack of maintenance, or reimbursement of third party expenses incurred. Woodstock International, Inc.
Warranty Registration Name________________________________________________________________________________________ Street________________________________________________________________________________________ City___________________________ State______________________________Zip__________________________ Phone #________________________ Email_____________________________Invoice #_____________________ Model #_________Serial #______________Dealer Name__________________Purchase Date___________ The following in
FOLD ALONG DOTTED LINE Place Stamp Here WOODSTOCK INTERNATIONAL INC. P.O.