
Installation Guide


Durock Shower System Kits
32" x 60" offset drain
(81.2 cm x 152.4 cm)
32" x 60" center drain
(81.2 cm x 152.4 cm)
48" x 48" center drain
(122 cm x 122 cm)
Special Features
Durock waterproofing
membrane—a pliable, durable,
sheet-applied waterproofing
membrane and vapor retarder
with a uniform thickness of .012"
(.3 mm) that makes installation
easy without excessive buildup.
The D
urock Shower System
makes waterproof shower
installation easier and faster
by featuring: a prefabricated
pre-sloped shower tray that
installs more quickly than
conventional mud-bed showers;
a thin, durable, waterproof
membrane; an easy-to-position
drain assembly that accepts all
D
urock Shower System 4" or 5"
(10 cm or 12.5 cm) grate options
(grates sold separately).
The pre-sloped shower tray
is ideal for new construction
and repair or remodel projects.
The tray dramatically reduces
installation time compared to
conventional mud-bed showers
and its gradual pre-slope allows
for easy installation of tile.
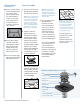
Tools and Materials
Safety Glasses
Gloves
Scissors
Trowels
- 3/16" x 3/16" (5 mm x 5 mm)
v-notched trowel or 1/8" x 1/8"
(3 mm x 3 mm) square or
u-notched trowel
- 1/4" x 3/8" (6 mm x 10 mm)
square or u-notched trowel
- finishing trowel
- margin trowel
Unmodified thin-set mortar
meeting ANSI 118.1 (minimum
50 lb., 26 kg)
Utility Knife
Tape Measure
Drill
Discover the new, innovative and waterproof
D
urock
™
Shower System for tiled showers.
The Durock Shower System continues the tradition of quality, performance and reliability, which has
defined D
urock products for 30 years. The Durock Shower System makes waterproofing shower installations
easier and faster by featuring: a pre-sloped EPS shower tray that installs more quickly than conventional
mud-bed showers; a thin, durable and waterproof membrane; and an easy-to-position drain assembly
that accepts all D
urock Shower System 4" or 5" (10 cm or 12.5 cm) grate options (grates sold separately).
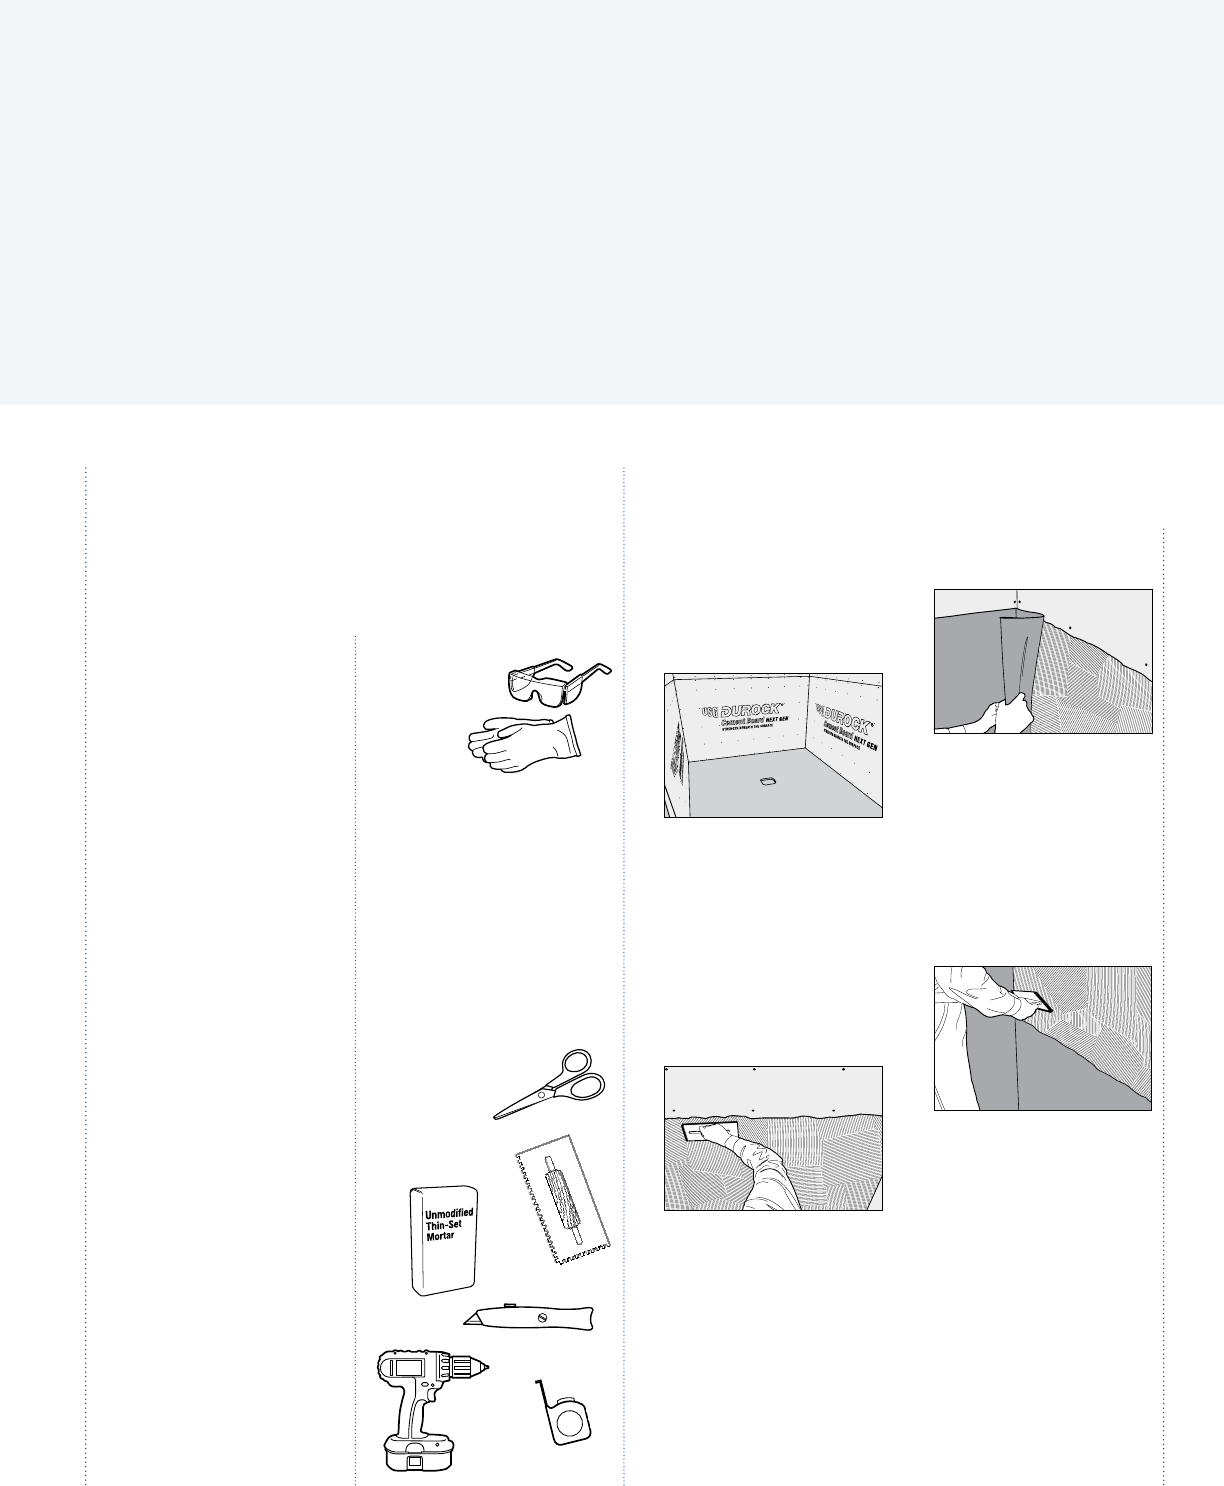
Shower Walls
1. Use only code-approved
wall substrate suitable for
wet areas, such as
Durock
®
Cement Board, or F
iberock
®
Tile Backerboard.
2. Apply unmodified thin-set
mortar to wall substrate
using a 3/16" x 3/16"
(5 mm x 5 mm) v-notched
trowel or 1/8" x 1/8"
(3 mm x 3 mm) square or
u-notched trowel.
Tip: The mortar should be loose but
still hold ridges from your trowel.
3. Embed Durock
™
Shower
System Waterproofing
Membrane into the mortar
using a finishing trowel,
drywall taping knife, or
similar tool to remove air
pockets and to ensure
proper adhesion.
Tip: Start from the center of the
wall and work toward the edges.
4. Overlap all adjoining
sections of the
Durock
Shower System
Waterproofing Membrane a
minimum of 2" (5 cm).
Note: Shingle-lapping of
membrane is not required,
provided that a minimum 2"
(5 cm) overlap is maintained at
all joints. Alternatively, adjoining
sections of D
urock Shower System
Waterproofing Membrane can be
abutted and then seamed with
5" (13 cm) wide D
urock
™
Shower
System Waterproofing Band.
2